
REVIEW – Buying my first place immediately turned a bunch of abstract home-automation ideas into actual projects. My new condo has a bright living room with two large windows and a sliding door, and leaving all that glass uncovered was not going to work for privacy, glare, or summer heat. Since I was starting from scratch, I wanted shades that looked finished, fit the odd mix of openings, and could join the smart home setup I already use every day. The SmartWings Motorized Light Filtering Roller Shades checked those boxes on paper: custom sizing, rechargeable motors, optional solar charging, remote control, and Matter over Thread support for systems like Google Home and Amazon Alexa. In practice, the hardware impressed me much more quickly than the smart-home pairing did. Prices start at $189.99 for a basic shade, but my review configurations cost quite a bit more once size, cassette valances, solar panels, and Matter motors were added.
The Basics
The SmartWings Motorized Light Filtering Roller Shades are made-to-order roller shades built around motorized operation. You choose the fabric, mount style, dimensions, motor type, valance, bottom bar, roll direction, and power option when ordering. Depending on the motor, they can be controlled with the included remote, SmartWings app options, or major smart platforms including Apple HomeKit, Amazon Alexa, Google Assistant, SmartThings, and Matter-compatible systems. The models I tested use rechargeable batteries and small solar panels so I do not have to climb up with a cable every few weeks.
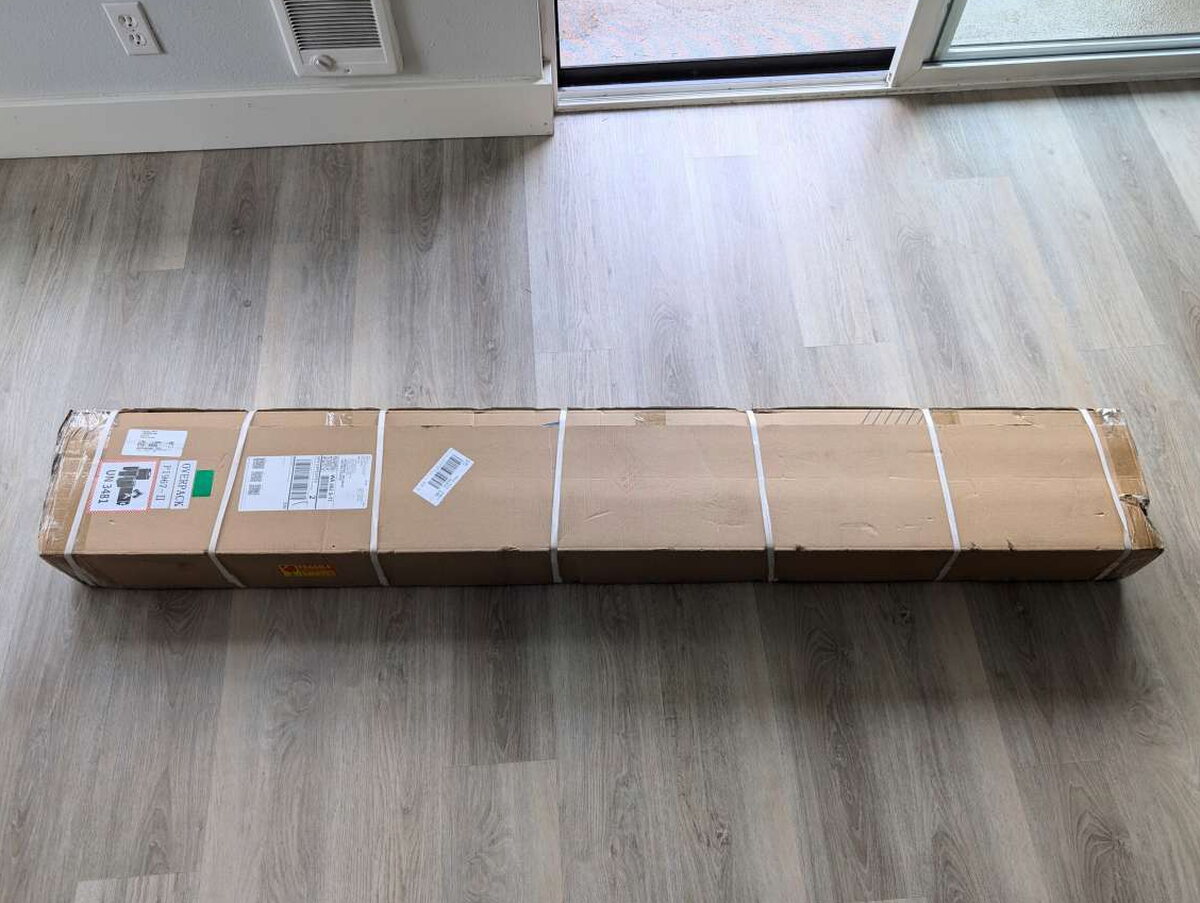
The delivery was surprisingly compact. I expected three big, awkward boxes, but everything arrived in one long package that was easier to move around the empty condo than I feared.
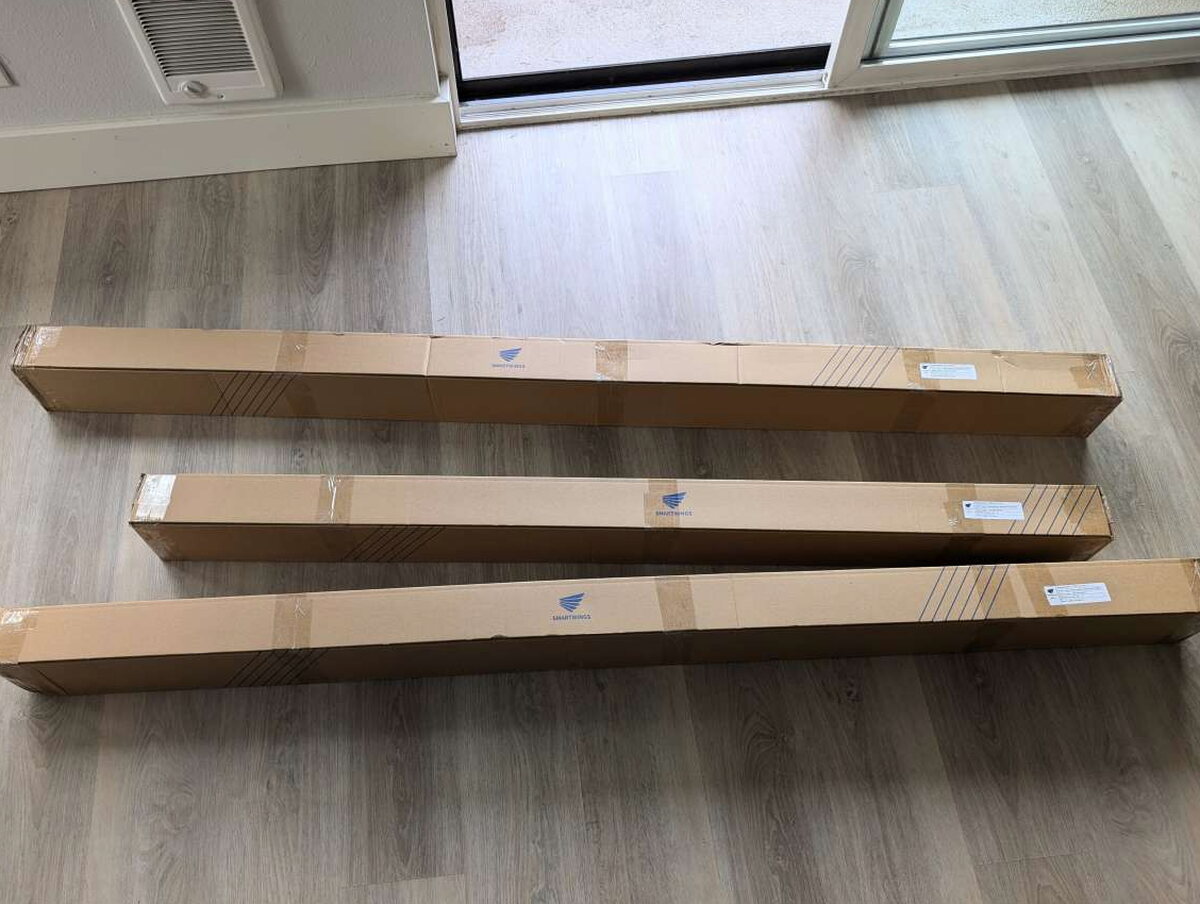
Inside, each shade was individually protected and clearly marked. That mattered because my sliding door, first window, and second window all used different measurements, and mixing them up would have turned installation day into a guessing game.
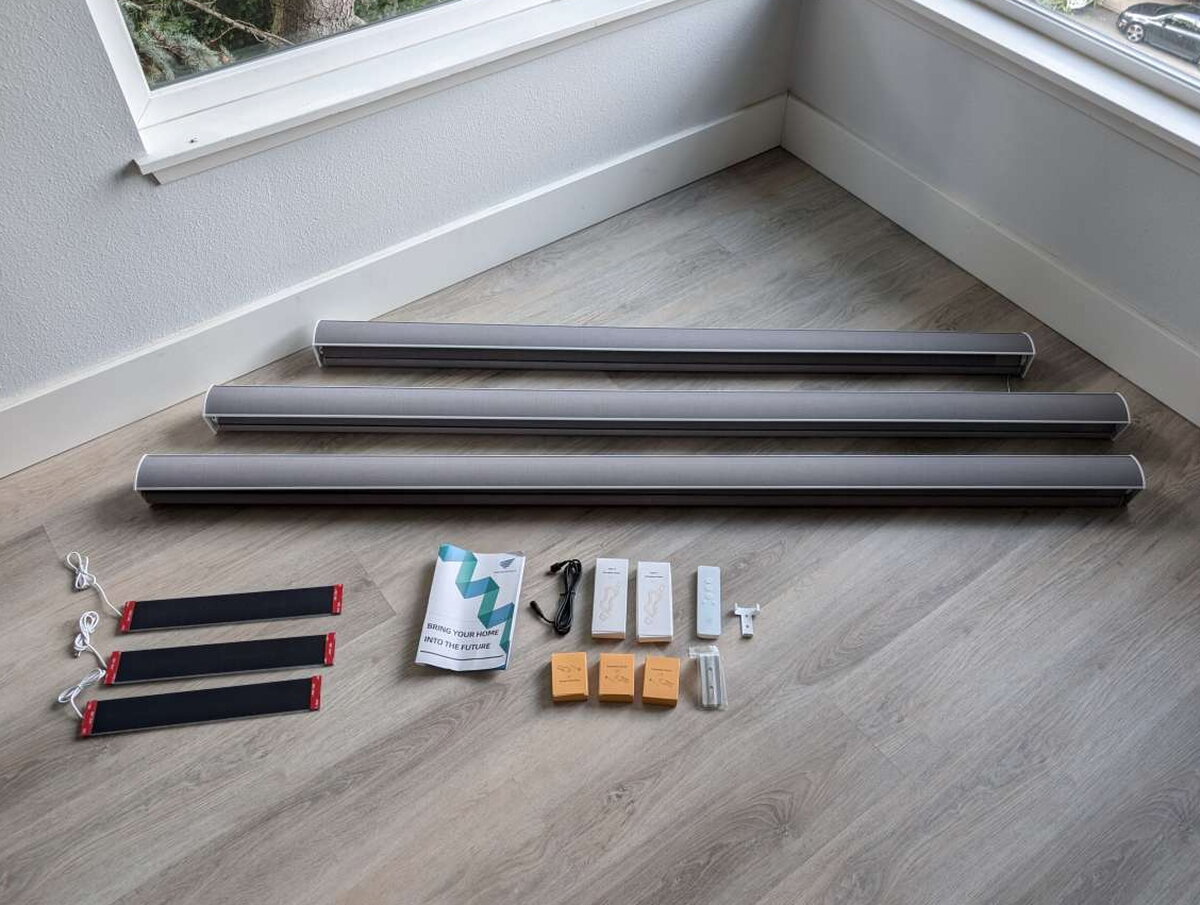
What You Get
- SmartWings Motorized Light Filtering Roller Shades
- Solar Panels
- User manual and installation guide
- Remote control and mounting bracket
- Charging cables
- Shade mounting brackets
- Expansions brackets
- Mounting screws
By the Numbers
- Sliding Doors as configured for review
- Style: SmartWings Motorized Light Filtering Roller Shades 60%
- Fabric: Veil
- Mount Type: Outside Mount
- Width: 72″
- Height: 78″
- Motor Type: Matter Motor Over Thread
- Valance: Cassette
- Bottom Bar: Fabric Wrapped
- Power Option: Solar Panel
- Remote Controller: 5-Channel
- Roll Type: Reverse Roll Front Side
- Motor Side: Right Side
- Window 1 as configured for review
- Style: SmartWings Motorized Light Filtering Roller Shades 60%
- Fabric: Veil
- Mount Type: Inside Mount
- Width: 58 1/4″
- Height: 58″
- Motor Type: Matter Motor Over Thread
- Valance: Cassette
- Bottom Bar: Fabric Wrapped
- Power Option: Solar Panel
- Roll Type: Reverse Roll Front Side
- Motor Side: Right Side
- Window 2 as configured for review
- Style: SmartWings Motorized Light Filtering Roller Shades 60%
- Fabric: Veil
- Mount Type: Inside Mount
- Width: 70 1/4″
- Height: 58″
- Motor Type: Matter Motor Over Thread
- Valance: Cassette
- Bottom Bar: Fabric Wrapped
- Power Option: Solar Panel
- Roll Type: Reverse Roll Front Side
- Motor Side: Left Side

Design & Build
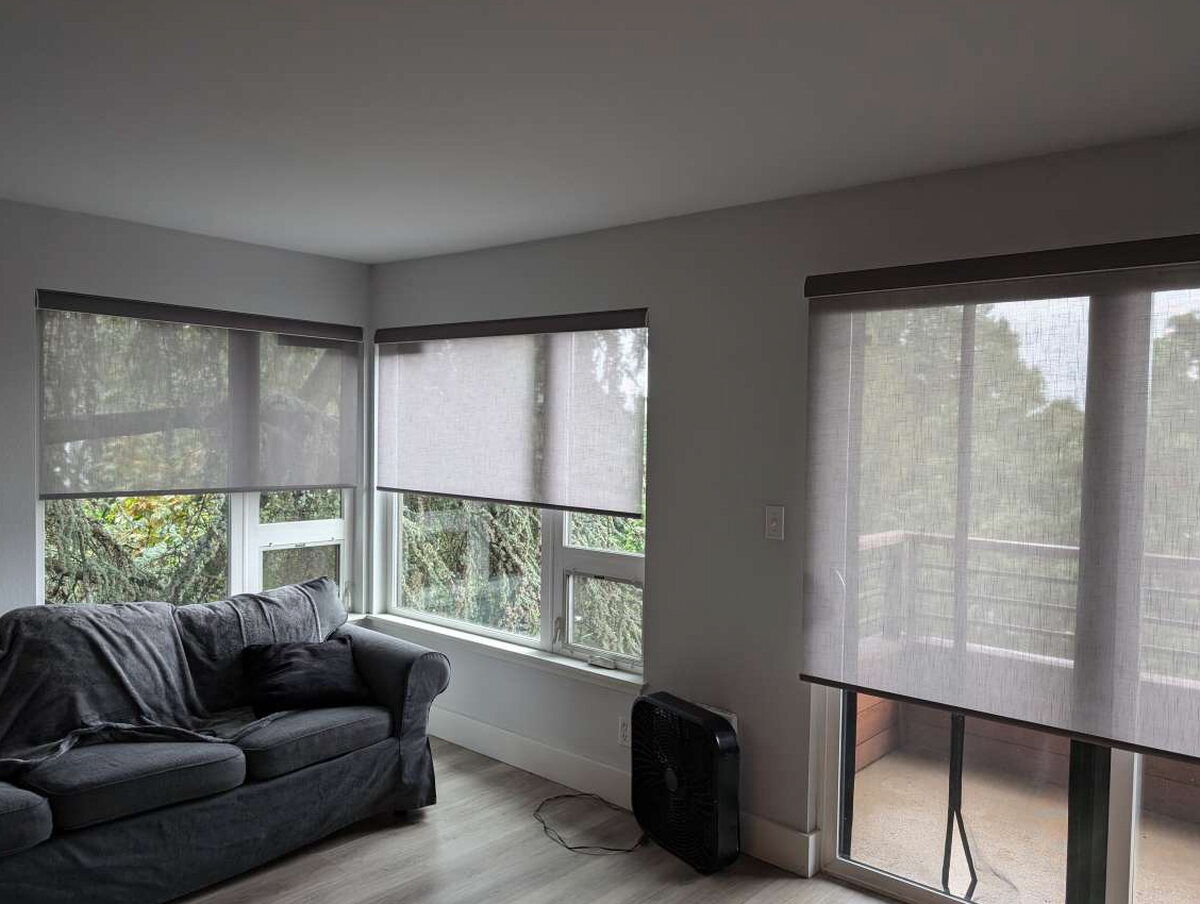
SmartWings offers a huge number of fabrics and colors, but I went practical and quiet with a simple gray Veil fabric. The shades look modern without calling attention to themselves, which is exactly what I wanted for a room that already gets plenty of visual drama from the windows.

The 60% light-filtering fabric softens the glare without blacking out the room. After a month of use, the material still looked crisp, with no fraying, curling, or obvious wear along the edges.
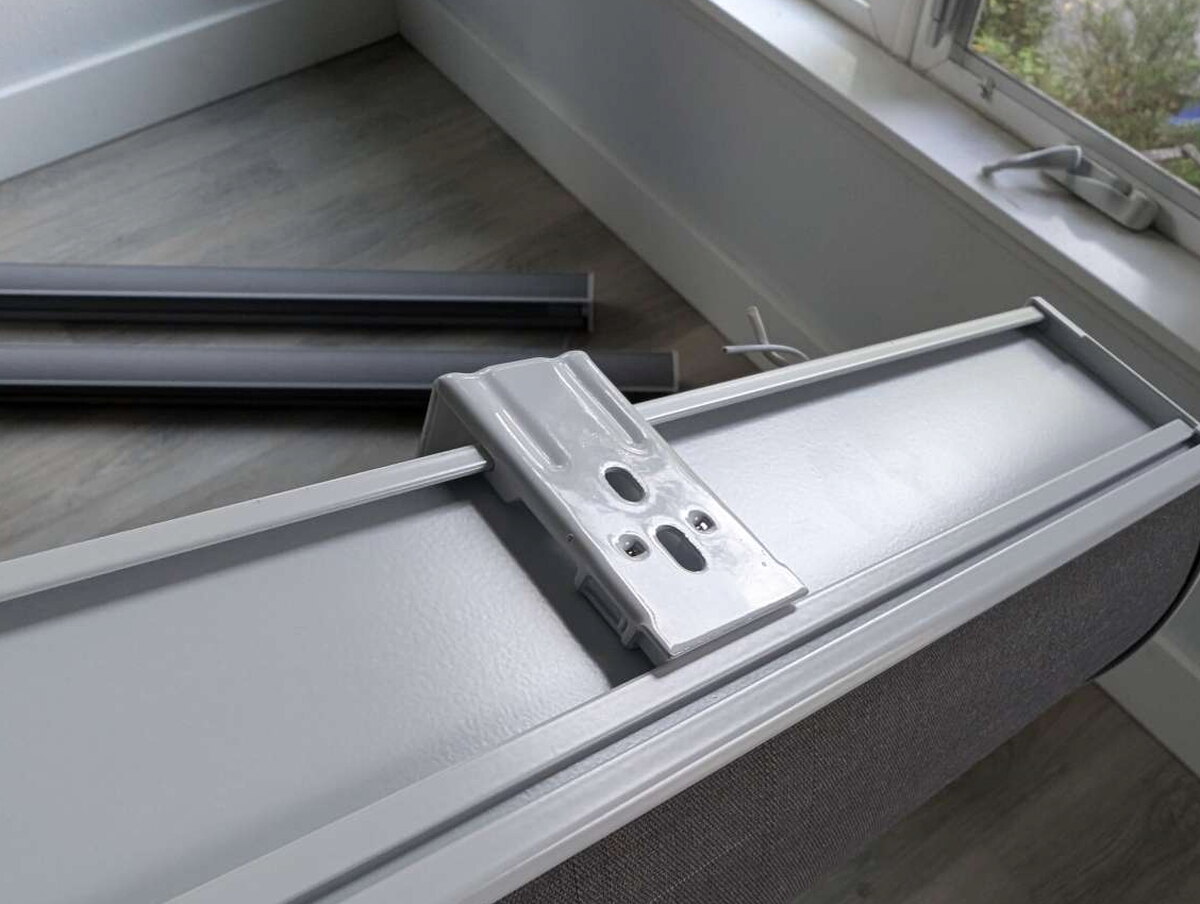
The mounting brackets are one of the better parts of the physical design. They ride in a track, so there is some side-to-side adjustment after installation instead of a single unforgiving position.
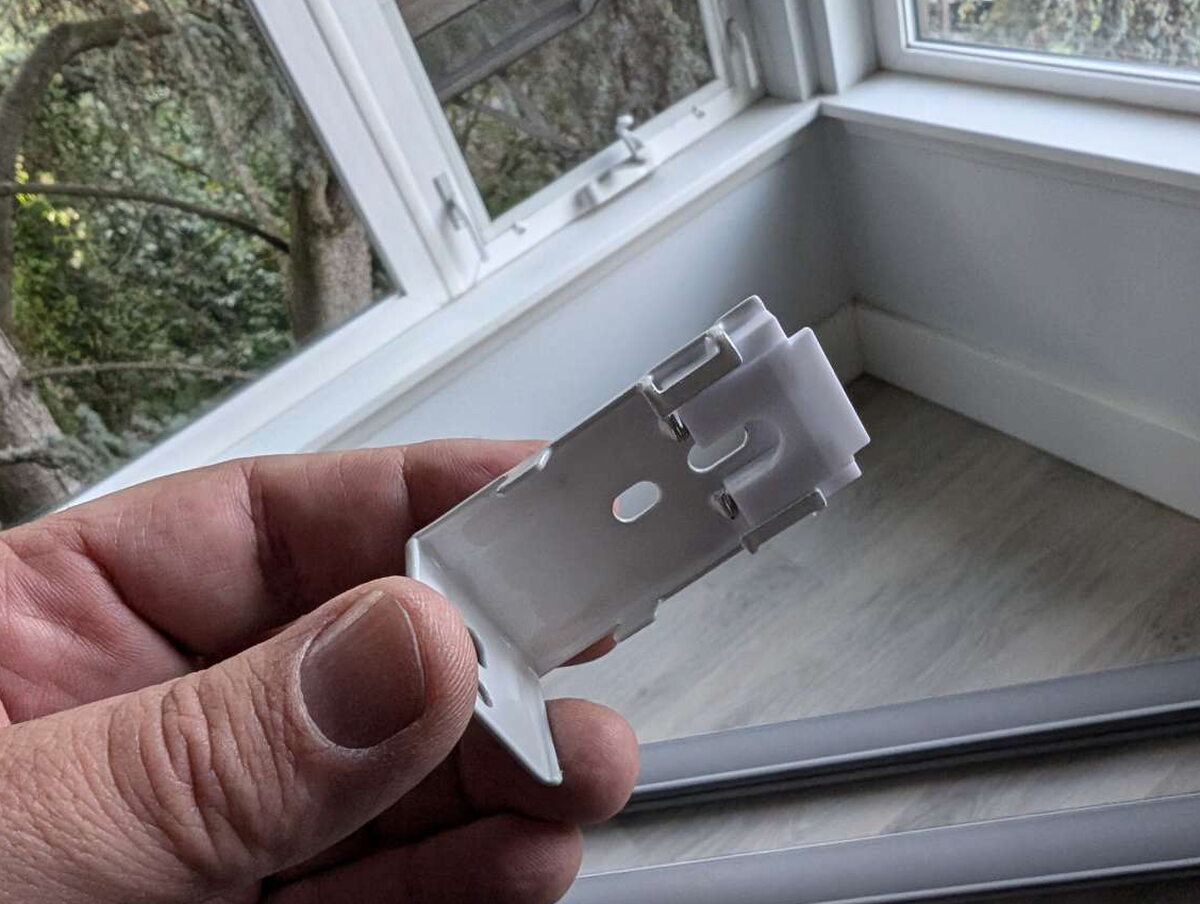
Each bracket has a small tab that engages with the groove at the top of the shade. Once seated, the connection feels secure and confidence-inspiring.
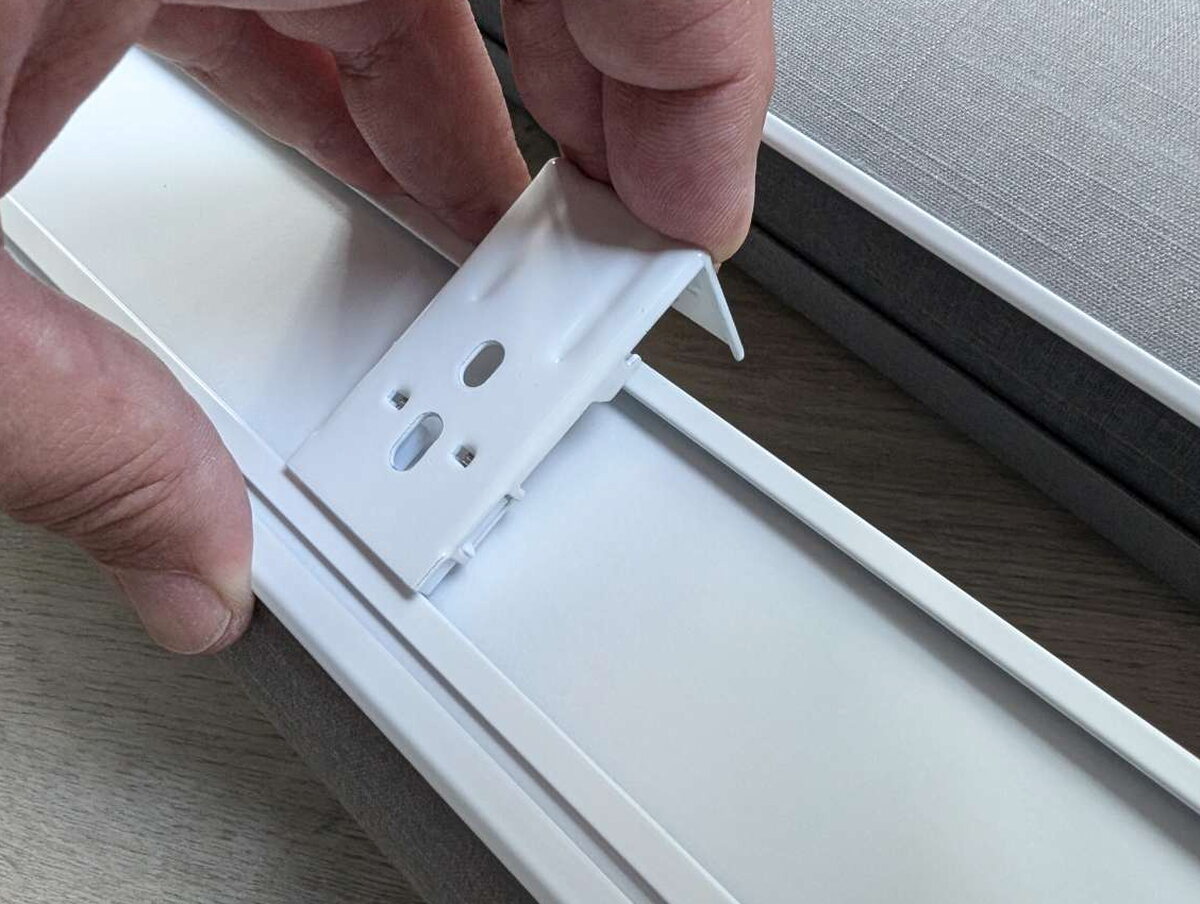
I appreciated that the hardware felt engineered for real installation mistakes. If something is off by a fraction, you can usually adjust it instead of pulling screws out and starting over.

Motor placement is configurable, which helped because my wider window and sliding door did not need the controls on the same side. It is a small ordering detail, but it makes the finished installation feel much more intentional.

At the motor end there is a USB-C charging port, a reset control, and small antenna wires. It is not the prettiest part of the shade, but it is tucked high enough that I do not notice it day to day.

You can charge the motors directly, but I chose the solar-panel option for all three shades. My goal was to install them once and then avoid a recurring ladder-and-cable chore.

The panels are small and simple: adhesive on one side, a short cable on the other. As long as the panel gets sun and the cable reaches the motor, it can quietly keep the battery topped up.
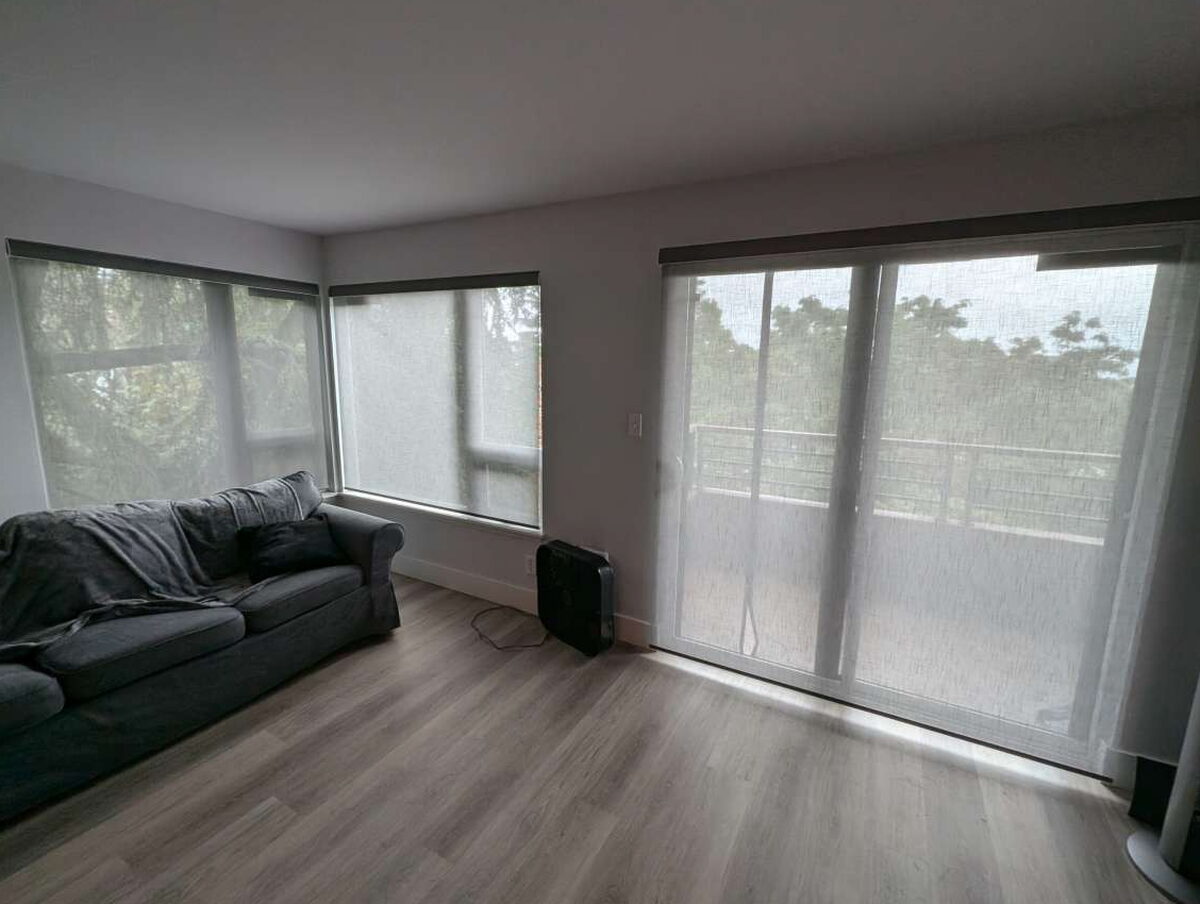
The smart-home side depends on the motor selected at purchase. I chose Matter Motor Over Thread because Matter is supposed to make devices less platform-specific and easier to move between ecosystems. That promise is a big reason these shades appealed to me in the first place.
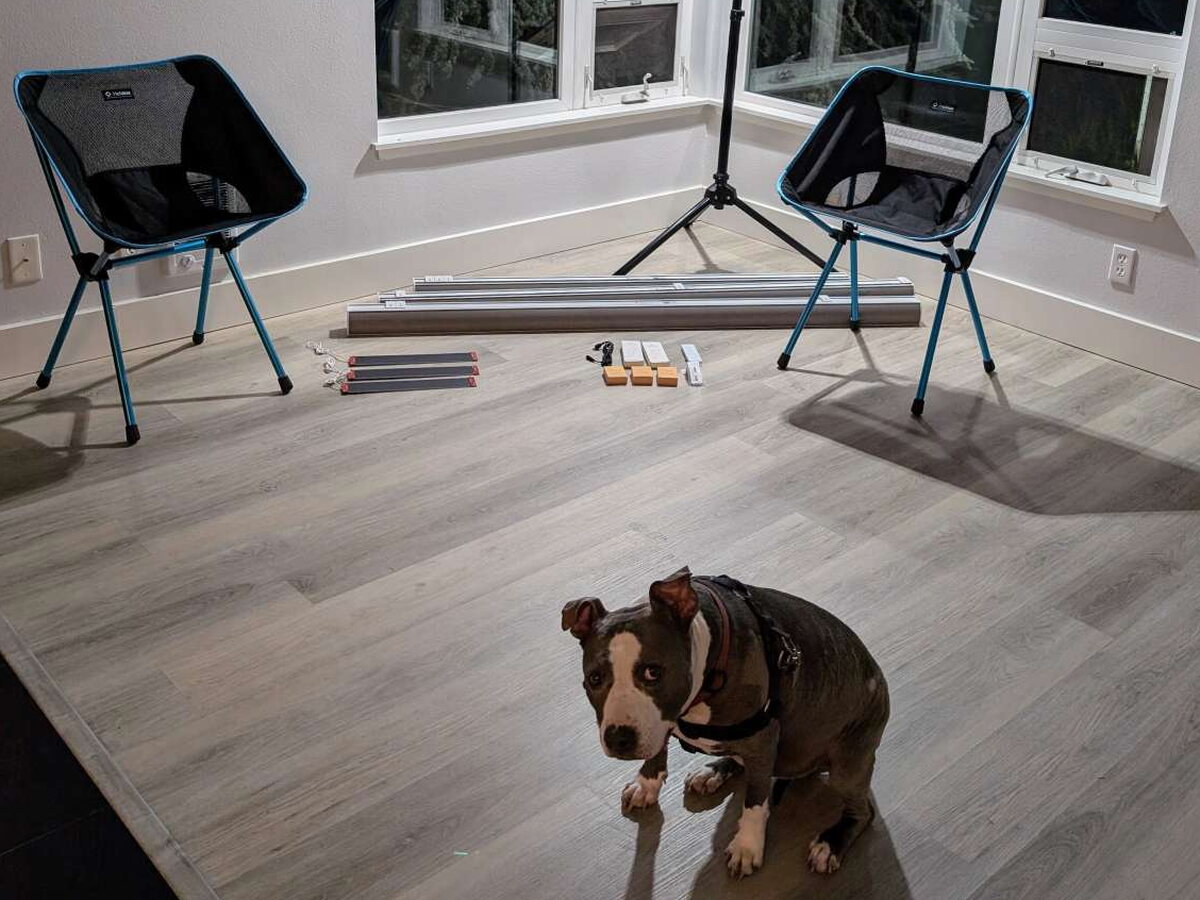
Once everything was unpacked, I brought in backup. Large shades are not technically complicated to install, but they are much easier with extra hands and someone willing to call out when a bracket is not perfectly level.
Getting Started
The installation process is straightforward if the measurements are right. SmartWings includes clear instructions and the mounting hardware, but you still need the usual tools, patience, and a willingness to measure more than once. Because these are custom shades, the most important work happens before and during ordering.
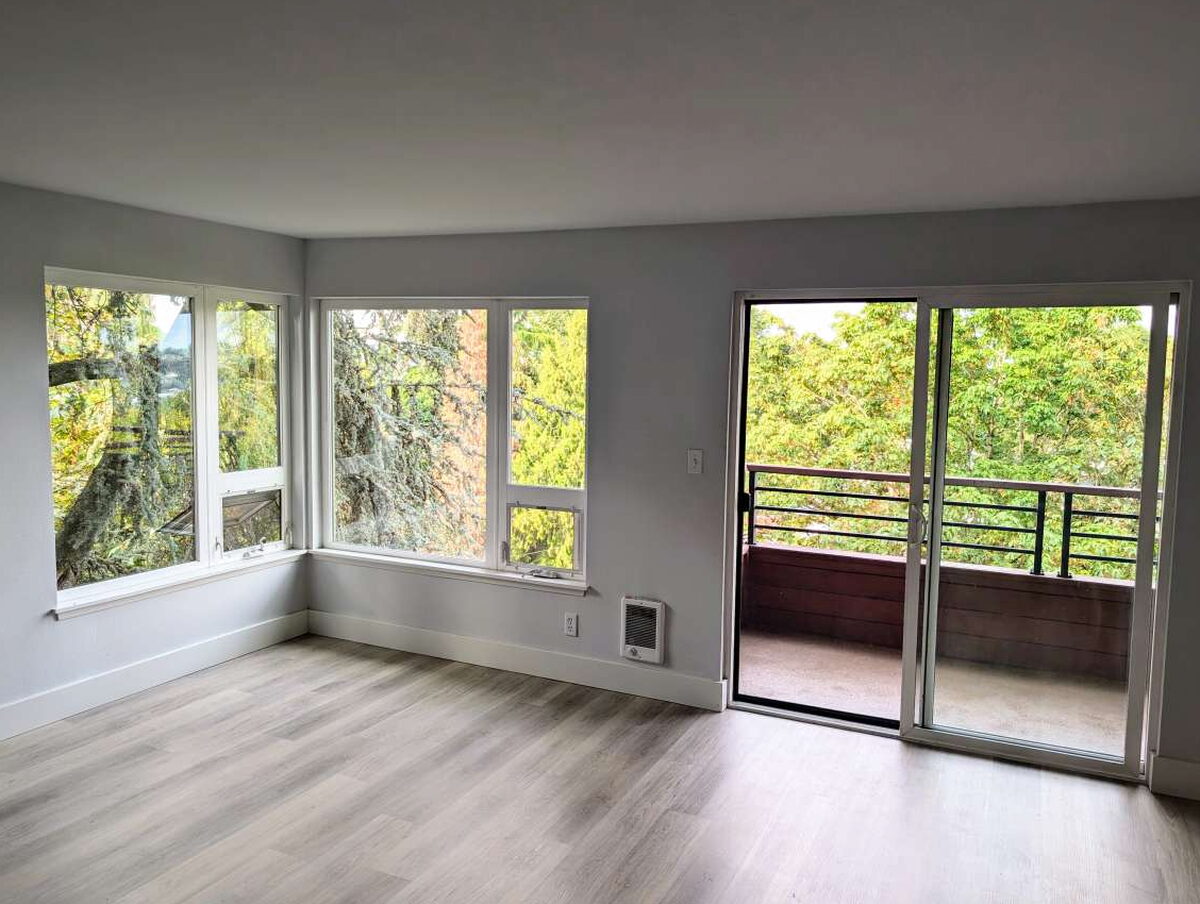
My condo needed shades for two windows and a sliding door. The room gets a lot of light, which is wonderful until you are trying to watch TV or avoid feeling like the entire neighborhood can see in.
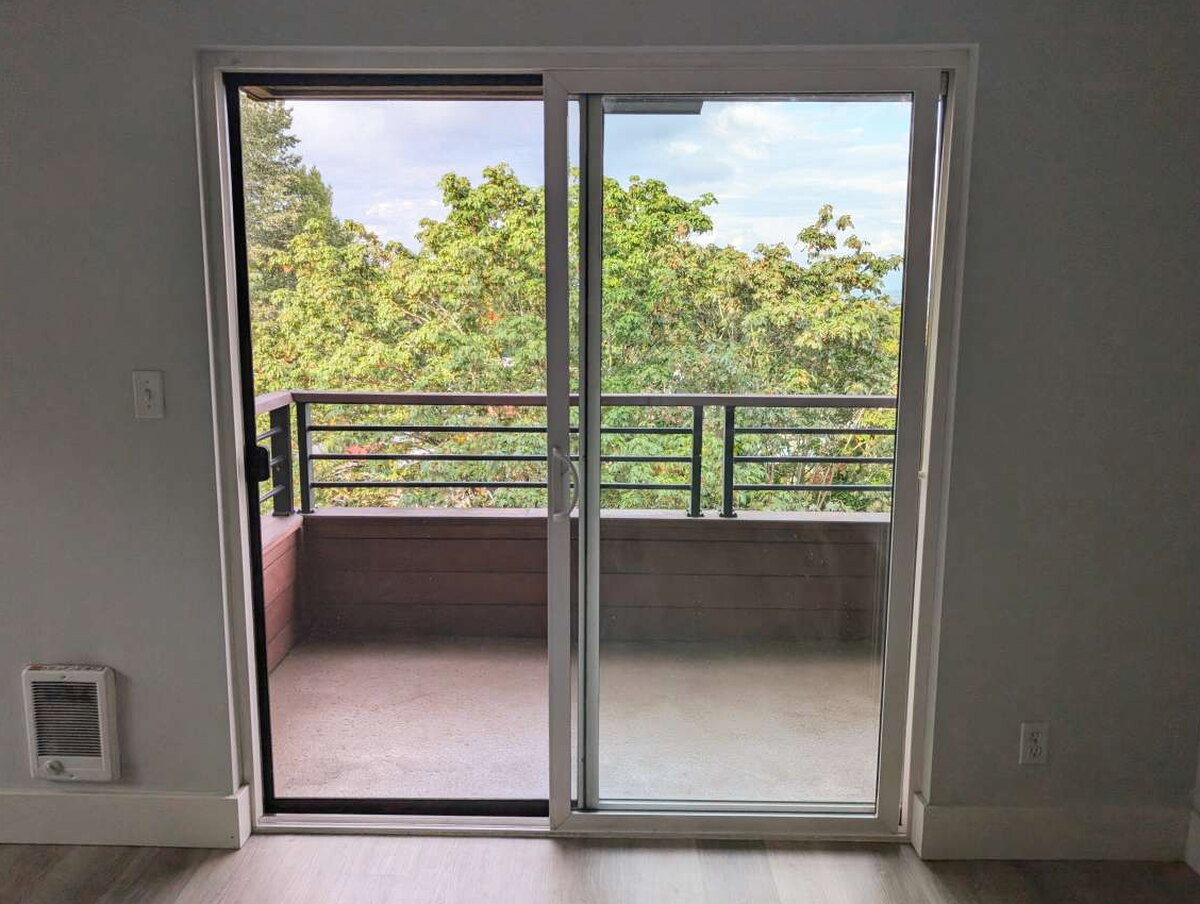
The sliding door was the trickiest opening. The handle, baseboards, and door movement made an inside mount impractical, so I configured that shade as an outside mount to keep the fabric from catching.
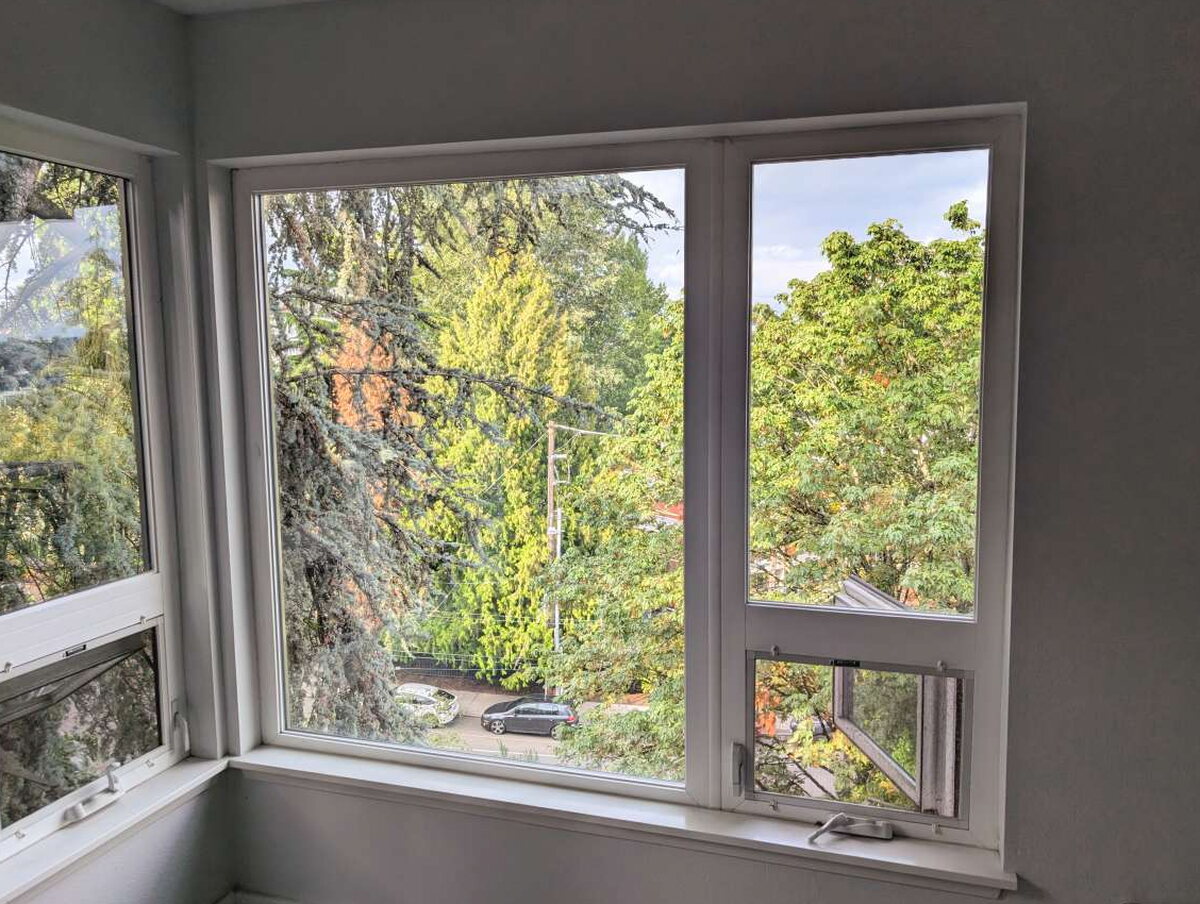
The windows were more cooperative. Inside mounts let the shades sit within the openings and make the room look more finished.
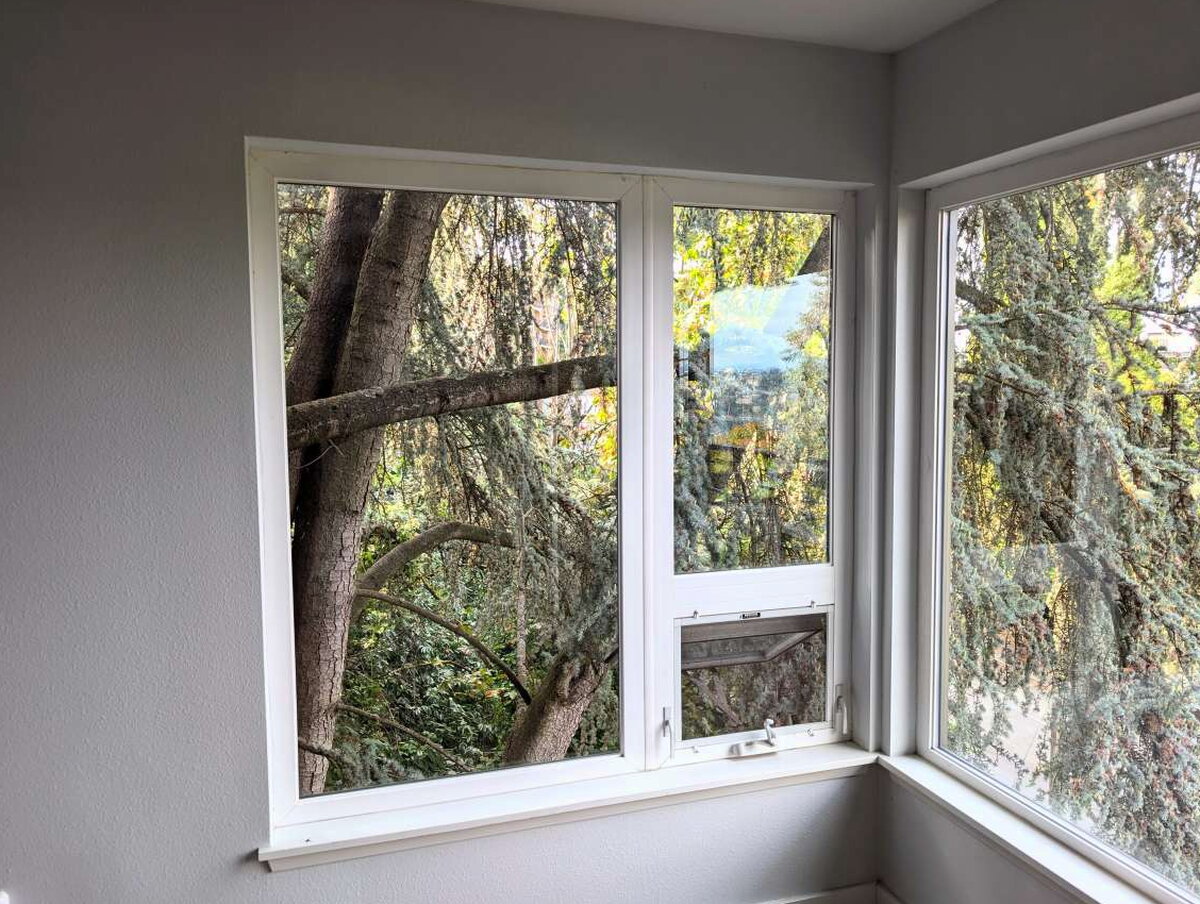
The two windows share the same height but not the same width. That is exactly why I liked having each shade labeled when it came out of the box.
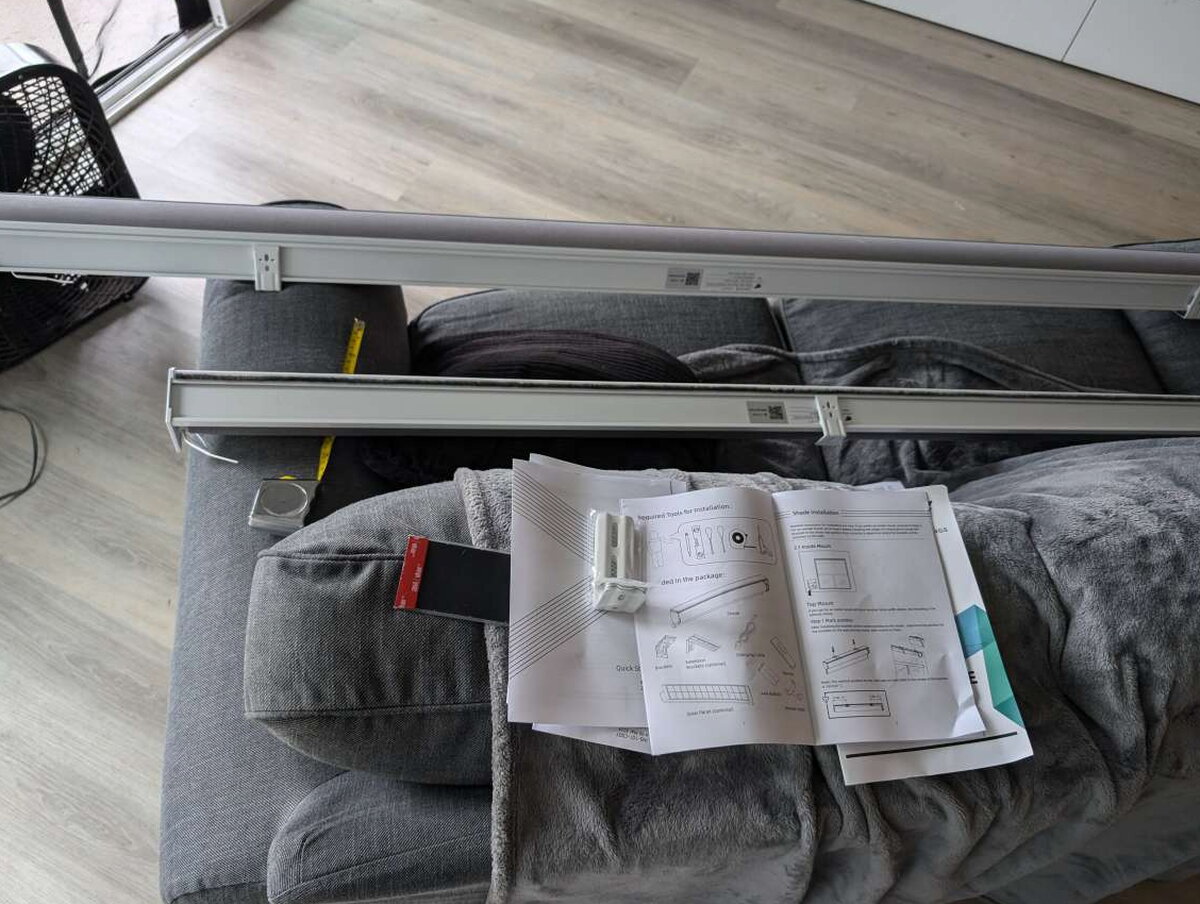
With the layout sorted, the installation became a family effort. That was the right call, especially for the larger pieces.
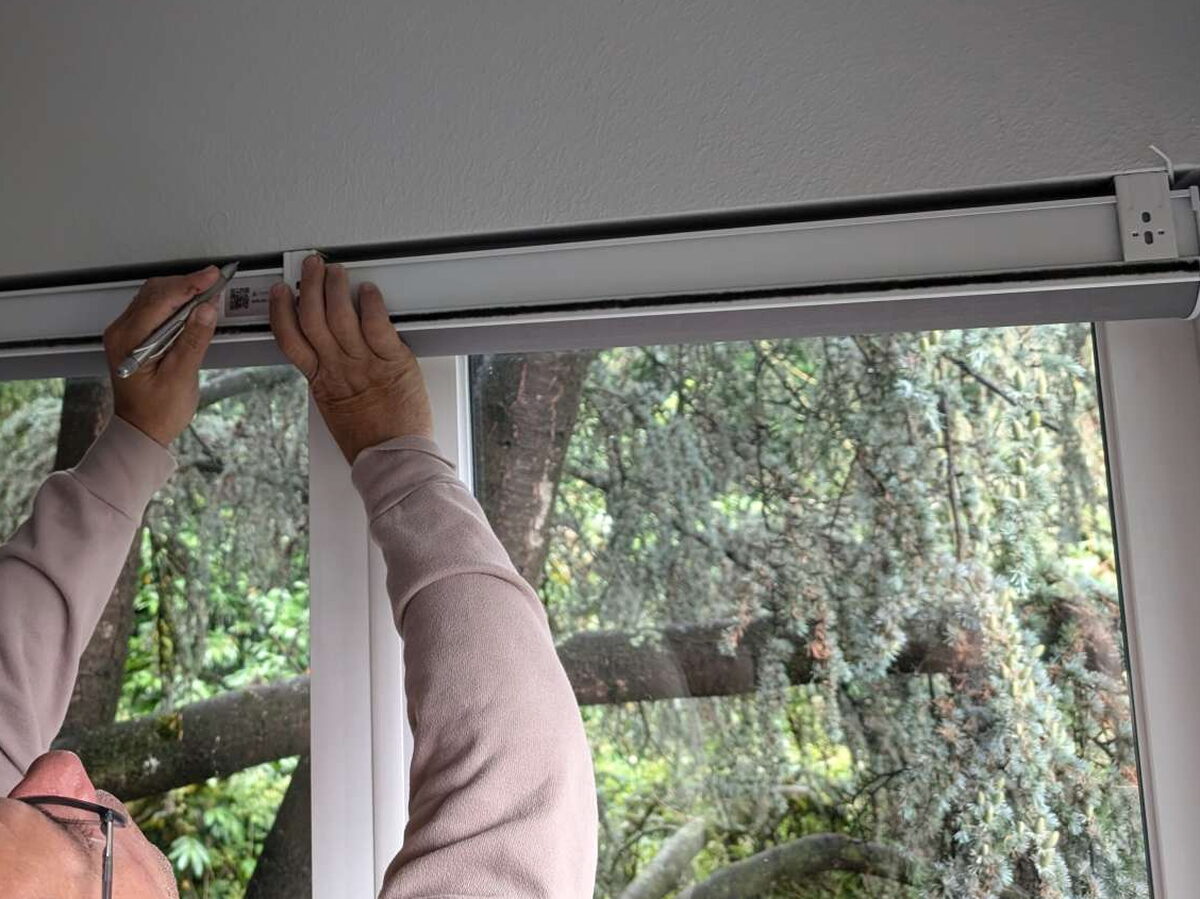
We lived by the old “measure twice” rule. The shades will only look premium if the brackets are square, centered, and level.
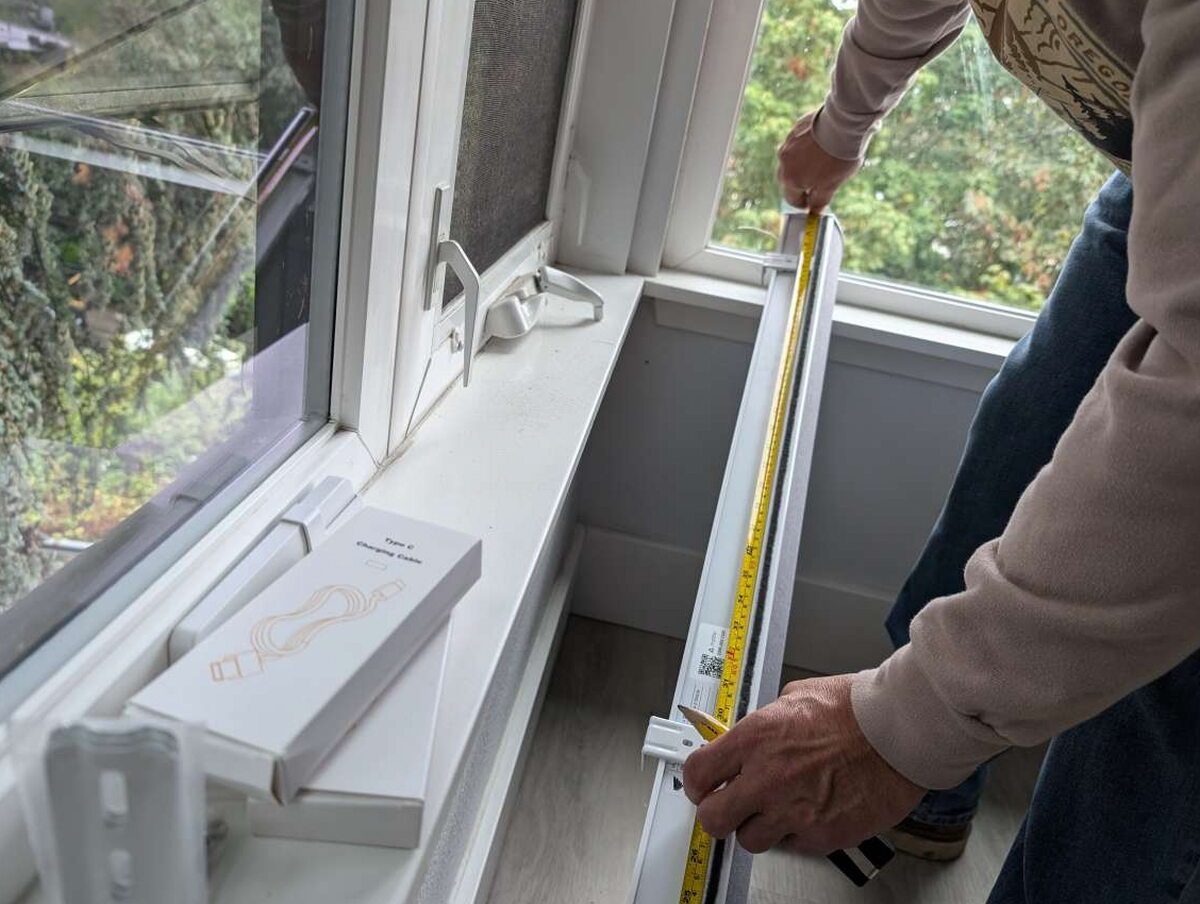
My brother’s attention to detail paid off here. Taking the extra time to space the brackets evenly made the final snap-in step much less stressful.

SmartWings includes drywall anchors, but our mounting points worked with screws alone. Your walls may require the anchors, especially for heavier or wider shades.
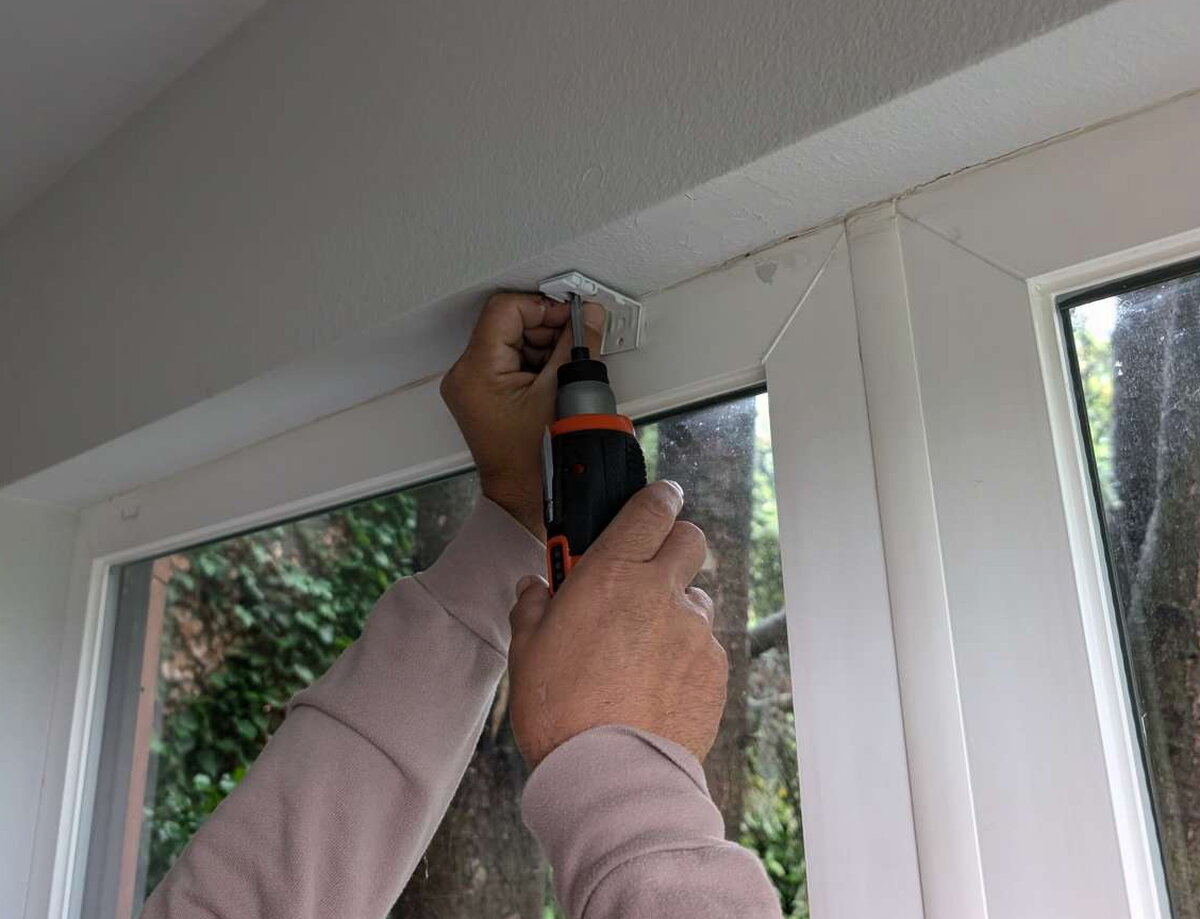
We tightened the brackets carefully rather than forcing them. Overdoing it can bend hardware or make alignment harder, and there was no need.
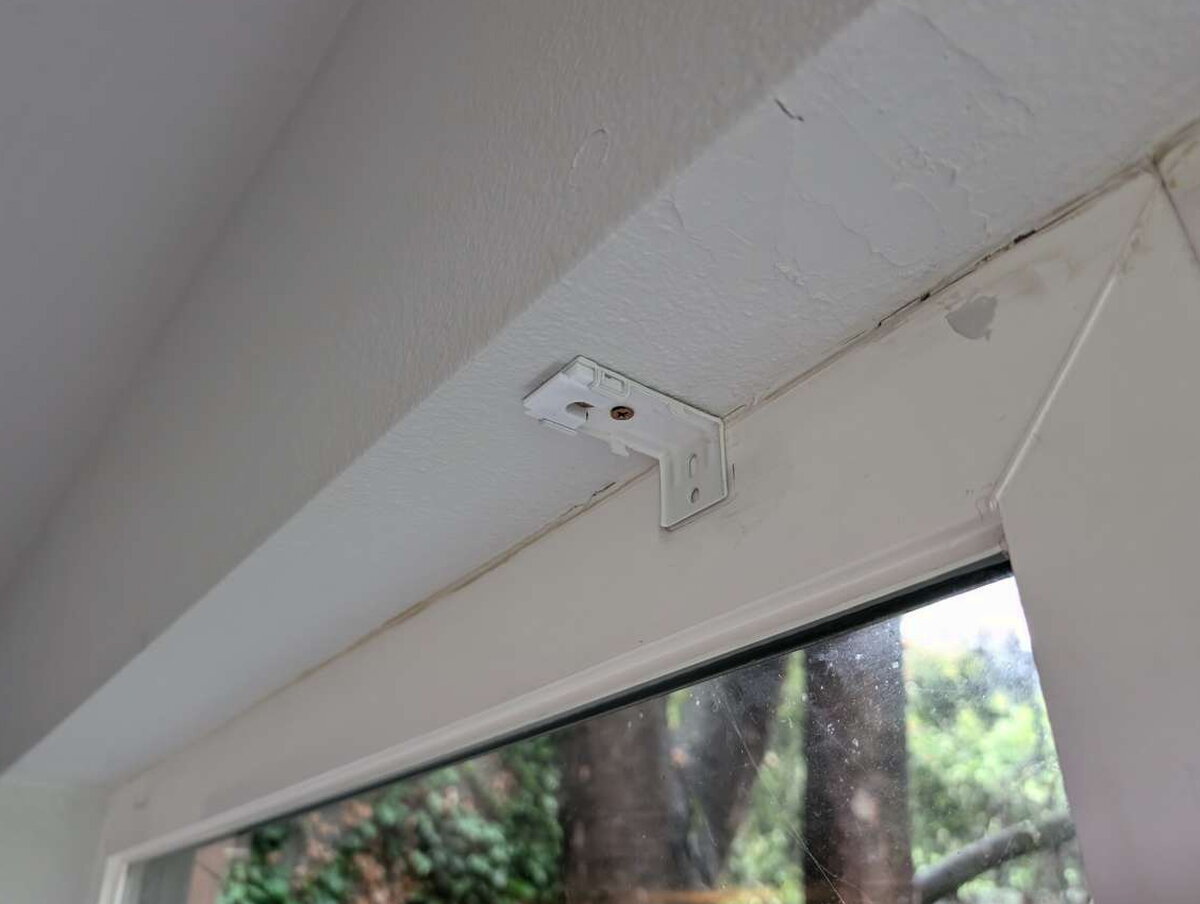
My windows did not need unusual hardware, but the kit does include expansion brackets for setups that require more standoff or flexibility.
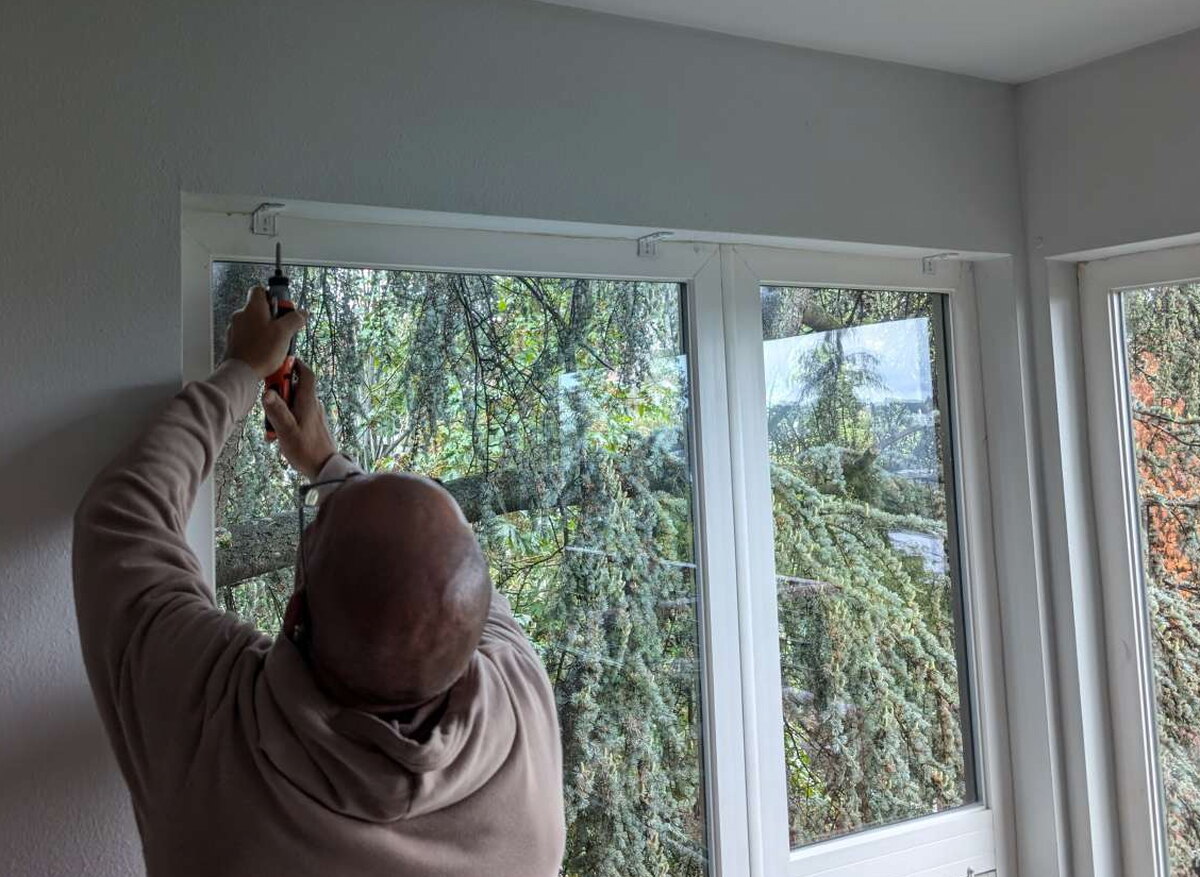
After the brackets were up, installing the shades themselves was mostly about lining up the top groove and applying steady pressure.

The snap-in mechanism worked well. You angle the cassette into the bracket, guide the groove into place, and listen for the reassuring click.
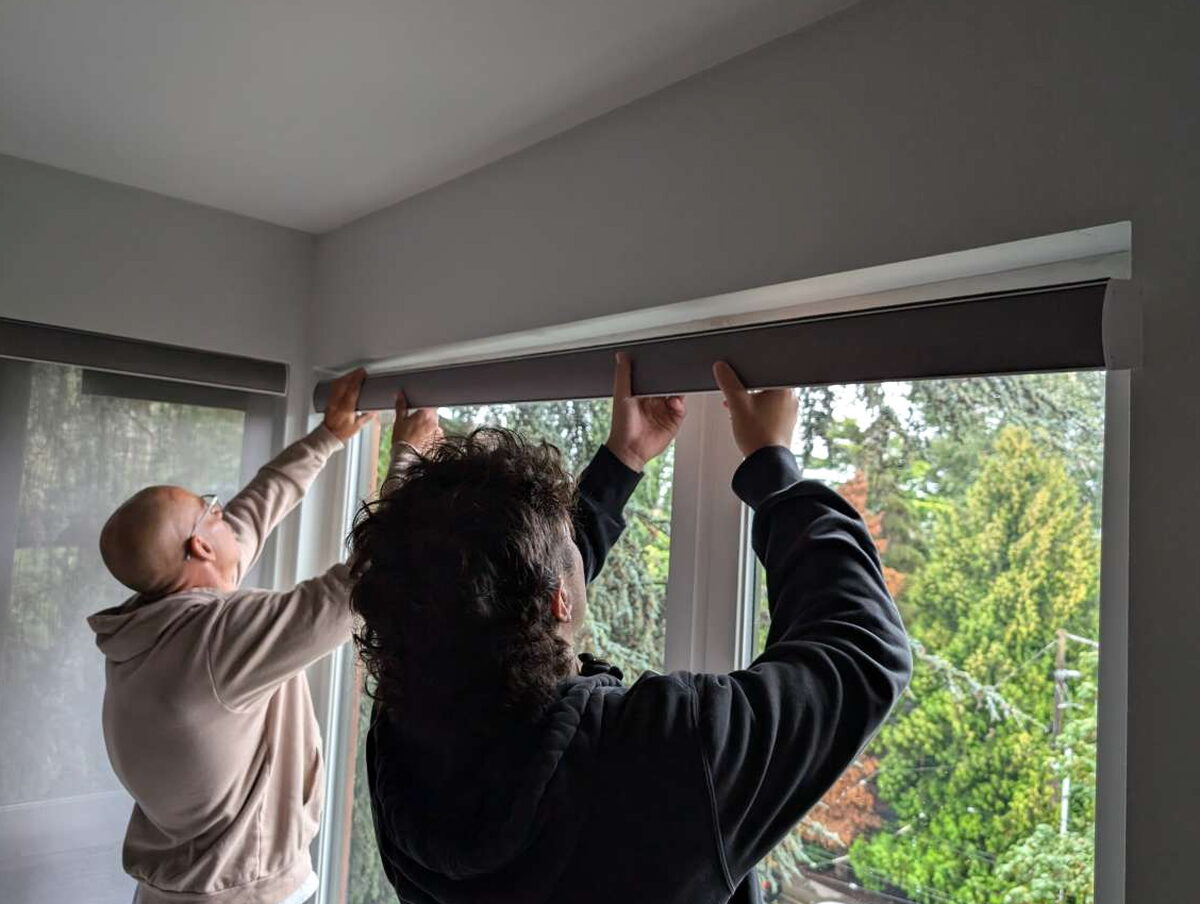
Once we understood the first shade, the next window went faster. The process repeated cleanly and did not require any special tricks.
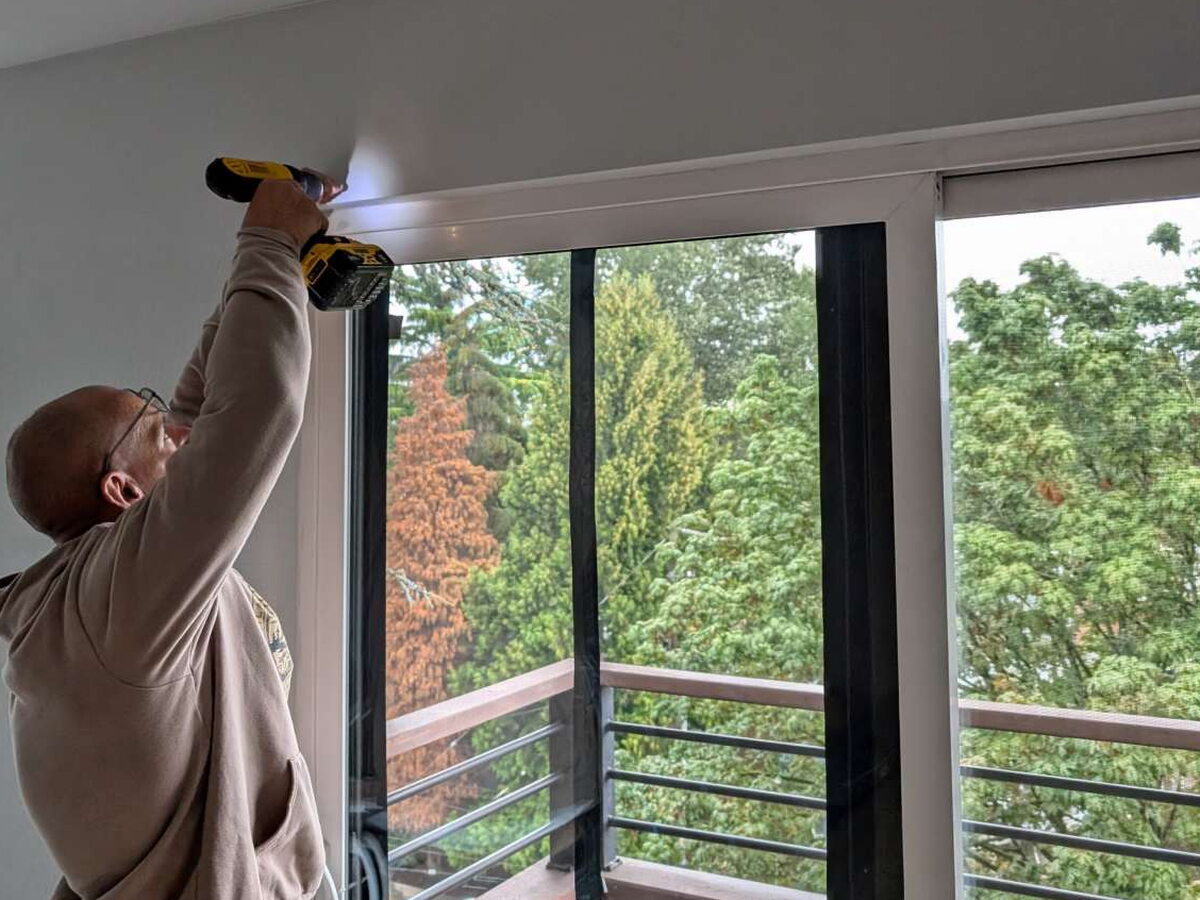
The sliding door shade made us slow down again. Because it sits outside the opening, any tilt would be obvious across the long run.
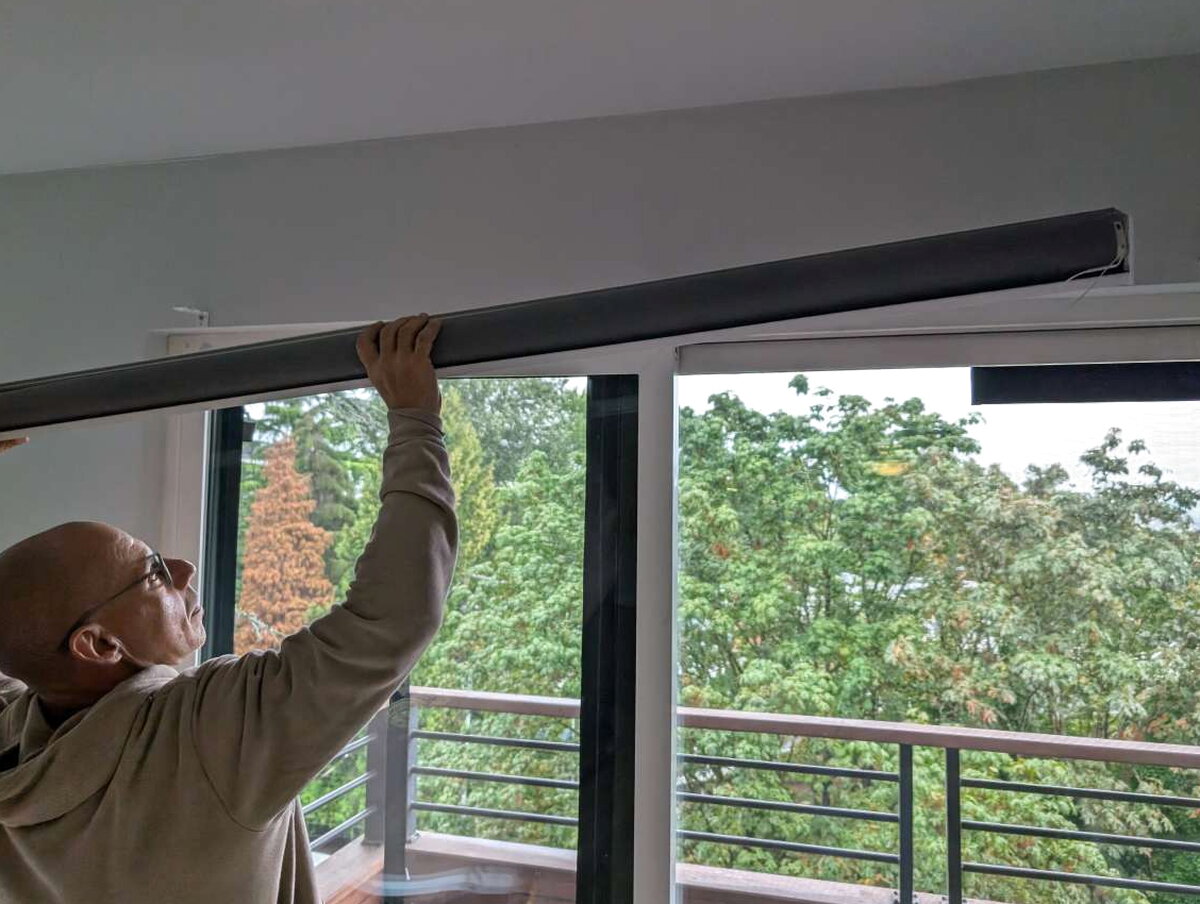
Once it was level, the larger shade snapped in just like the others. Seeing all three installed was the first moment the room really felt upgraded.
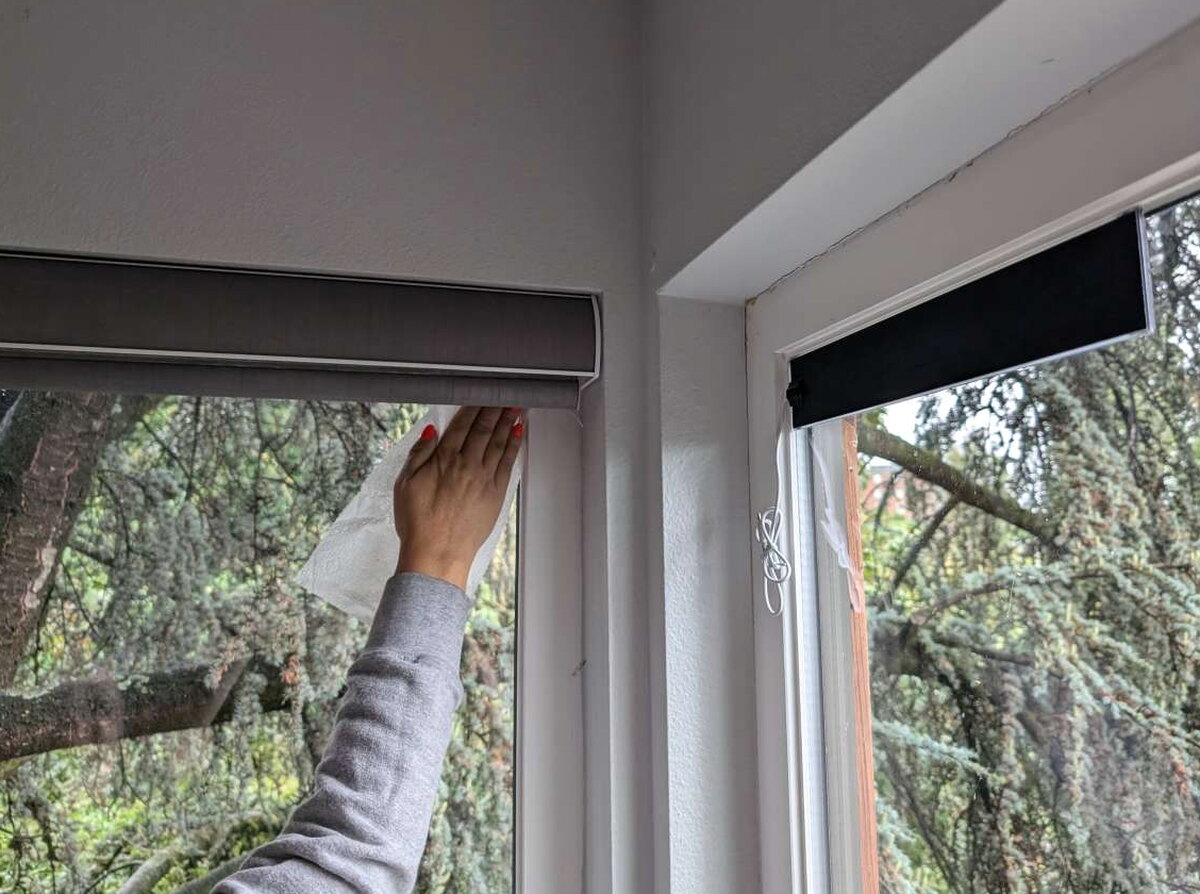
Mounting the solar panels was simple but required planning. The short lead has to reach the motor, so placement is less about aesthetics and more about cable path.
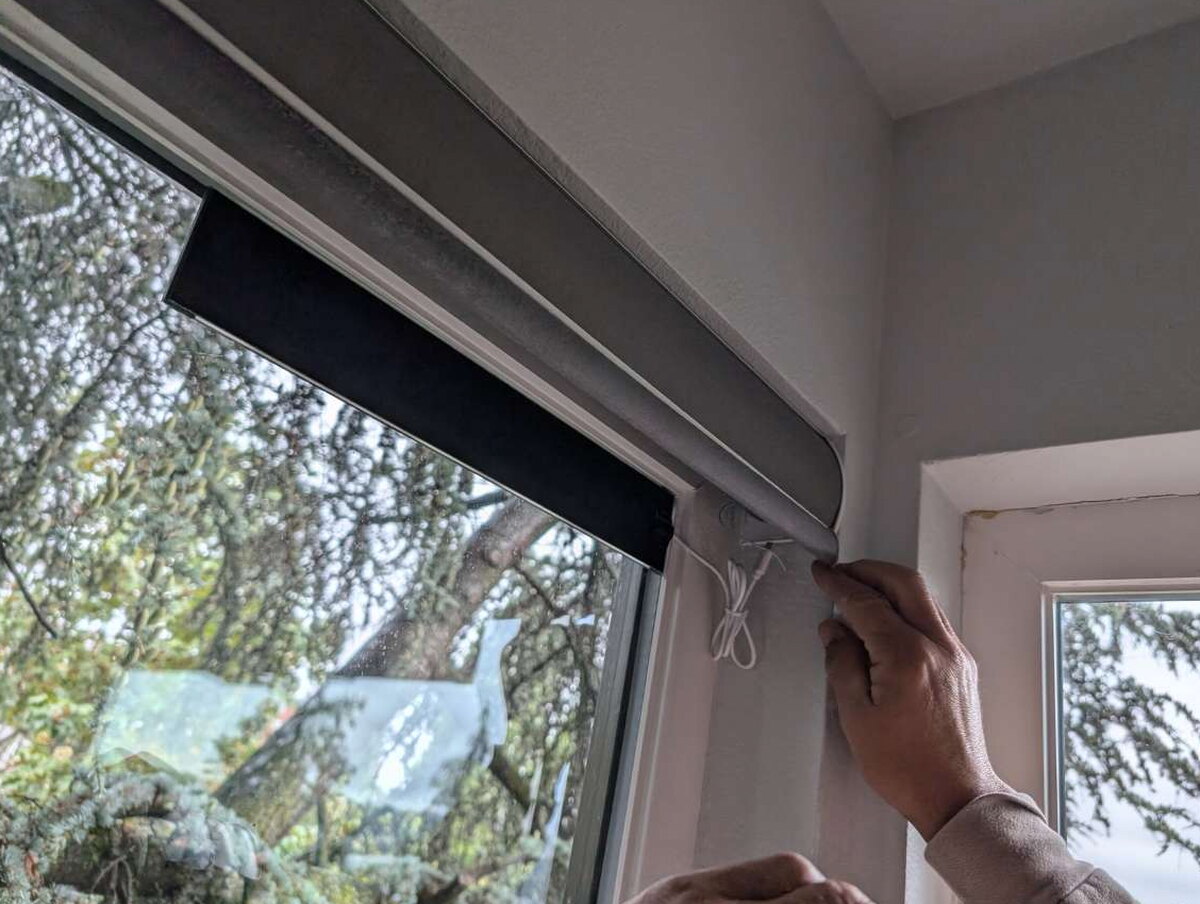
After the panels were attached, the extra wire could be bundled neatly enough that it disappeared unless I went looking for it.
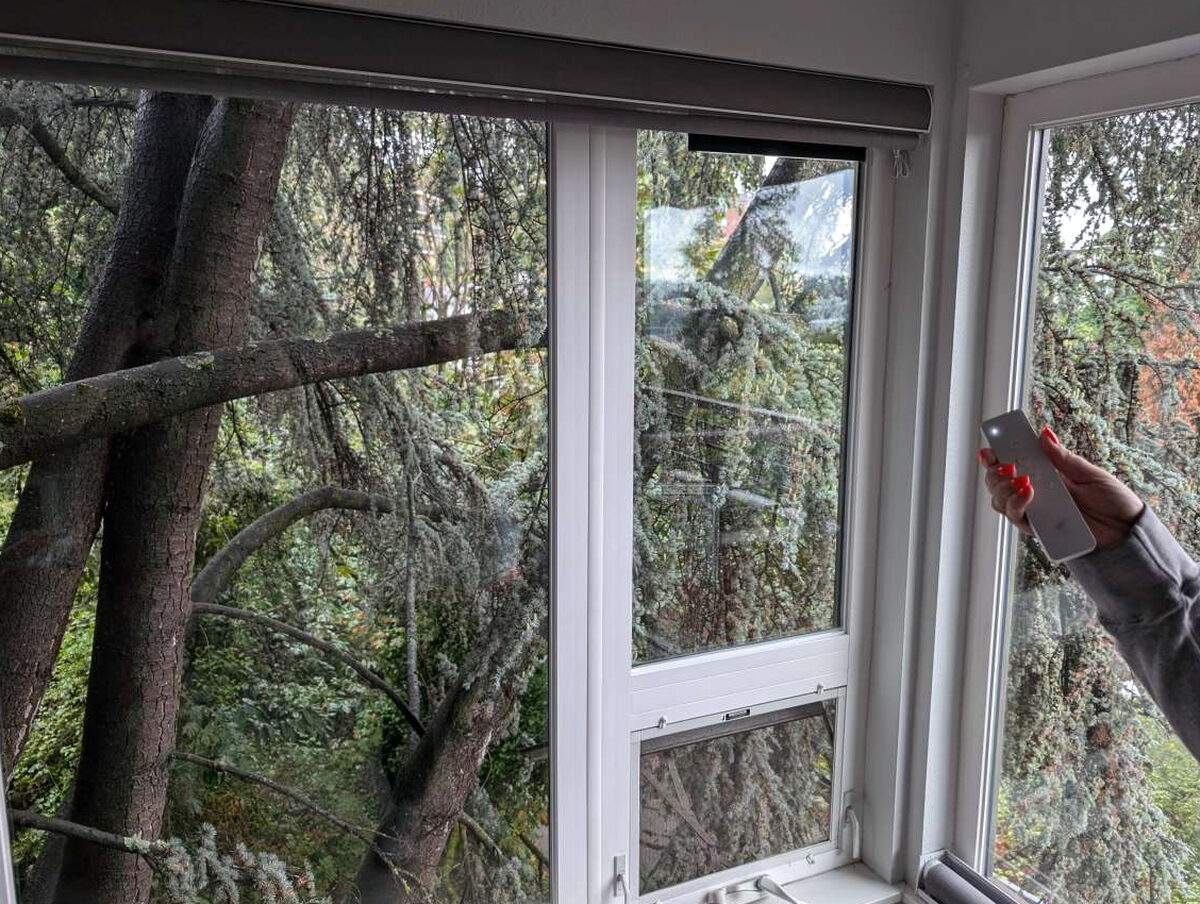
The remote pairing went smoothly. My sister-in-law handled that step, and the remote quickly became the reliable fallback control method.
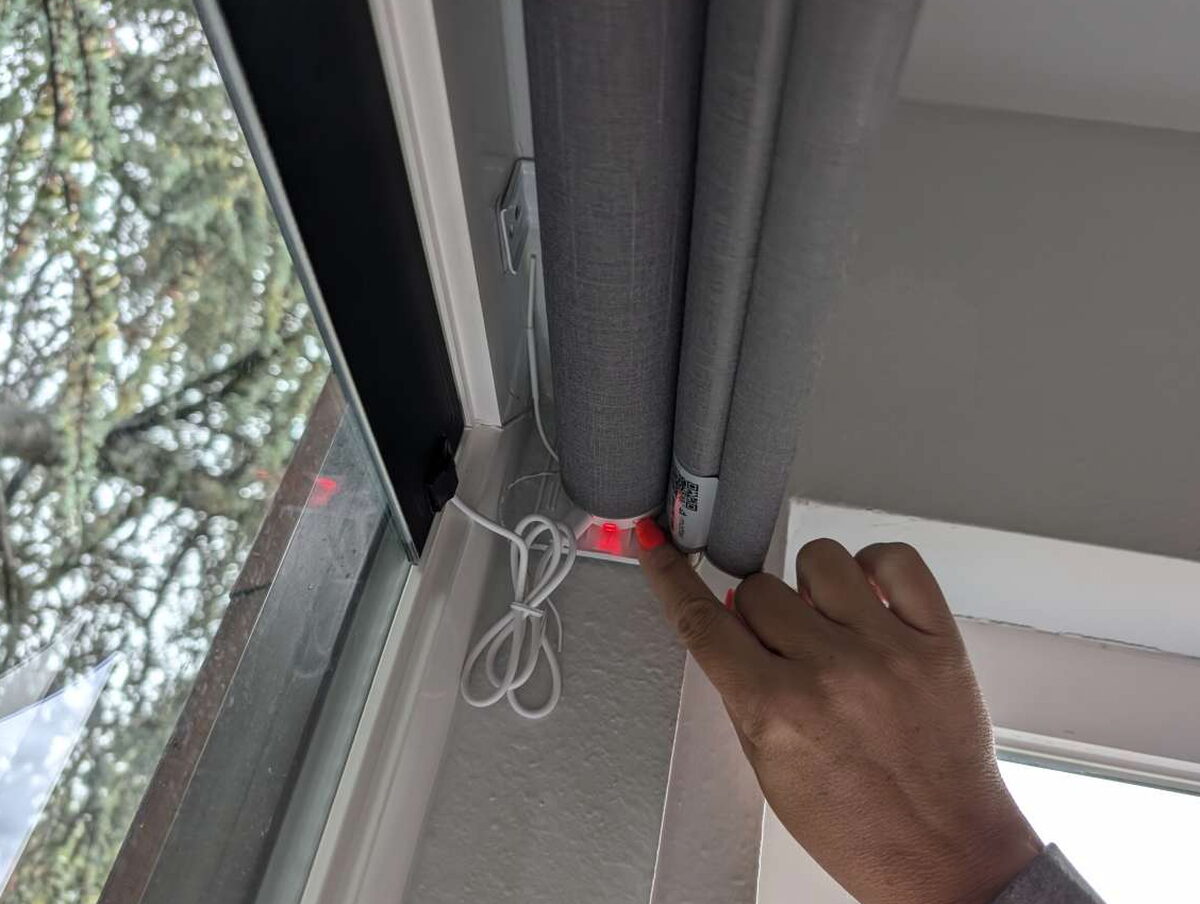
We reset and calibrated the motors a few times to get the limits right. It was not difficult, but the button-and-remote command sequences are the kind of thing you want the manual nearby for.
Living With It
As plain motorized shades, the SmartWings were excellent from the start. The remote opened, closed, and stopped all three shades reliably, and setting upper and lower limits worked as expected. If that had been the whole review, this would have been an easy recommendation. The trouble began when I tried to make the Matter over Thread promise work with my existing smart home, where Google Home is my main system and Alexa is also available.

I tried pairing with Google Home over and over. I followed the instructions, reset the motors, changed network variables, searched for tips, and still landed on the same failure message. It was the kind of troubleshooting loop that makes a product feel broken even when the hardware is sitting right there working with its own remote.
SmartWings support eventually gave me the key clue, though the answer was almost comically short: “We recommend connecting your blinds to Alexa first.” I had been focused on Google Home because that is where I wanted the shades to live, so starting with Alexa had not seemed necessary.

Sure enough, the shades connected to Alexa immediately. That was both a relief and a little annoying after all the time spent failing in Google Home.

Once Alexa had them, I returned to Google Home and the shades paired on the first try. I was glad it worked, but that sequence did not make the setup feel polished. A user should not have to discover a hidden platform order to make Matter setup behave.
A few days later, all three shades disappeared from both Google Home and Alexa. This time I started with Alexa, but the shades would not reconnect until I factory reset each one. After that, Alexa worked, Google Home followed, and the system settled down again.

Since that second setup round, the shades have stayed connected. I am cautiously optimistic, but I would not call the smart-home experience effortless. The remote is dependable; the Matter setup, at least in my home, required persistence.

When the system works, it feels fantastic. Walking into the living room and raising the shades by voice still gives me that small future-home thrill. The problem is that the road to get there was rough enough that less stubborn users might stop at remote control and never touch the smart features again.
The Good
- Physical installation is very easy when measured correctly
- Great quality materials and construction
- Work flawlessly when controlling via remote alone
The Not So Good
- Pairing to Google Home and Amazon Alexa is incredibly frustrating
- Units lose connection to WiFi randomly
- Configuring options via remote is very difficult and inconsistent
Quick Questions
Q: Do the SmartWings shades work with Google Home right out of the box?
A: Not smoothly in this test. Google Home pairing repeatedly failed until SmartWings support advised connecting to Alexa first, after which Google Home paired on the next attempt.
Q: How are the motors charged?
A: Rechargeable batteries, with an optional small solar panel that sticks to the glass to keep them topped off automatically.
Q: Can the motor position be chosen per shade?
A: Yes, motor side (left or right) is configurable at order time, useful for matching multiple windows.
Q: What’s the starting price?
A: $189.99 for a basic configuration; custom sizes, cassette valances, and Matter motors push the price higher.
The Verdict
The SmartWings Motorized Light Filtering Roller Shades are a tale of two experiences. The shade hardware, fabric, brackets, remote, and finished look are all strong. Installation was manageable, the solar panels are a smart add-on, and basic remote control has been rock solid. The smart-home setup was the weak link. Matter over Thread should make products like this easier, not send me through repeated resets and a detour through Alexa before Google Home will cooperate. Still, once everything finally stayed connected, I loved using them. For smaller, simpler configurations, the $189.99 starting price is compelling. My larger, optioned-out shades cost much more, but in a new home with big windows and a serious smart-home itch, the result feels worth it-as long as you are ready to be patient during setup.
Price: Basic configuration: $189.99 / Configurations used for review: Sliding Doors: $525.85 as configured, Window 1: $454.86 as configured, Window 2: $499.86 as configured
Product Link: SmartWings
Source: The sample of this product was provided for free by SmartWings.
SmartWings did not have a final say on the review and did not preview the review before it was published.


