
REVIEW – Video calls became a much bigger part of my day than I ever planned, but my desk still does not have room for extra lighting gear. That is why the SANNCE 2K 4MP Super HD Webcam appealed to me right away. It combines a sharper external webcam, a built-in LED, a magnetic mount that can swap between landscape and portrait, and a tripod in the box. At $129, it is not a bargain-bin webcam, but it costs less than buying a similar camera and a separate light. After using it for about a month, I came away impressed by the picture and audio quality, even though a few design choices make it less smooth than it could be.
What SANNCE includes
The SANNCE is an external webcam that can record 2560 x 1440 video at 30 fps, or 1920 x 1080 video at 60 fps. It also has two integrated omnidirectional microphones, a 90° field of view, 2cm macro focusing, a built-in LED with five brightness settings, a magnetic adjustable base, and support for Windows, MacOS, Linux, and Android.
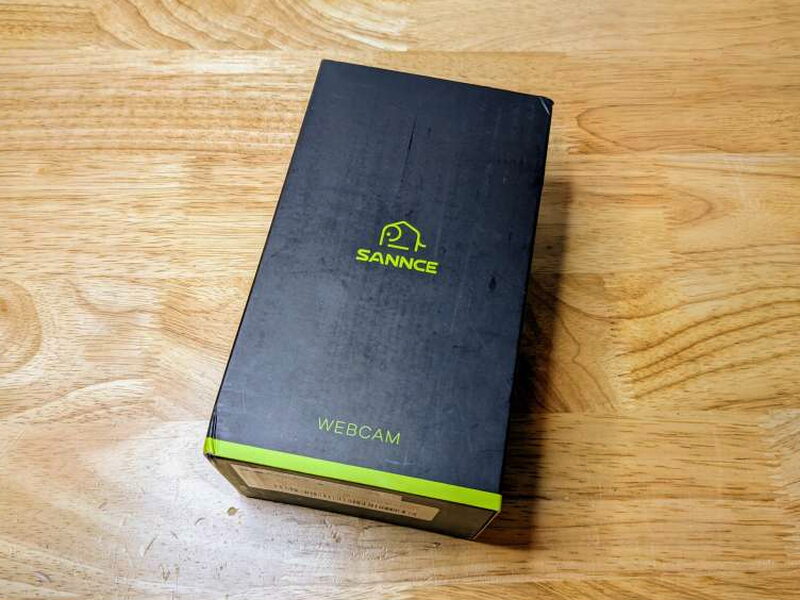
The packaging is nicely done. It uses a box-within-a-box design that makes the product feel a bit more premium and clearly calls out the major features before you even get to the camera.
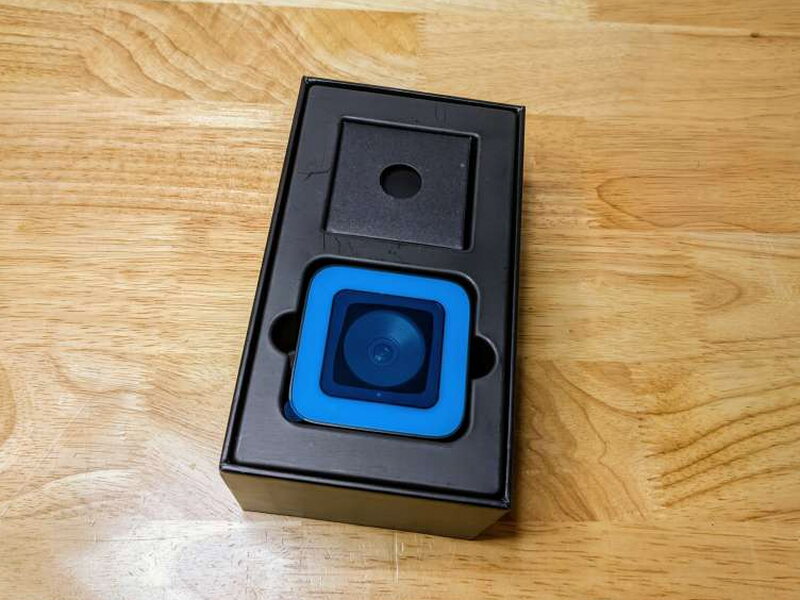
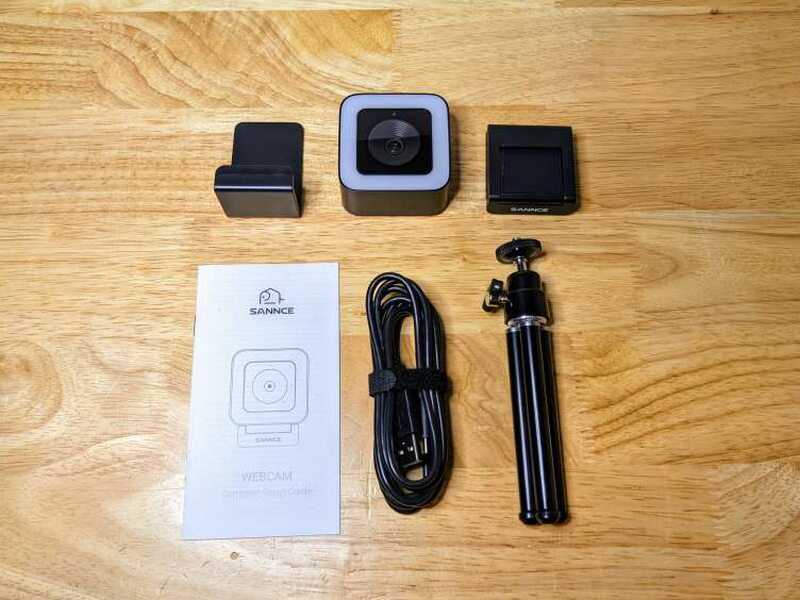
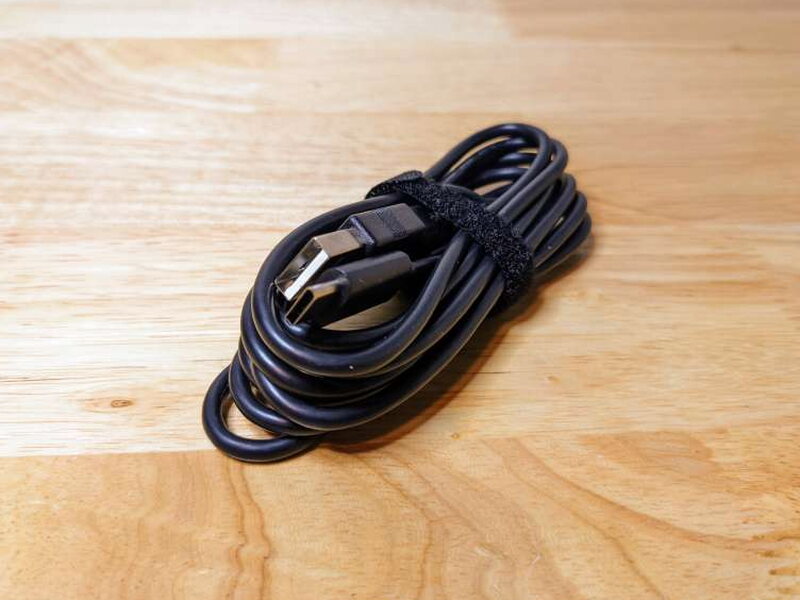
Inside the package you get the SANNCE 2K 4MP Super HD Webcam, a magnetic privacy shutter, a magnetic base, a tripod, a USB-C to USB-A cable, and the user manual.
Core specifications
- Maximum resolution and frame rate: 1440p 16:9 at 30fps
- Photo quality: 3.7MP 16:9 2560p x 1440p
- FoV: 90°
- Focus: 2cm Macro-Focusing
- Microphone: 2 Integrated Omnidirectional Noise-Cancelling Mics
- Microphone coverage: 5m/16ft
- Privacy shutter: Yes
- Mounting: Adjustable Monitor Base with 1/4” Thread Tripod Socket
- USB cable: USB-C to USB-A 2.0 Cable 6ft (1.9m)
- Supported systems: Windows, MacOS, Linux, and Android
- Mounted dimensions: 1.89″ (47.9mm) x 2.36″ (59.9mm) x 1.89″ (47.9mm)
Camera body and controls
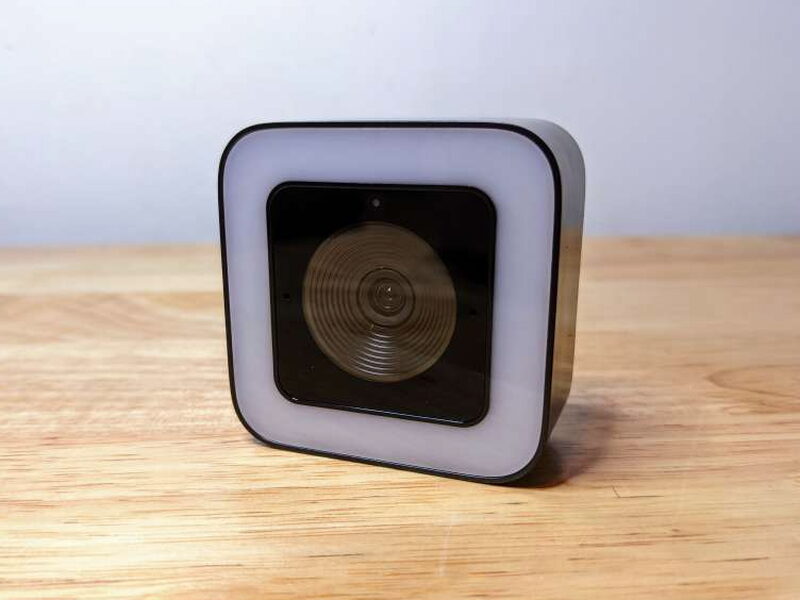
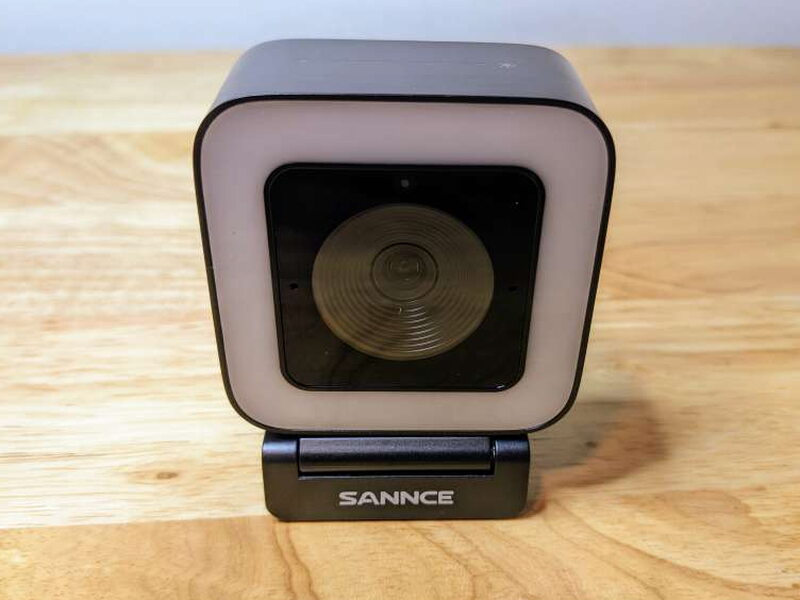
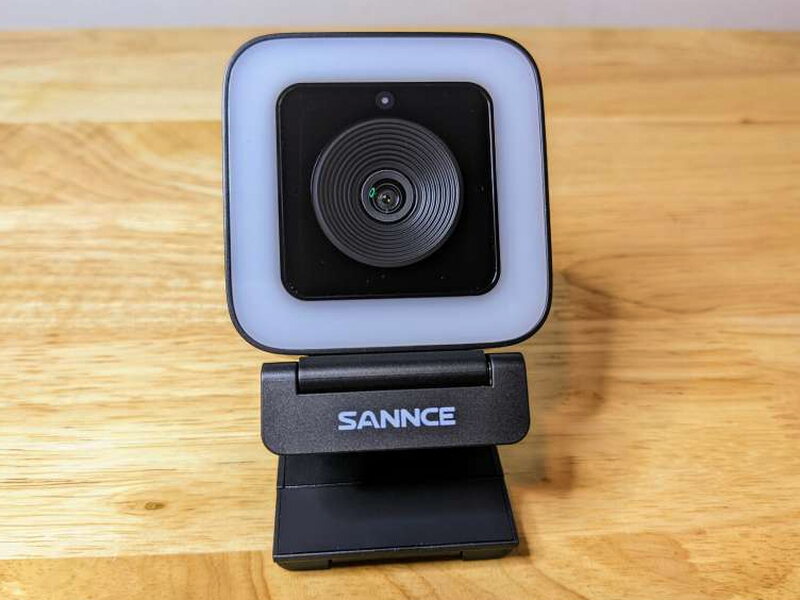
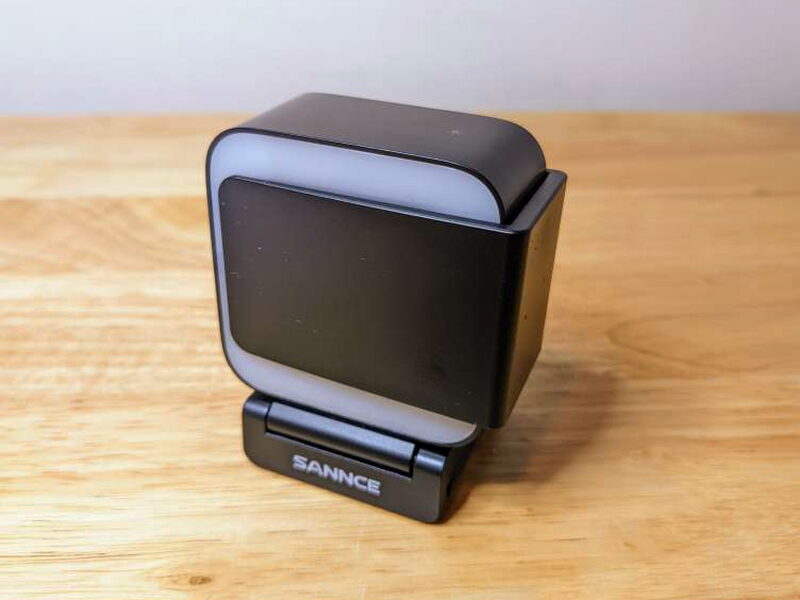
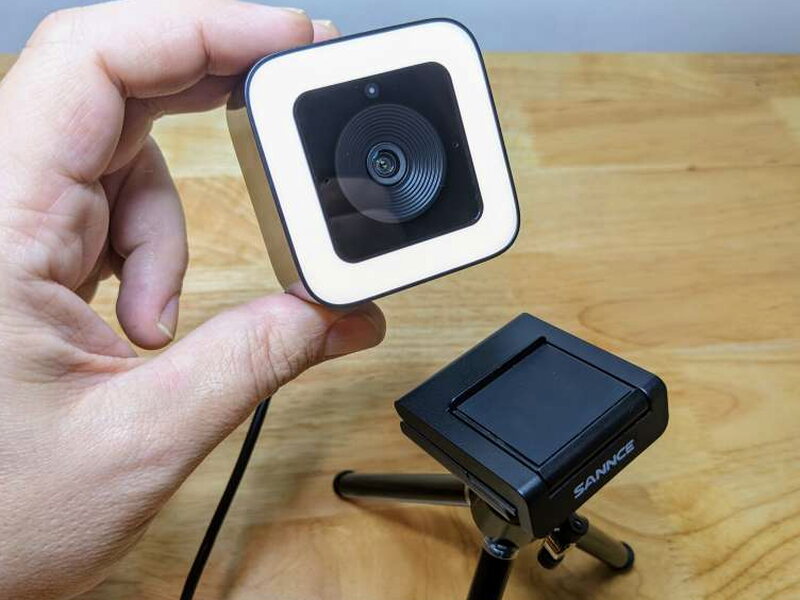
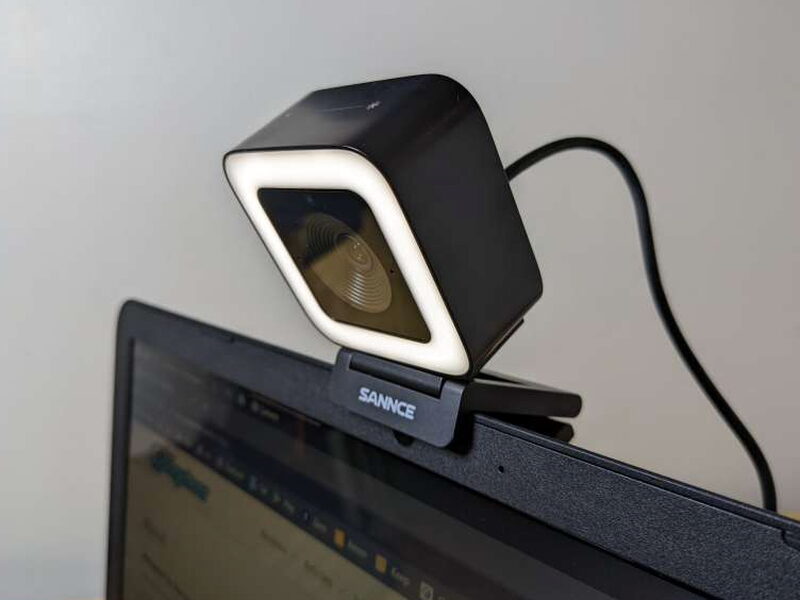
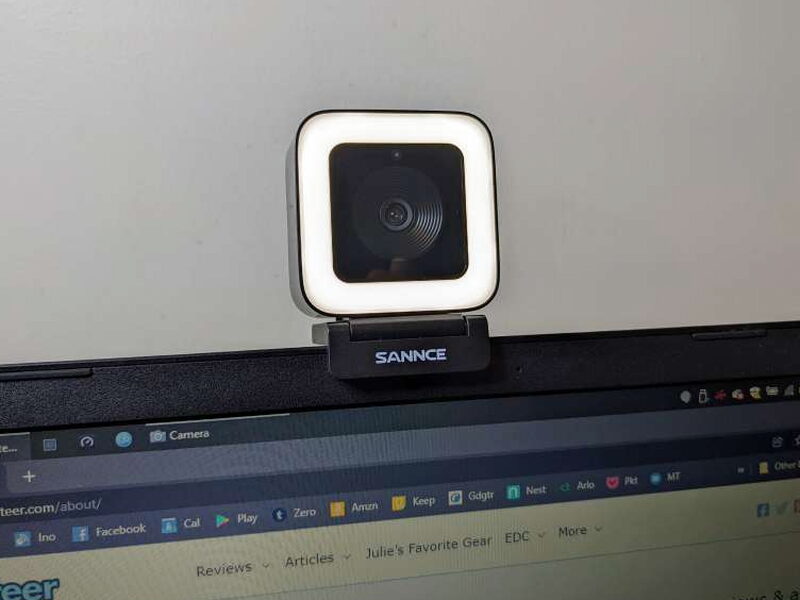
The webcam has a rounded square shape that I like, and it feels solid rather than cheap. The front is covered by a clear plastic panel over both the lens and the LED ring.
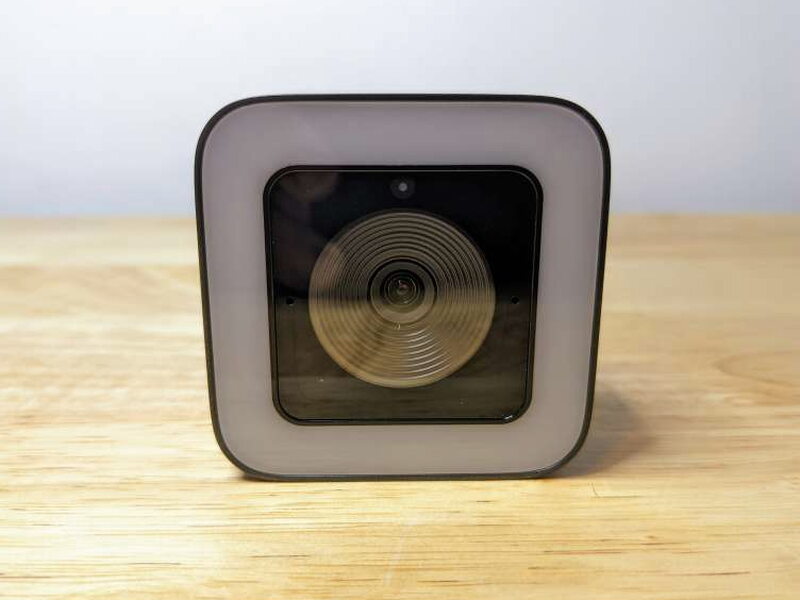
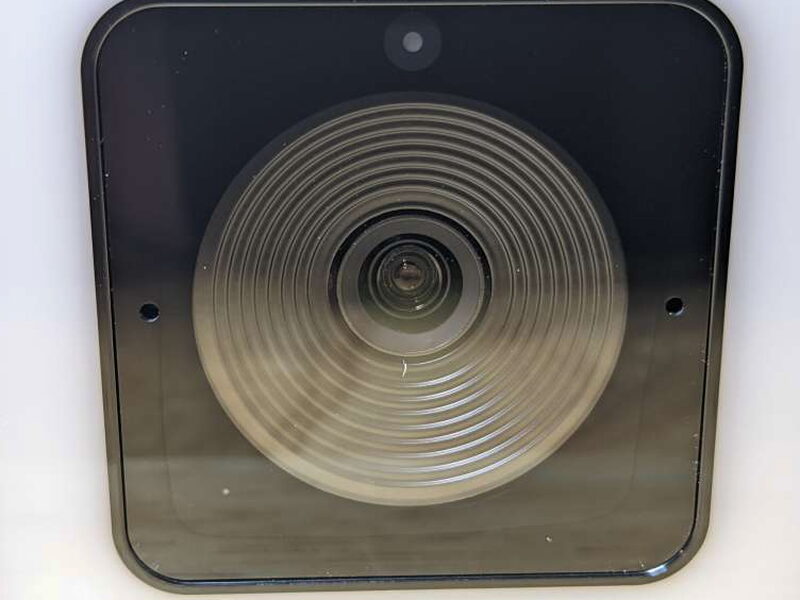
Above the lens is a light sensor, with an omnidirectional microphone on each side. It is a clean design, and the SANNCE looks more like a small piece of desk gear than a basic clip-on webcam.
The light controls are on the top of the webcam. You can tap the symbols to move through the five brightness levels.
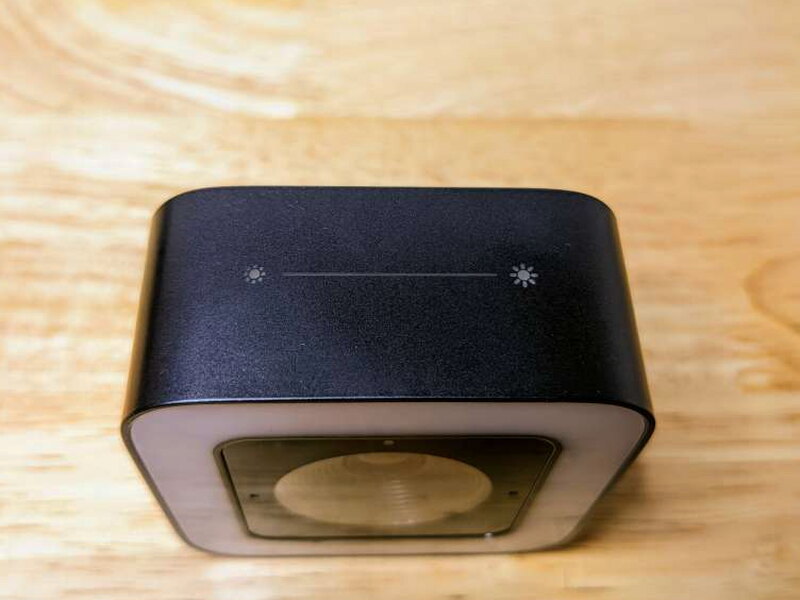
Those controls were also one of my frustrations. They are extremely sensitive, so handling the webcam or adjusting the angle often changes the light setting by accident. The controls do glow when the camera is plugged in, which helps in a dim room, but I still wish they were harder to trigger unintentionally.

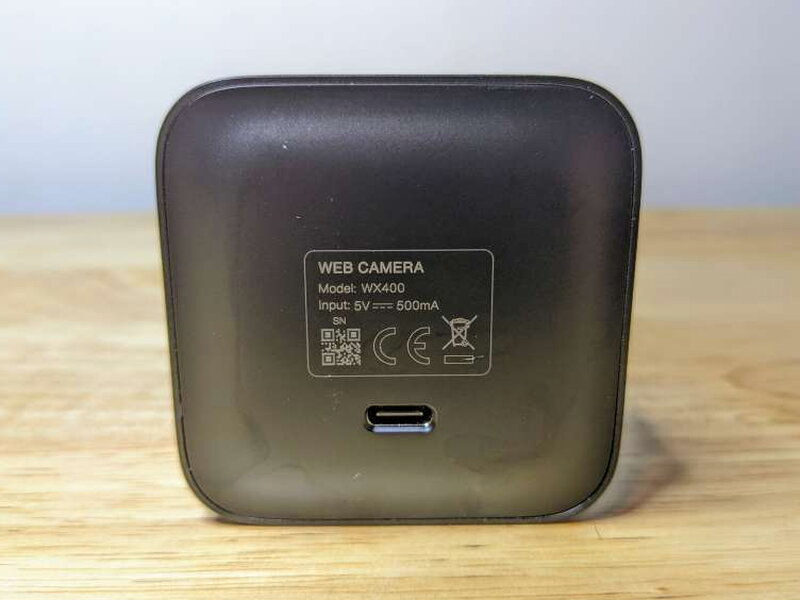
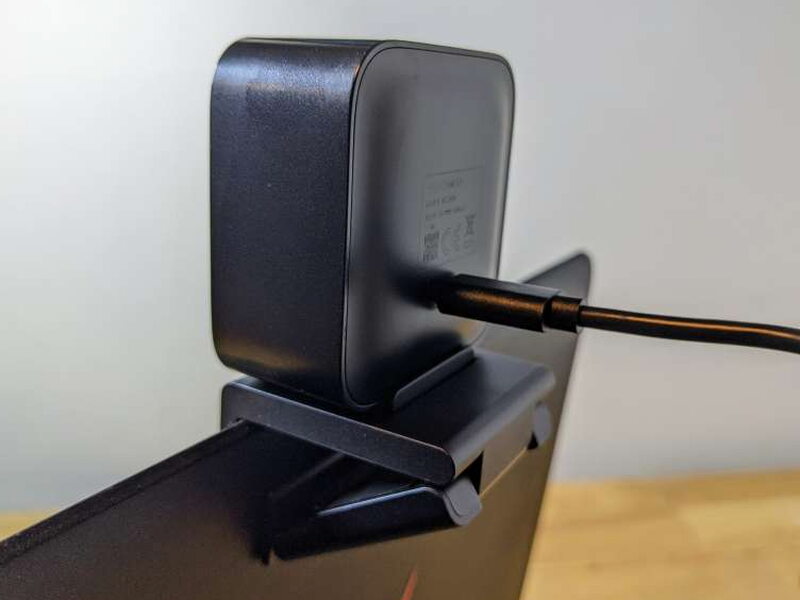
The USB-C port is on the back of the camera. SANNCE includes a six-foot USB-C to USB-A cable, which is a practical length if the camera is going on a monitor or tripod rather than right next to a computer.
Magnetic mount and privacy cover
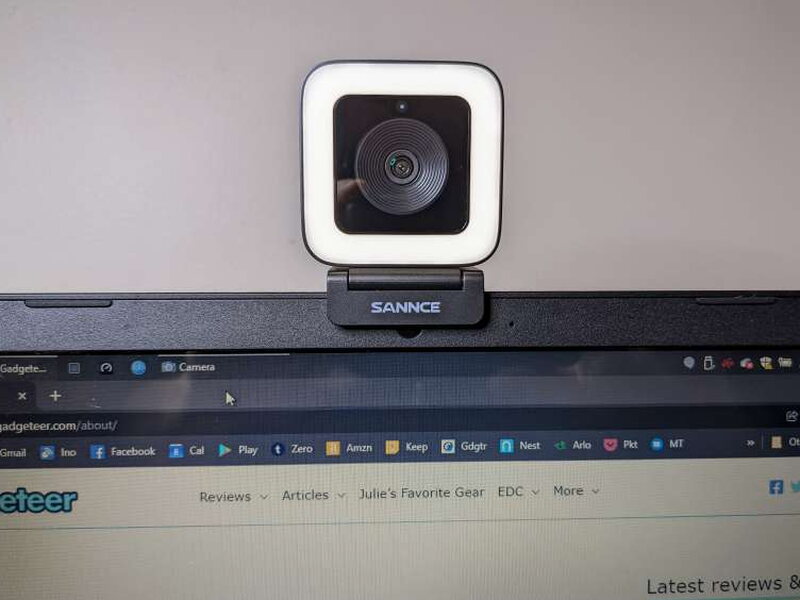
The magnetic base is the most distinctive hardware idea here. It lets the webcam attach to a laptop or monitor, and it also makes it possible to rotate the camera quickly.
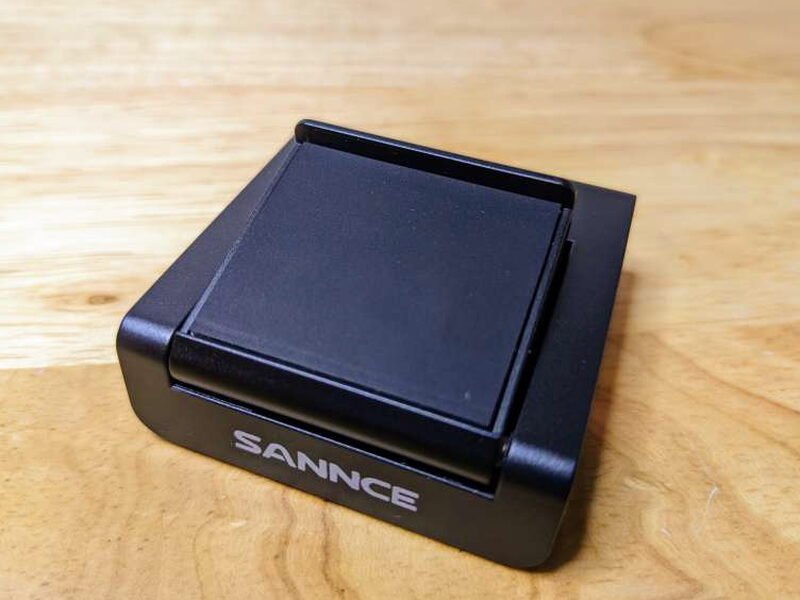
The base also has a standard 1/4″ thread on the bottom, so it can be used with the included tripod.
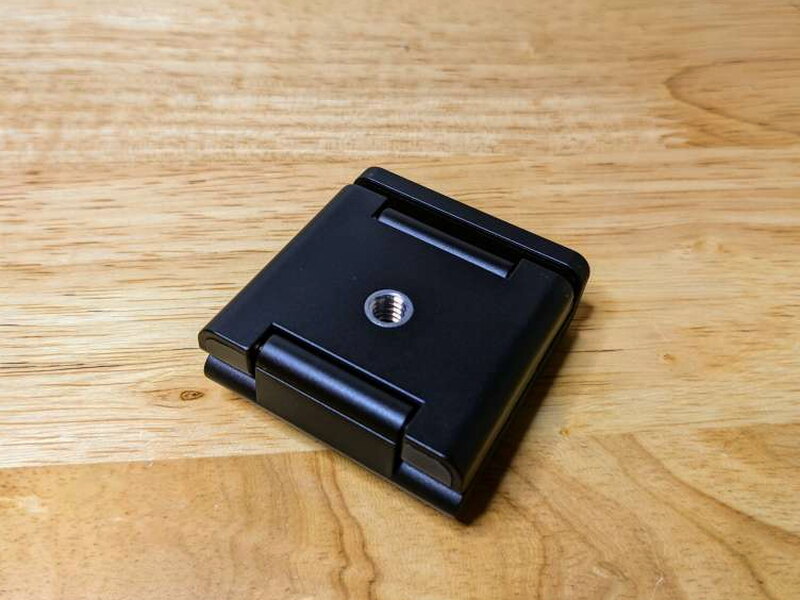
The camera snaps firmly onto the base. You can attach the bottom of the camera for normal landscape use or attach a side to switch the physical orientation.
A small ledge at the back of the mount helps keep the camera from sliding backward.
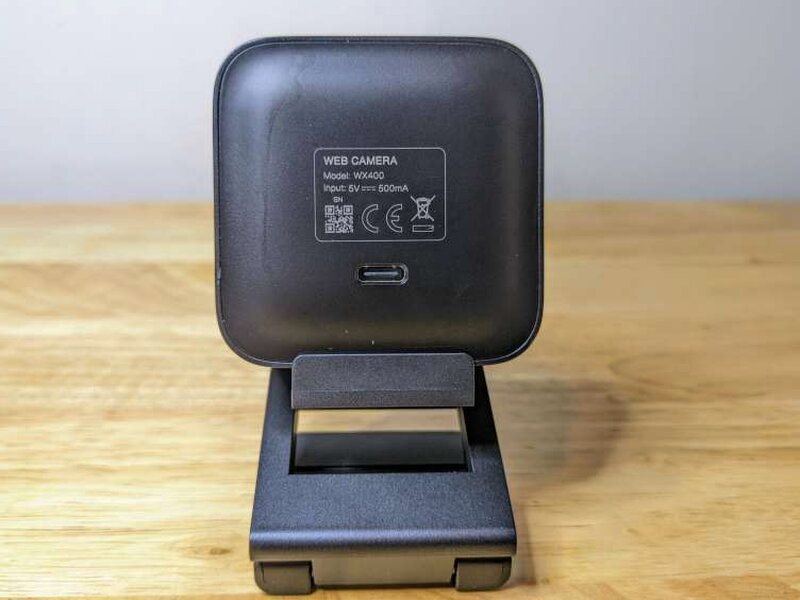
The magnets are strong enough that the camera feels secure, but that strength has a downside. Removing the webcam can pull the whole base away from the laptop or monitor, which makes quick changes less graceful than the concept suggests.
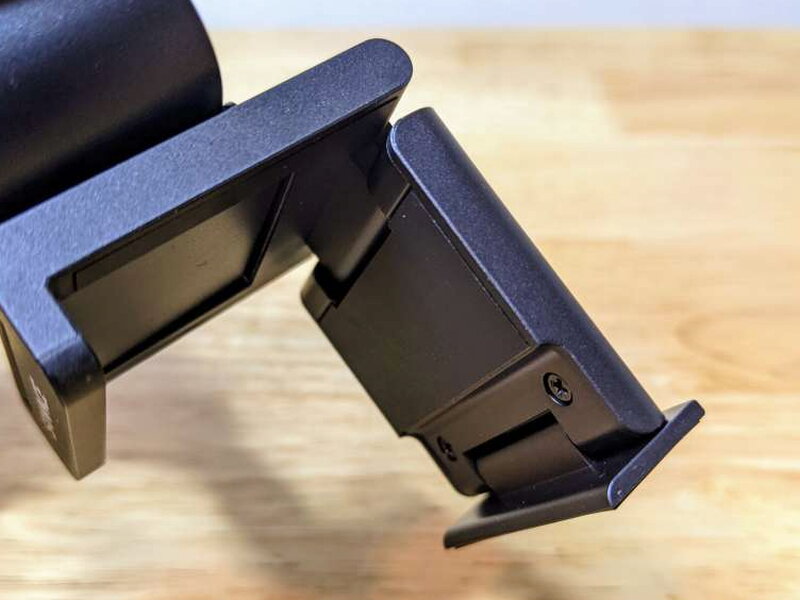
The base uses three hinges, so you can clamp it to a display and then set the camera angle. The lower hinge acts as a brace against the back of the screen.
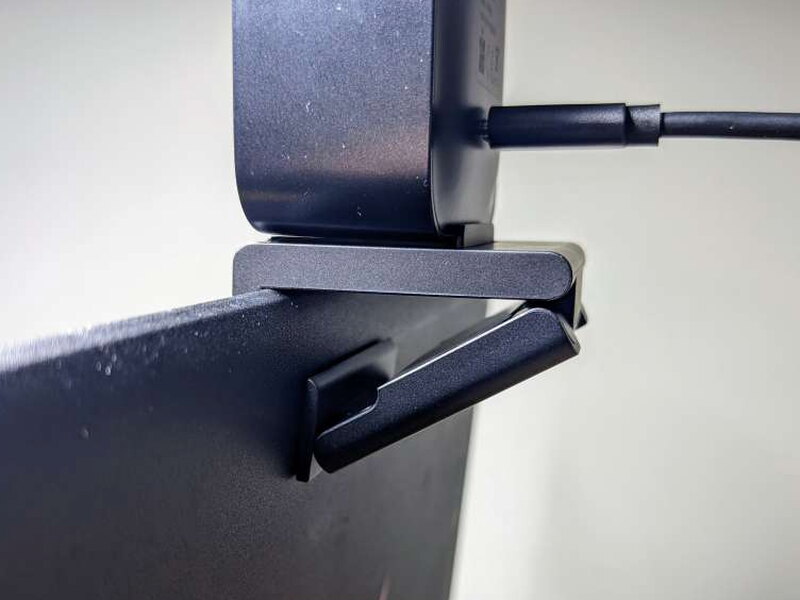
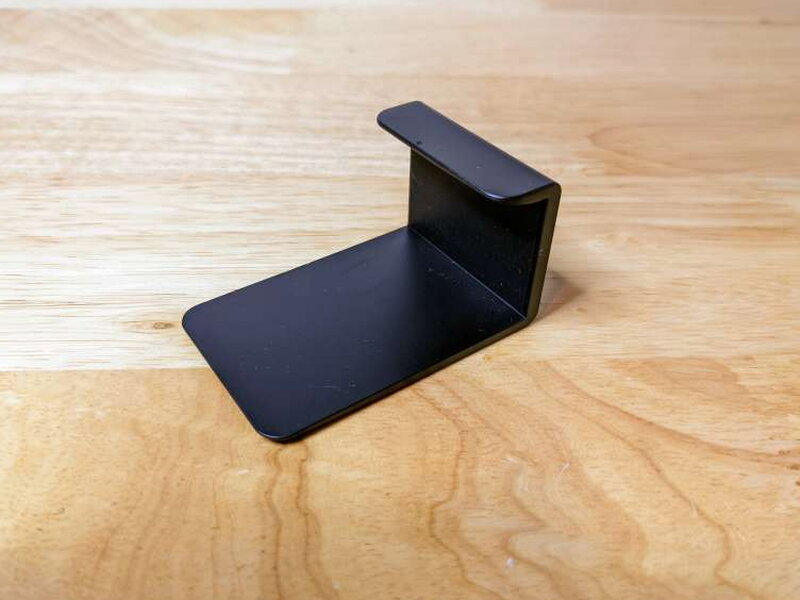
The privacy solution is a separate J-shaped magnetic cover rather than a built-in slider. It works, but I worried about misplacing it. My workaround was leaving it attached and swung off to the side when the camera was in use. That looks odd. Clipping it to the back also works, but it blocks part of the LED.
Tripod use
The tripod is a welcome extra because it opens up uses beyond sitting on top of a display.
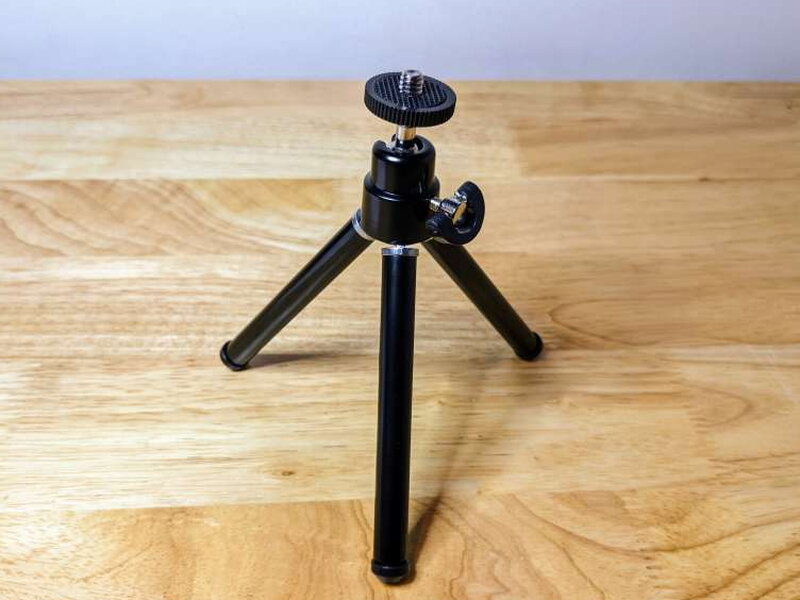
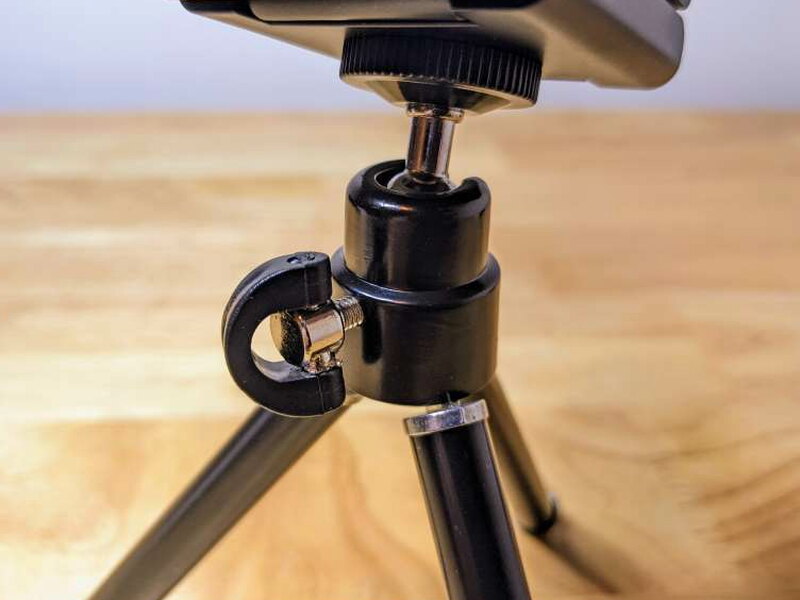
The legs telescope, so the tripod can sit lower or higher depending on your workspace. You do need enough room on the desk for it.
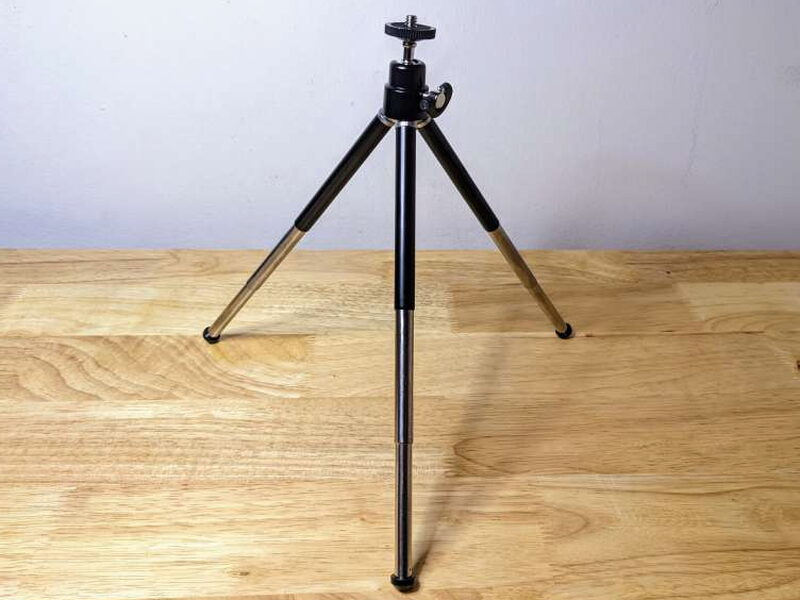
The magnetic base attaches to the tripod easily, and the camera can still be removed or rotated without unscrewing the base.
The tripod head swivels and locks, which makes it simple to point the camera for less typical webcam work such as makeup tutorials or product reviews.
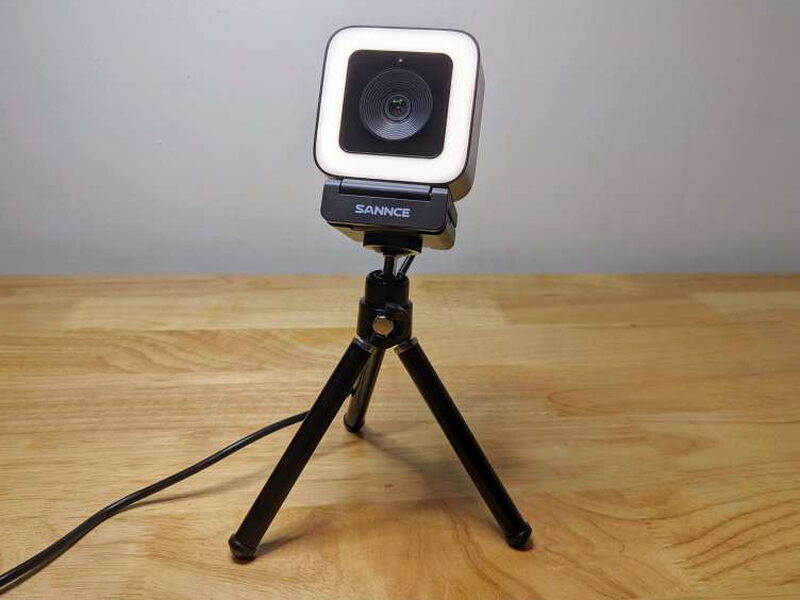
Overall, the tripod adds real value to the package. It makes the SANNCE more flexible than a webcam that can only perch on a screen.
Setup and daily use
Setup is one of the easiest parts of the SANNCE experience. It is genuinely plug-and-play. Connect the USB cable to your computer, pick it as your camera, and it is ready.
After plugging it in, the only real work is mounting the base, setting the angle, and choosing whether the LED should be on.
I used the SANNCE for about a month. The touchy LED controls, strong magnets, and separate privacy cover were irritations, but none of them ruined the experience. The video and audio quality were the real strengths. I do wish SANNCE offered more direct control over focus and cropping without relying on third-party software, and I would also like finer adjustment for the LED because even the first level is quite bright.

The laptop webcam shot is usable, but it looks soft and less natural compared with the SANNCE.
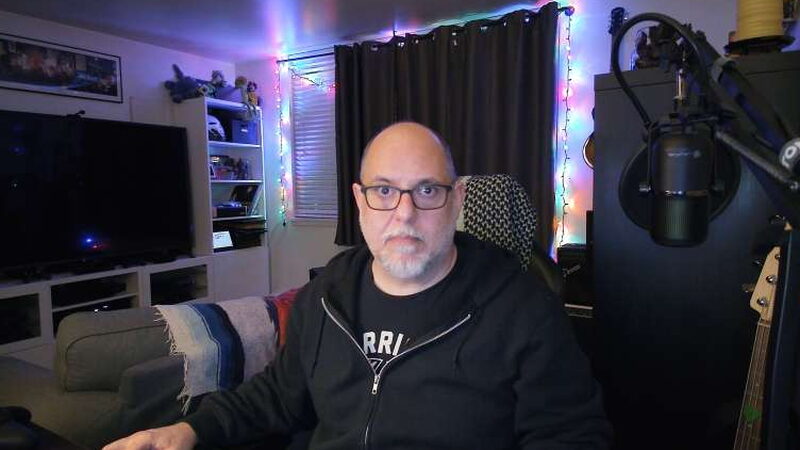
With the SANNCE, the same scene has better clarity, a wider field of view, and stronger color.
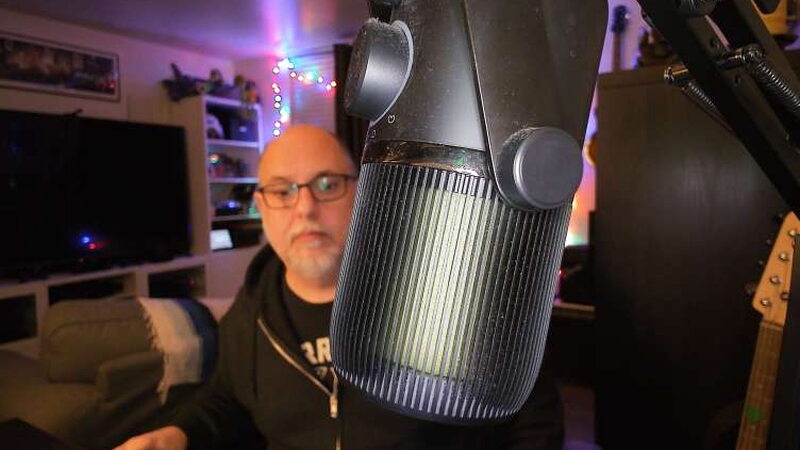
Close focus is another strong point. Bring an object near the camera and it focuses quickly while the background drops out of focus, which helps for product demos and recordings.
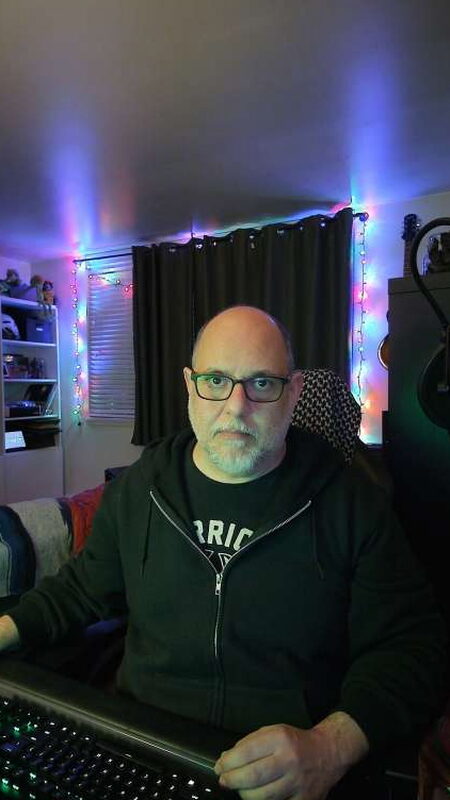
The ability to physically rotate the camera is genuinely useful, though the magnets make the swap more awkward than I wanted. You also still need to rotate the captured image afterward in an image editor.
The comparison video against the internal webcam on my 2017 Razor laptop makes the upgrade clear. The SANNCE is a large step up from an internal webcam or a cheaper external model, even with the hardware quirks.
Highlights
- Video quality is excellent
- The built-in light is genuinely useful
- Setup is simple
Tradeoffs
- Switching from landscape to portrait and using Privacy Shutter is cumbersome
- The built-in light should have more levels
- Focus and crop controls require third-party software
Quick Questions
Q: Does it have a built-in privacy cover?
A: Yes, but it’s a separate magnetic J-shaped cover rather than a built-in slider, which the review found easy to misplace.
Q: Can the camera rotate between landscape and portrait?
A: Yes, the magnetic base lets it attach in either orientation, though the captured image still needs manual rotation afterward.
Q: Does it include a tripod?
A: Yes, a telescoping desktop tripod with a swiveling, locking head is included.
Q: How many brightness levels does the built-in light have?
A: Five, controlled by touch-sensitive controls on top that the review found overly sensitive to accidental bumps.
Verdict
The SANNCE 2K 4MP Super HD Webcam is a strong little webcam with a smart hardware package. I like the picture quality, the simple setup, the included tripod, and the option to physically switch between landscape and portrait. I do not like the overly sensitive light controls, the awkward privacy shutter, or the limited control over focus and cropping. Still, for $129, the SANNCE delivers excellent video and audio, adds a useful built-in light, and offers more mounting flexibility than most webcams in this class.
Price: $129.00
Product Link: SANNCE
Source: The sample of this product was provided by SANNCE.


