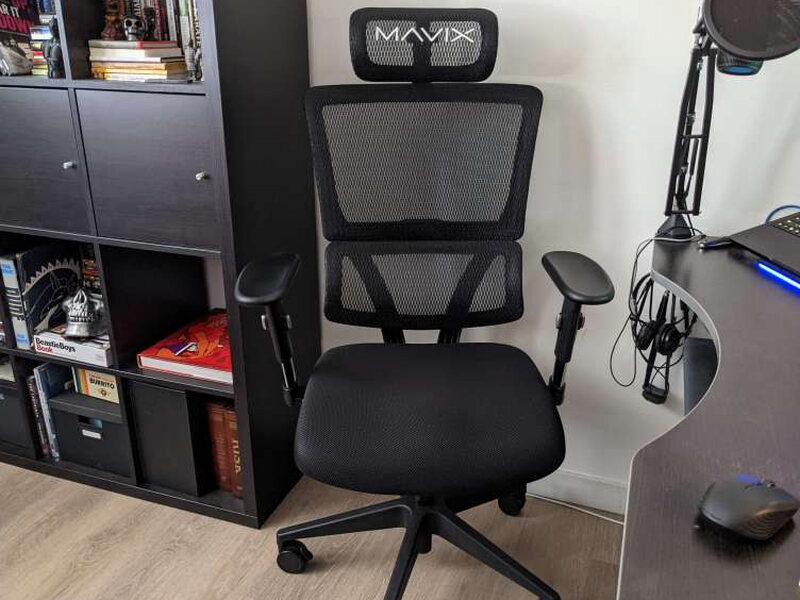
REVIEW – Sitting at a computer for hours on end, whether it’s for work or play, calls for a genuinely comfortable chair, something ergonomic and sturdy that holds up through long stretches. Plenty of gaming chairs manage that, but subtle they are not, with their oversized logos, loud colors, and designs that clearly put looks ahead of function.
Mavix, a maker of premium gaming chairs, has a few models that split the difference between comfort and a tidier look. I spent time with the newly launched M4, which sits at the bottom of the Mavix lineup. The upside is that it’s thoughtfully built and genuinely comfortable, the kind of chair that works in an office just as well as an RGB-soaked gaming den. The downside is a thin feature list against a $444.44 price tag. For most gamers that’s nowhere near entry-level money; it’s closer to what other brands charge for their maxed-out flagship chairs. The M4 has real design charm, but I’m not convinced it earns that price.
Unboxing
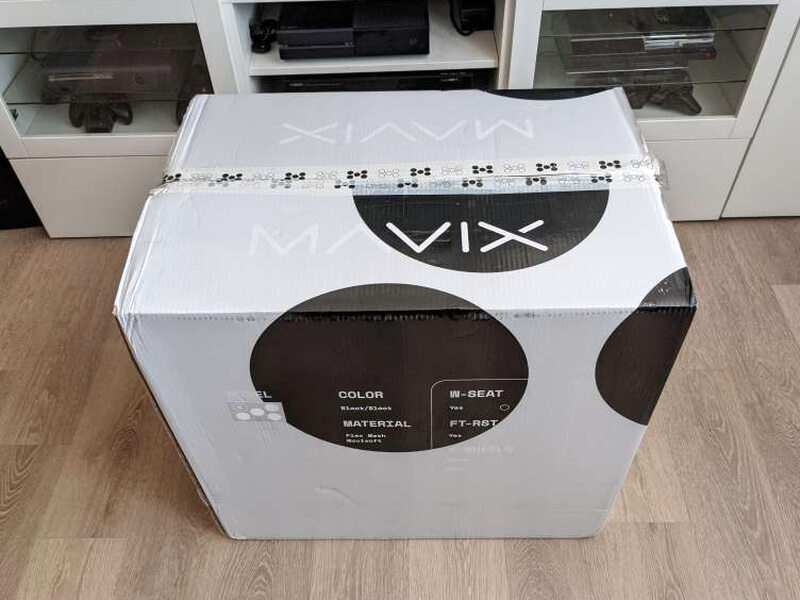
For a full-size gaming chair, the M4 arrives in a surprisingly compact box, printed with the specific color and material options for the unit inside, right next to Mavix’s five-dot logo.
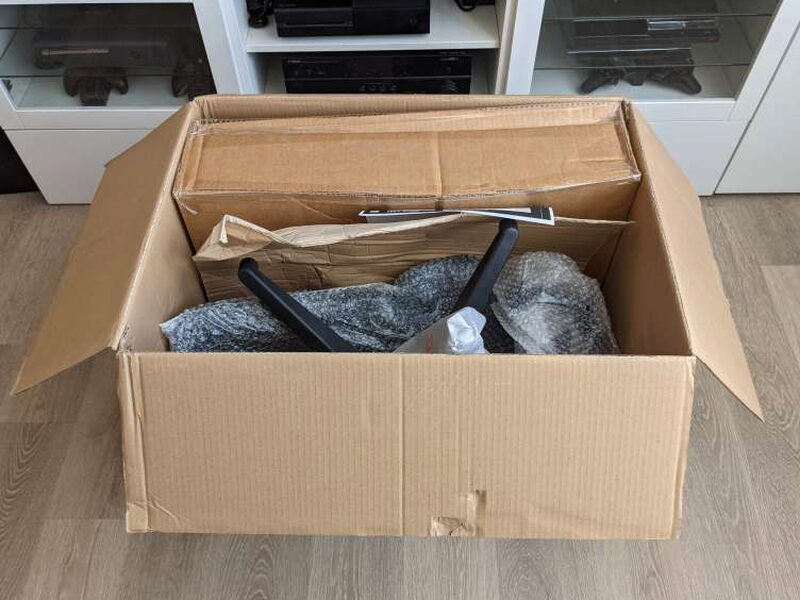
Open it up and everything you need for assembly, Allen wrench included, is packed tight with air bladders and bubble wrap.
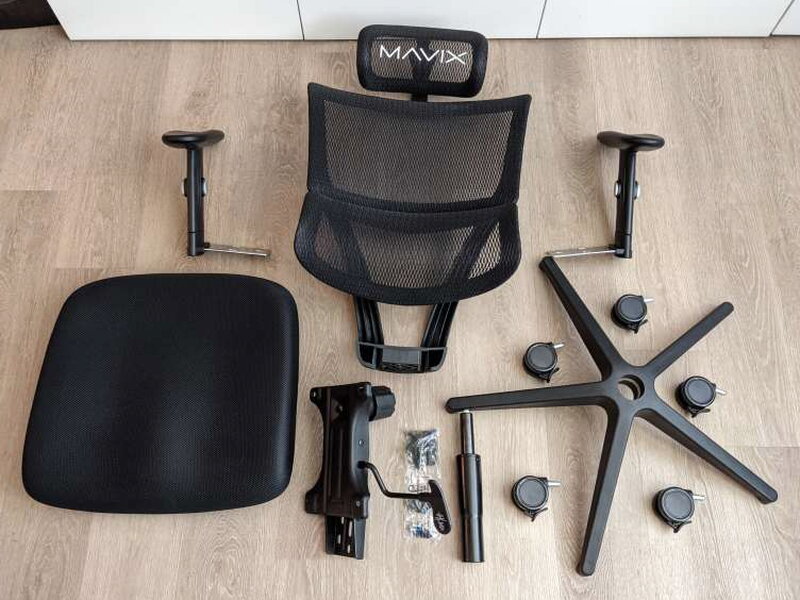
What You Get
- 1 Backrest
- 1 Headrest
- 2 Armrests
- 1 Base
- 1 Chair Mechanism
- 1 Seat Cushion
- 5 Locking Casters
- 1 Pneumatic Gas Lift
- 1 Allen Wrench
- Assorted Screws and Washers
Specs at a Glance
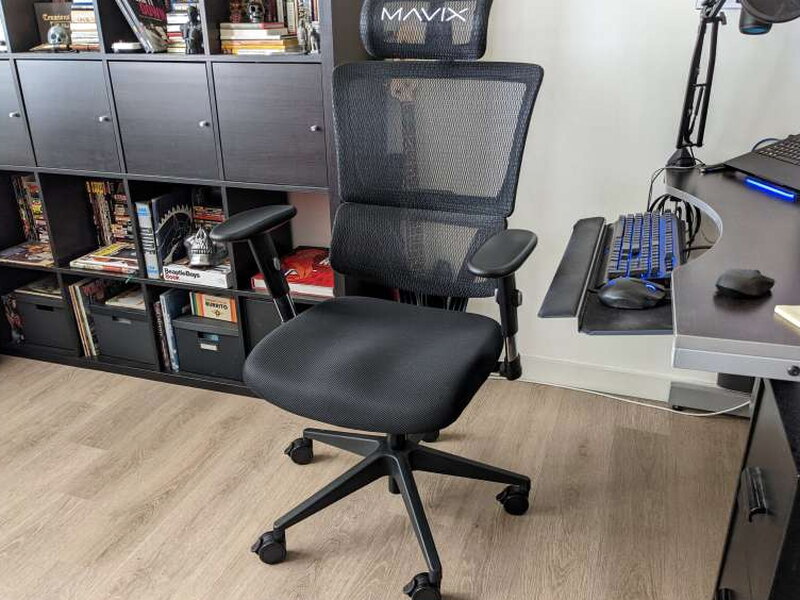
- 135° Fixed back reclining support
- HD foam seat
- One-way adjustable arms
- Plastic wide 5-star base
- Dynamic Variable Lumbar (DVL) support
- Adjustable headrest
- Locking wheel casters
- Class 4 heavy-duty gas cylinder
Backrest and Seat
Like most of the Mavix lineup, the M4 stretches a mesh material over a hard plastic frame to form the backrest. It reclines up to 135° and locks in place at whatever angle you pick, but unlike a lot of chairs in this price range, it won’t adjust vertically.
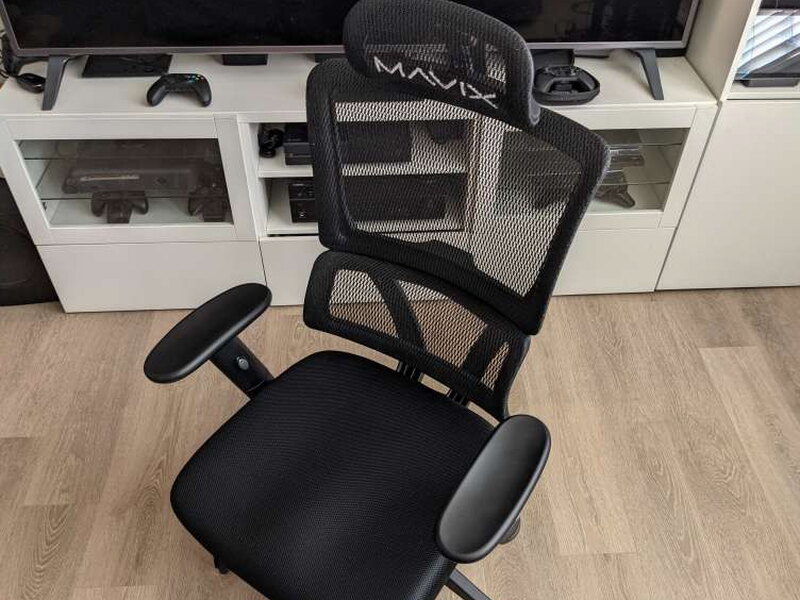
The seat itself uses Mavix’s HD Foam and Spacer Mesh, which comes out soft and comfortable yet firm, with a bit of breathability baked in. It’s fixed in place though, so there’s no sliding it forward and back or angling it.
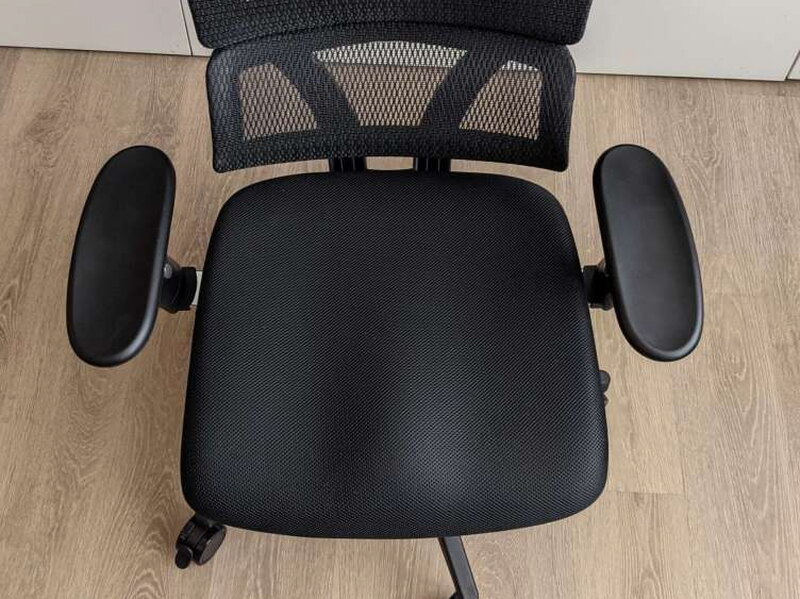
Zoom in on that mesh and the weave is dense enough to support you but open enough to breathe.

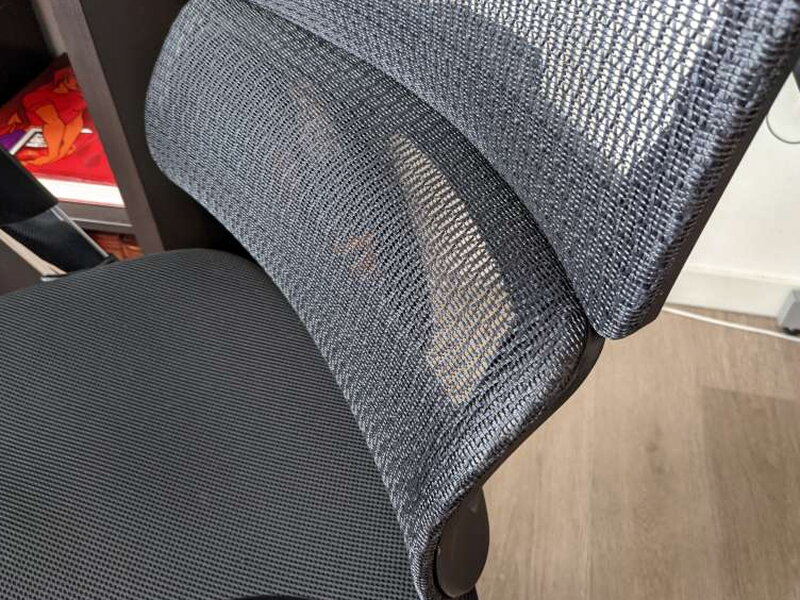
The real standout for me is the Dynamic Variable Lumbar, Mavix’s name for the springy lower section of the backrest that flexes on its own depending on how hard your back pushes into it. Paired with the mesh, it adds a lot of comfort over long stretches.
Armrests and Base
The armrests have a hard foam feel and are reasonably comfortable, but the letdown is that they only adjust one way: up and down. Plastic buttons styled to look like metal sit on each post and control the height.
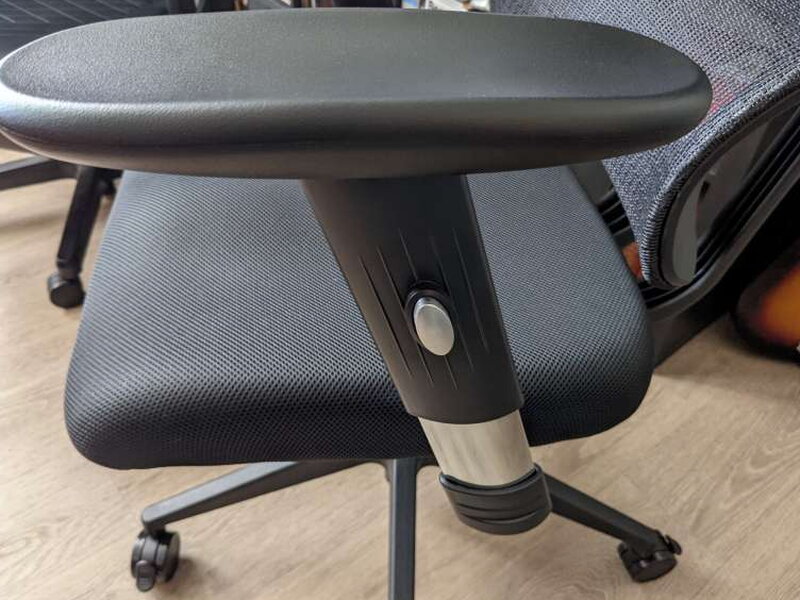
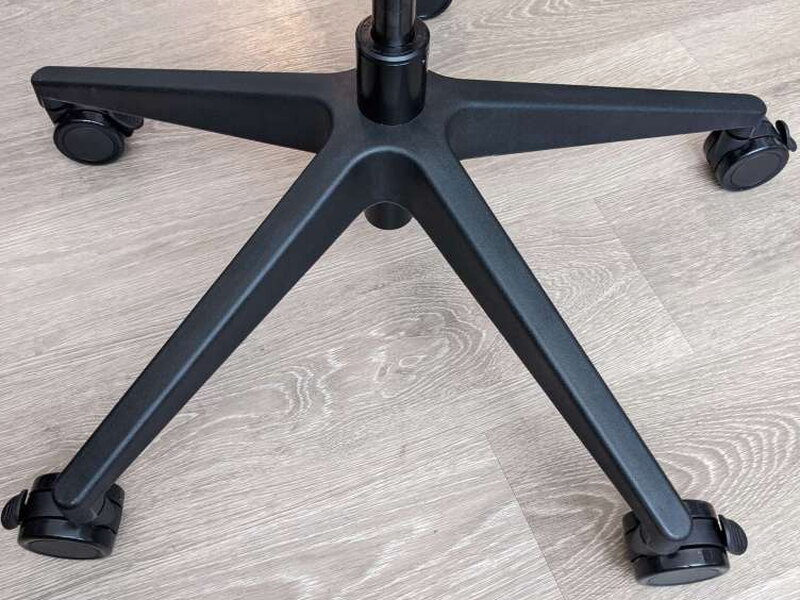
You won’t find any side-to-side or front-back armrest movement here, the kind of adjustment you’d get from other gaming chairs at this price or from Mavix’s own pricier models. And the base underneath it all is plastic, which at this price and with a recline this steep, I’d rather see done in metal.
The Headrest
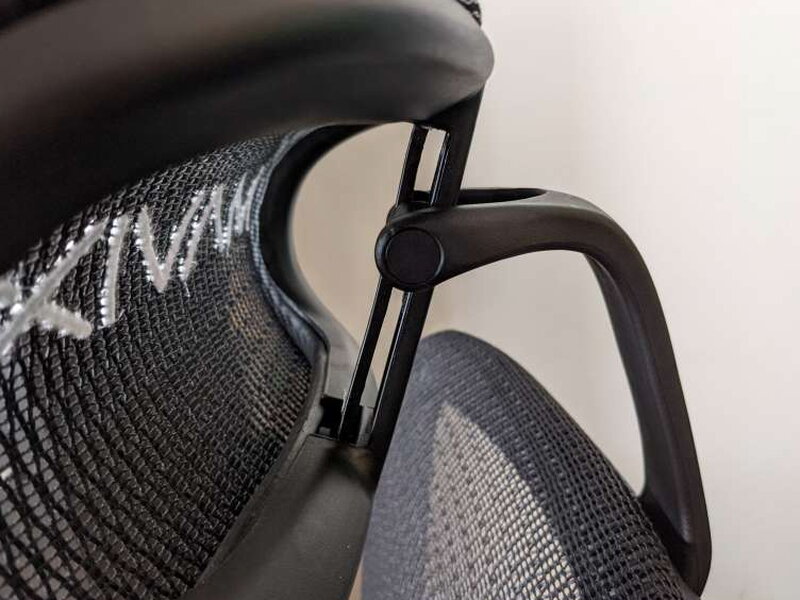
The headrest carries over the same mesh-over-frame look as the rest of the chair, but it’s positioned so far back that I only get any use out of it when I’m fully reclined.
You can adjust both its angle and height, though I had to hunt online to figure out the height adjustment since it’s never mentioned on the single instruction sheet or on the M4’s page on Mavix’s site.
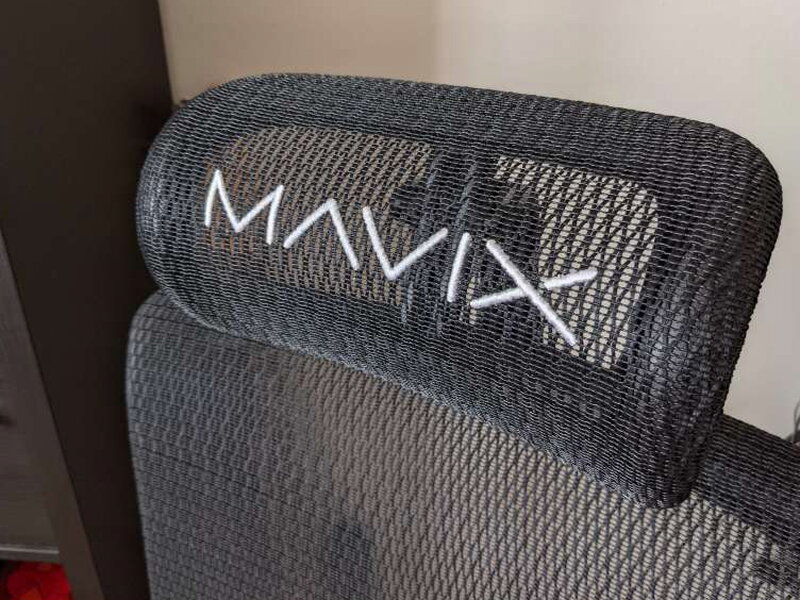
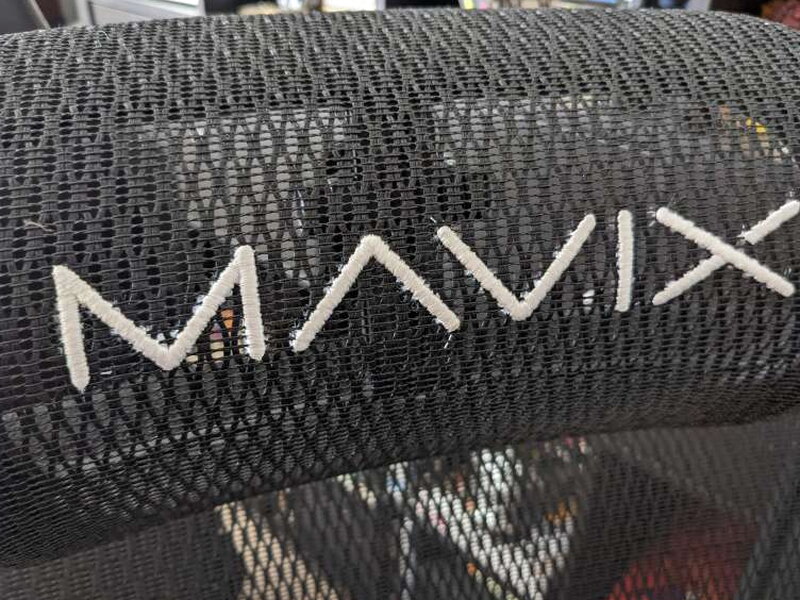
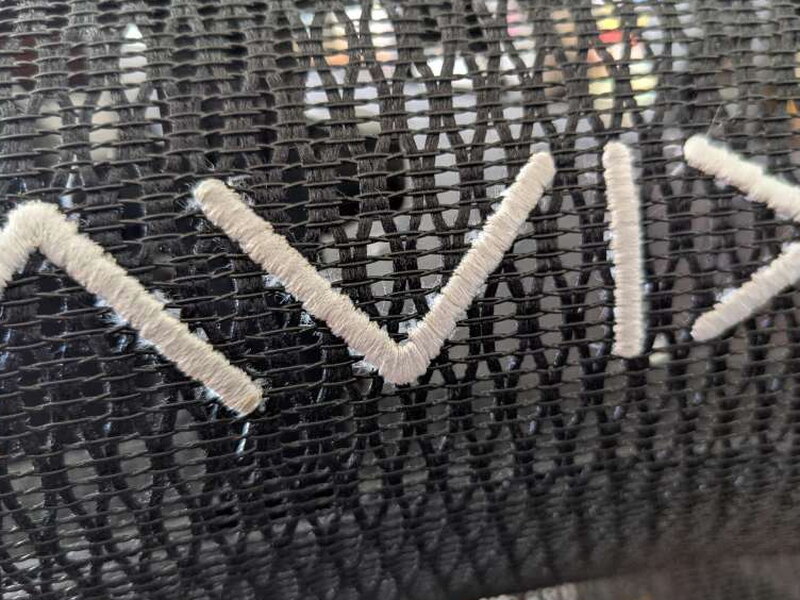
Whichever of the four backrest colors you choose, that Mavix logo shows up stitched into the headrest mesh. Look closely, though, and there are a few frayed threads of embroidery around the letters. Small thing, but at over $400 I want the details to look clean.
Putting It Together
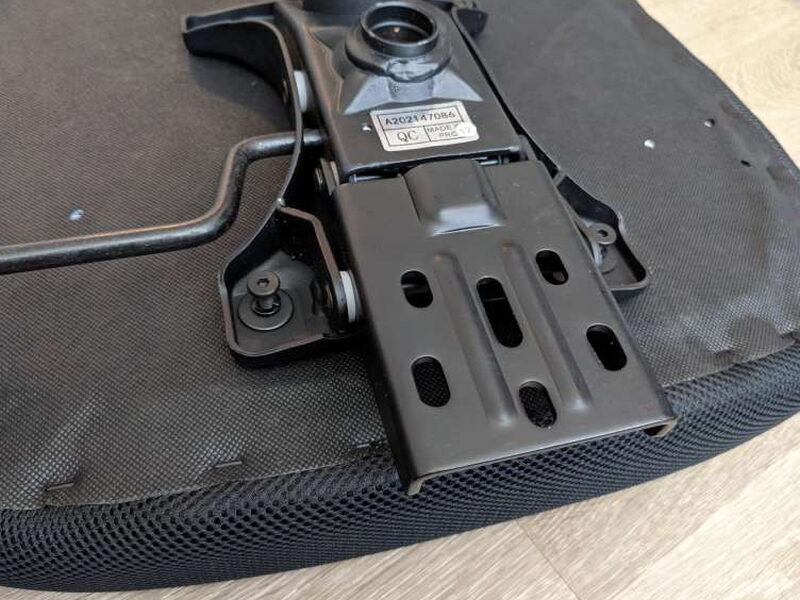
One thing the M4 gets right is how easy it is to assemble. The seat cushion actually ships with the chair mechanism already bolted to its underside.
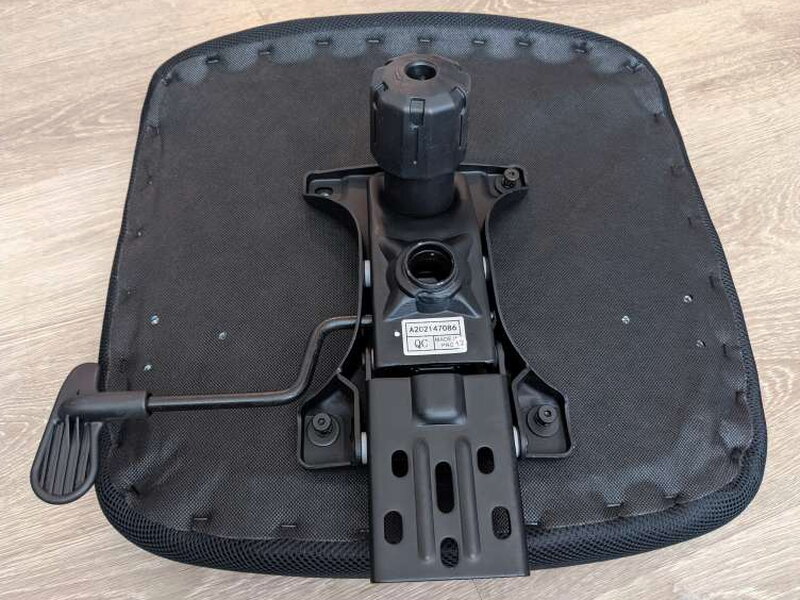
Clearer instructions would have helped, though, because the M4 ships with two sets of washers and the instructions only picture one of them in use. Quick tip: use both, big one under the locking one.
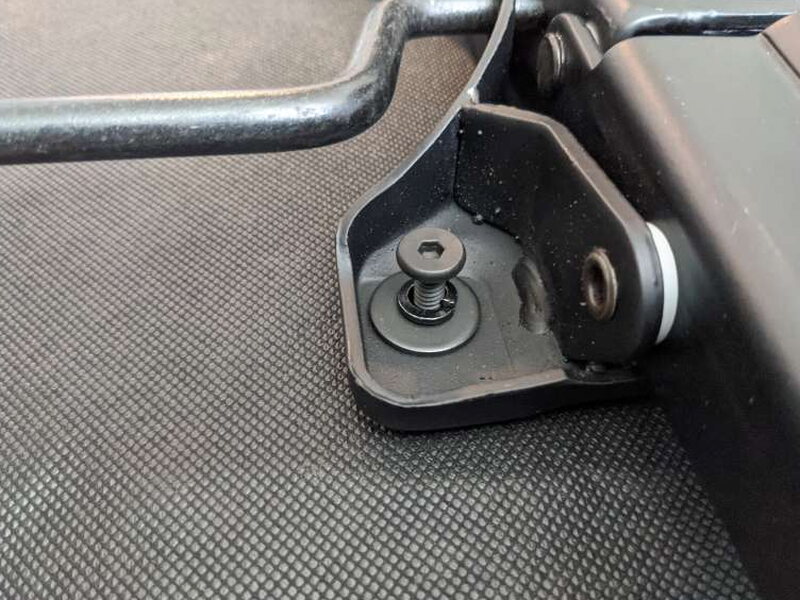
Lining the mechanism’s plate up with the matching holes under the seat is simple enough, and you just snug down the screws with the included Allen wrench.
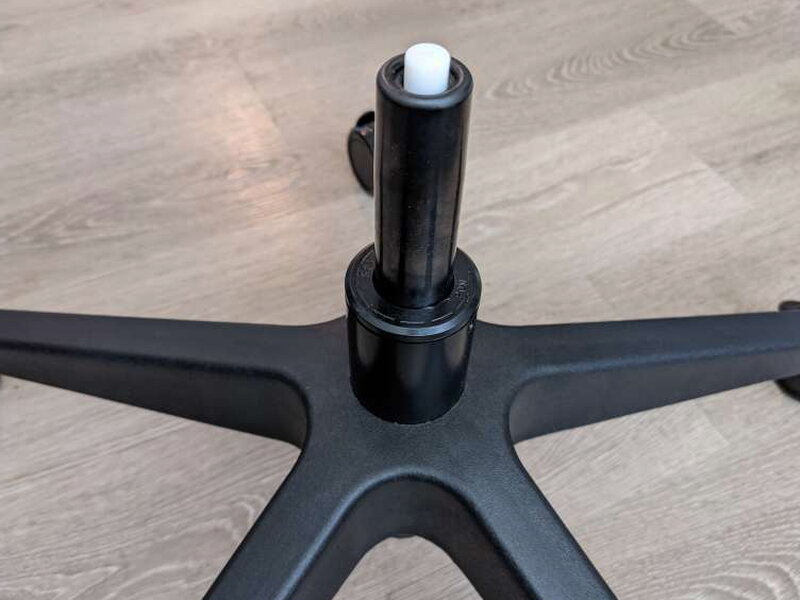
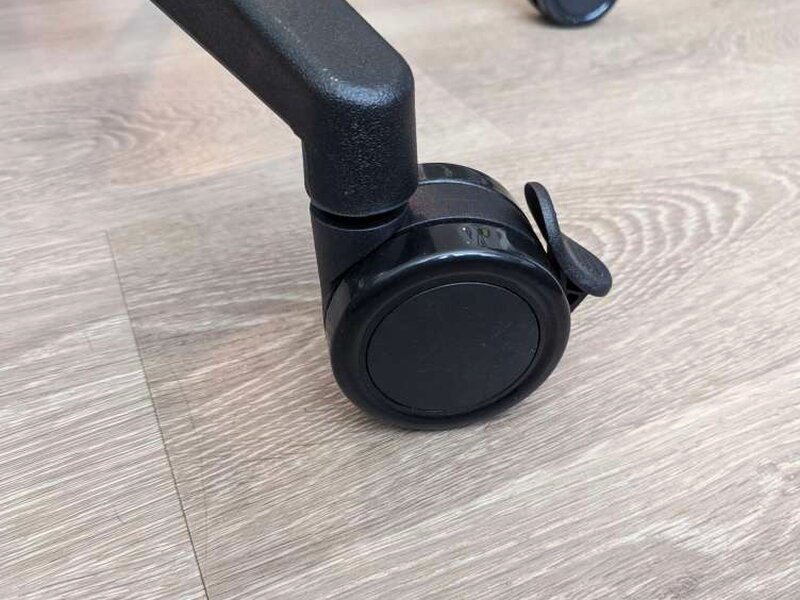
After that, the gas lift drops into the plastic base through the opening on top, and all five locking casters press into place around it.
Doing this solo means some creative lap-juggling for the next part: bolting the armrests to the underside of the seat cushion. Keep track of which armrest goes on which side, since they’re only labeled on the packaging, not the armrests themselves.
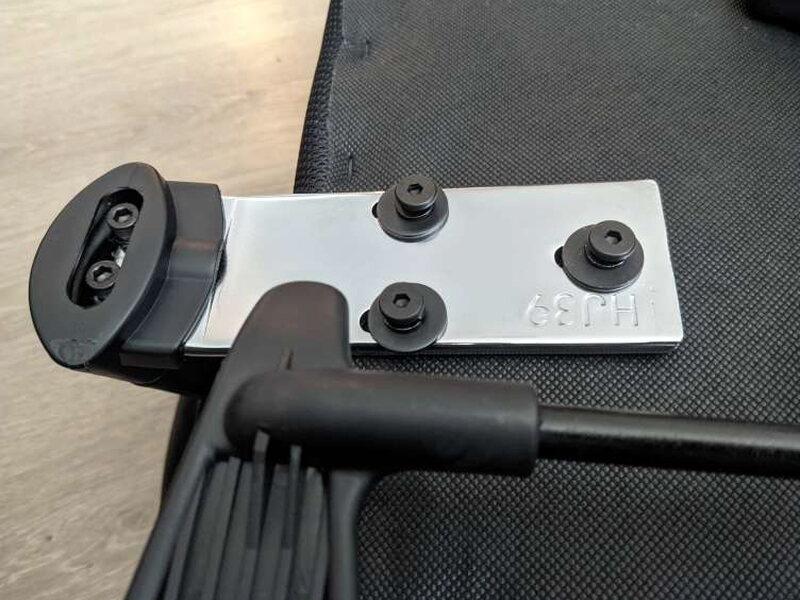
Once both armrests are on, the whole seat assembly lowers straight down onto the base.
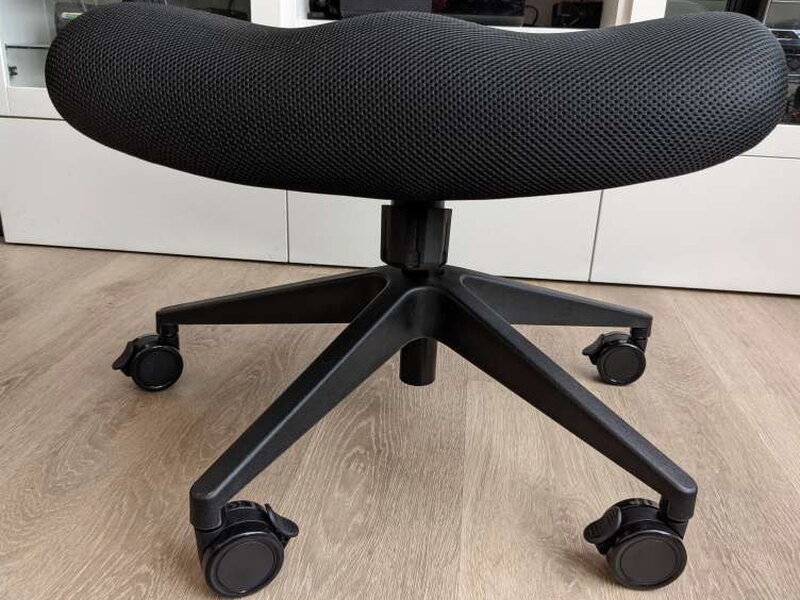
Take your time lining the gas lift up with its socket on the mechanism.
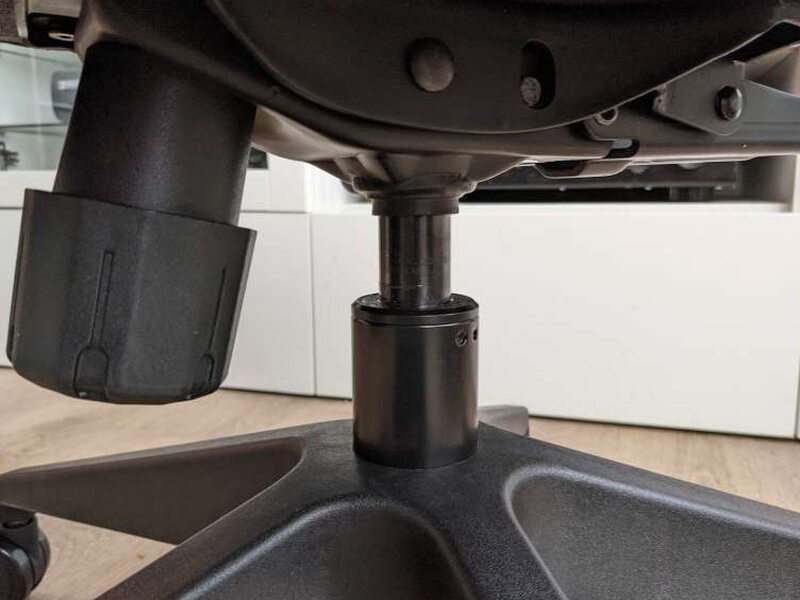
Getting the backrest onto the seat assembly takes a bit of balancing, but the three bolts thread in without any fuss once it’s lined up.
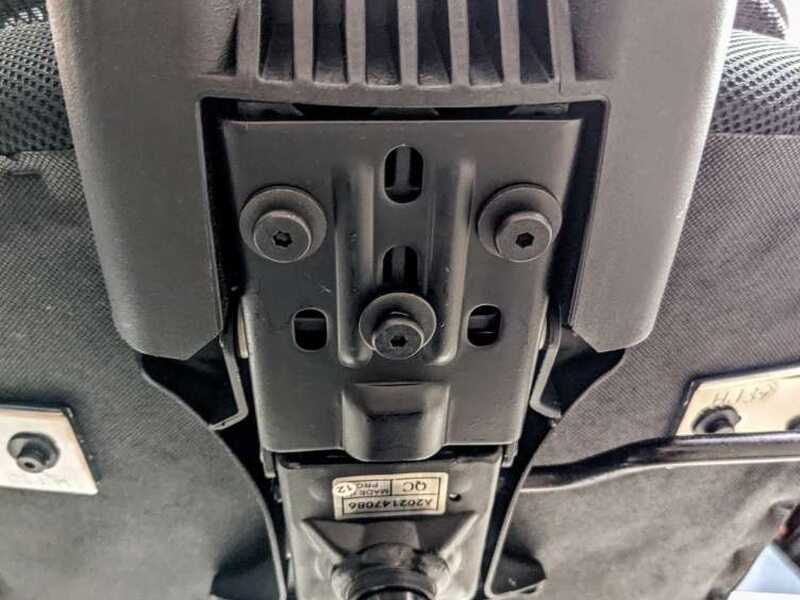
With the backrest on, the only thing left is fitting the headrest, two screws is all it takes.
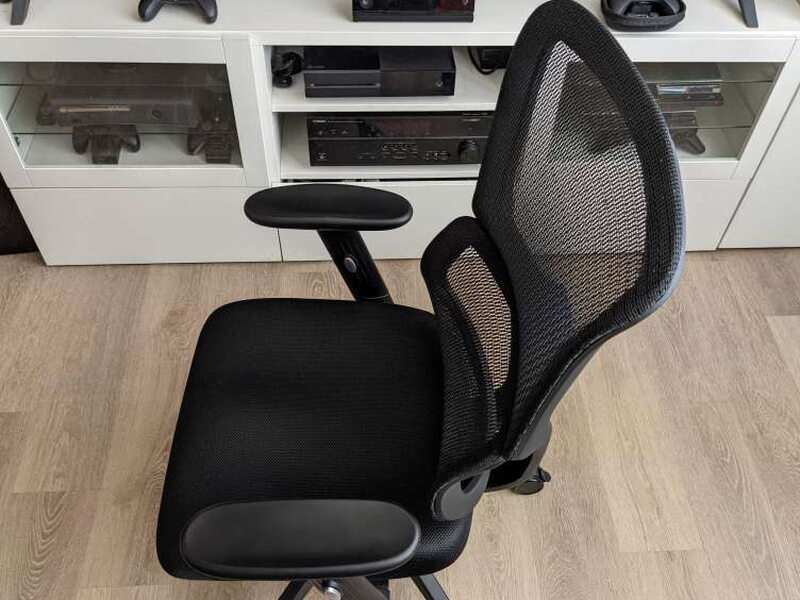
A small adhesive-backed plastic cover snaps over the exposed screws once the headrest is on. If you’d rather skip the headrest entirely, that same cover works over the empty screw holes.
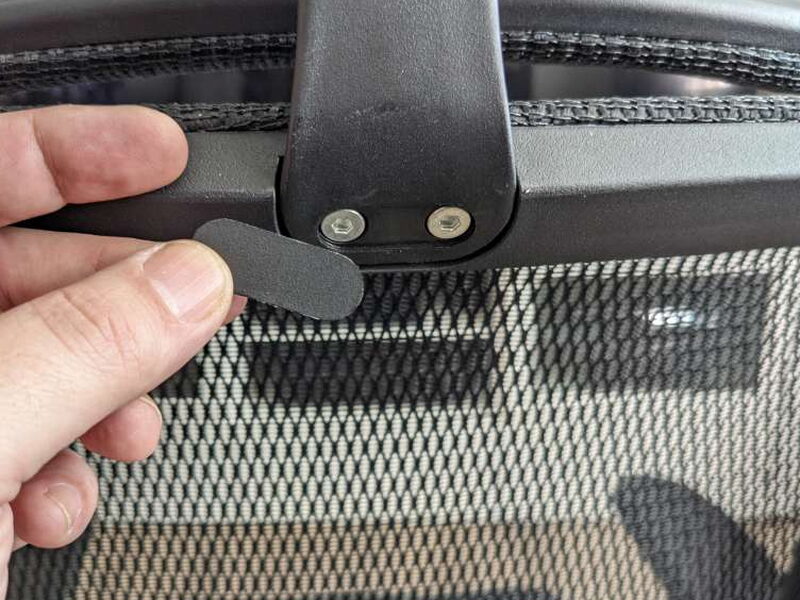
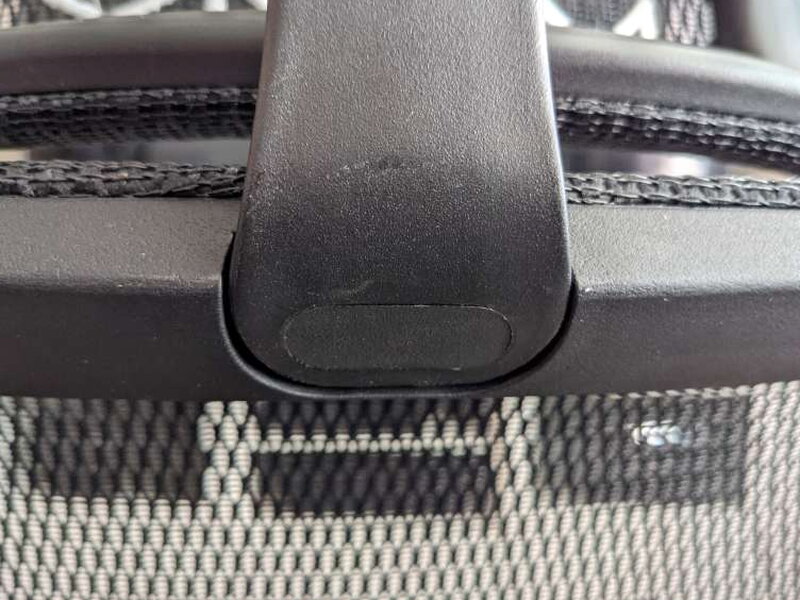
All told, putting the M4 together took a relaxed twenty minutes.
Living With It
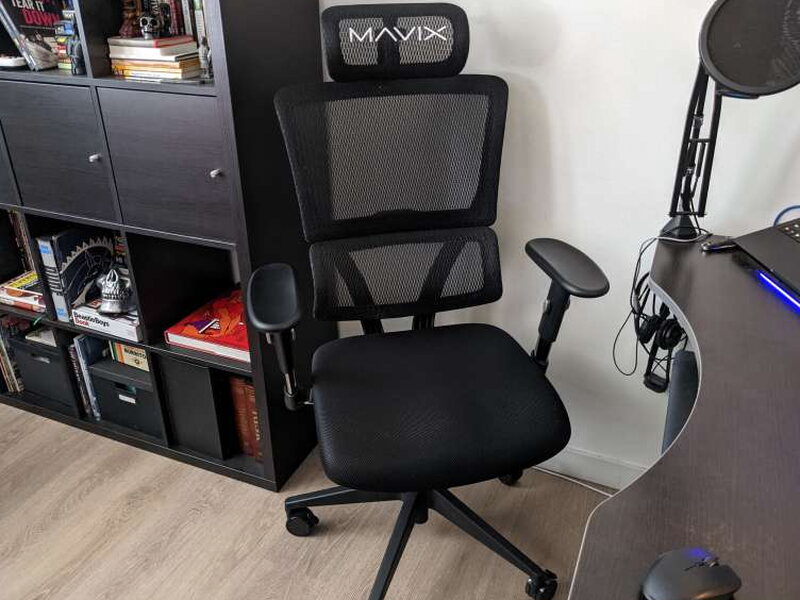
Working from home meant I leaned on the M4 heavily during the month I spent testing it. Across full workdays and weekend gaming sessions, it held up nicely and stayed comfortable even after hours of sitting. The mesh backrest especially was a treat, keeping me from overheating, and the lumbar support did its job without ever getting in the way. I never once had to think about it, it just worked.
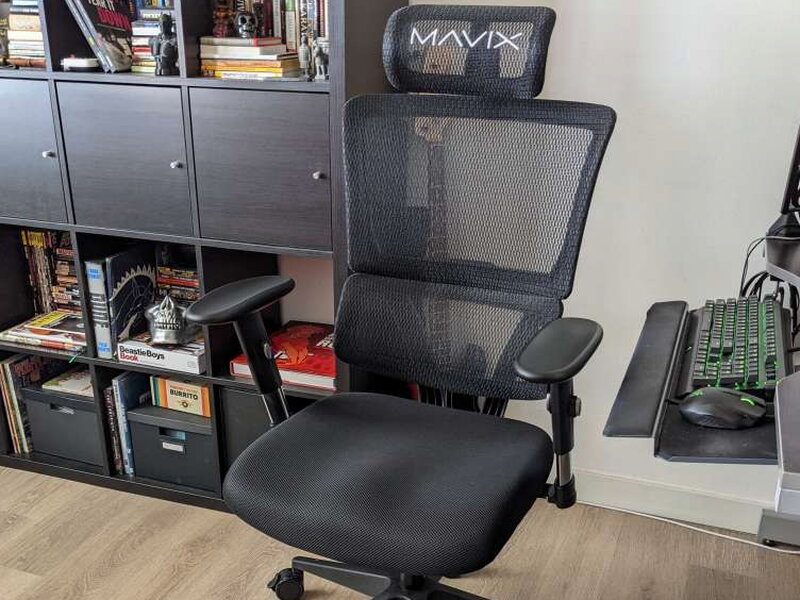
Most of the time I left the backrest locked upright, since that suits me best, but every now and then I’d lean back in the M4 to watch a random YouTube video. Reclining is comfortable, though I nearly tipped over a handful of times, and that plastic base was always in the back of my mind, which didn’t help my nerves.
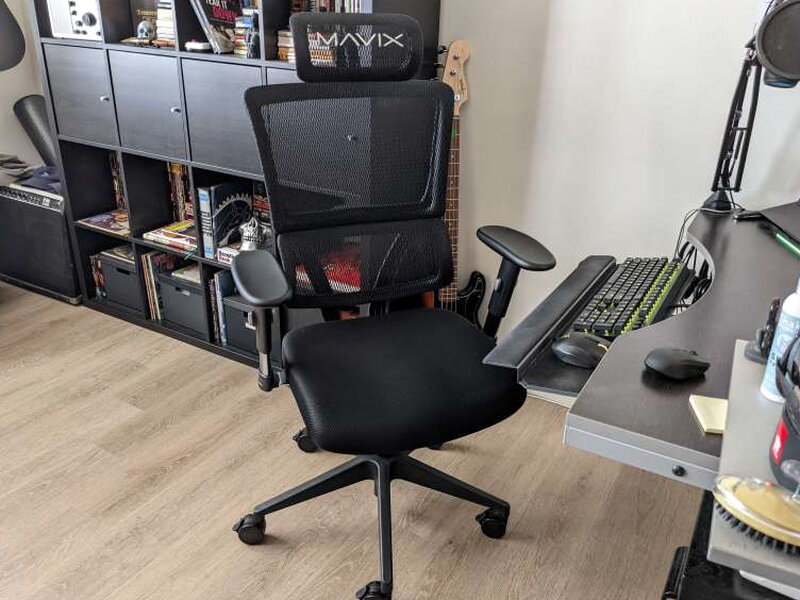
The casters glided along with no trouble, and even though I never really needed the locking mechanism, they’d sometimes lock on their own, which got old fast. As for the armrests, even cranked to their tallest they sat a touch too low for me, and I kept instinctively reaching to slide them side to side, despite the M4 not offering that adjustment.
I hardly ever do this in a review, but after logging so many hours in the M4 I kept comparing it to the nearly identically priced Noblechairs Hero I bought about a year back. The Hero runs $459.99 right now against the M4’s $444.44, yet it packs in a bunch of features the M4 skips, plus build quality that’s basically bombproof.
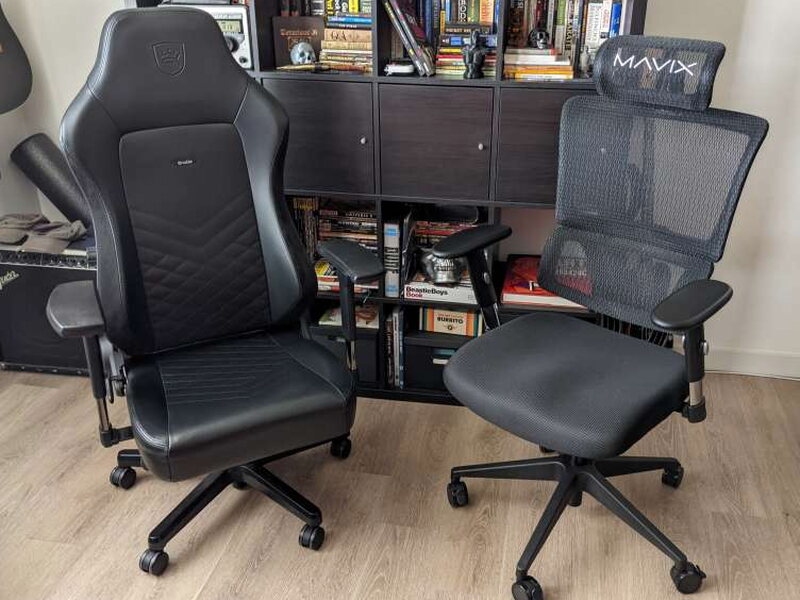
I get that Mavix takes pride in its lightweight design, but next to the Hero the M4 looks downright anemic. The gap in comfort and sturdiness between them is impossible to miss, too. Every adjustment the M4 leaves out comes standard on the Hero, which also uses metal controls and a metal base where the M4 settles for plastic.
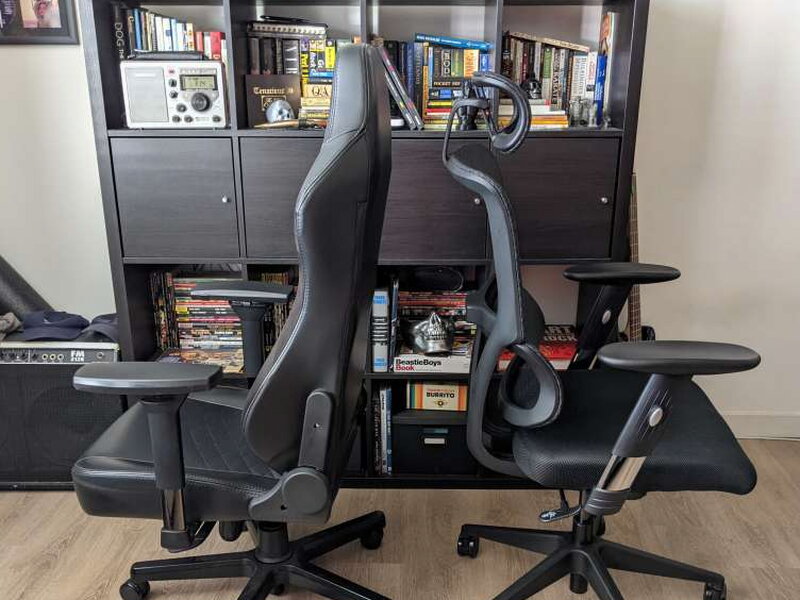
The M4’s one real edge over the Hero is that breathable mesh backrest, but I don’t think that alone justifies pricing it within $20 of the Hero.
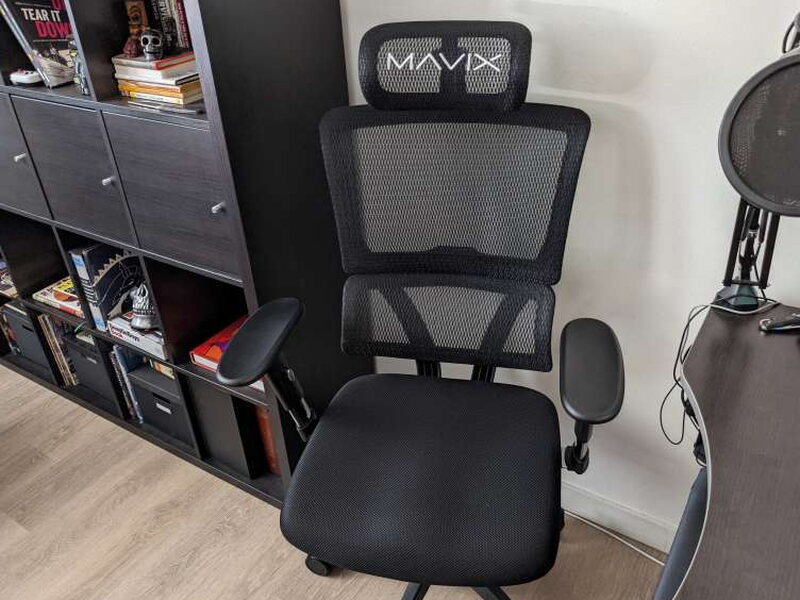
There’s plenty I genuinely like about the Mavix M4: it stays comfortable over long stretches, the lumbar support is clever, and it keeps you cool. Even so, this feels like a chair that should sit closer to $200 than north of $400. Amazon is full of chairs with similar features to the M4 for under $200. Sure, most of those don’t carry the Mavix pedigree or build quality, but I still don’t think that earns a $200 premium.
At the end of the day, it’s up to each person whether to pay more for brand loyalty or a sense of brand quality, but for me the M4 doesn’t justify its current price, especially when Mavix pitches it as an “entry-level” chair.
The Good
- Easy to assemble
- Mesh allows breathability
- Comfortable seat and back support
The Not So Good
- Lacks basic adjustments
- Cheap feeling controls
- Overpriced for features
Quick Questions
Q: Does the armrest adjust in more than one direction?
A: No, it only adjusts up and down – no side-to-side or front-back movement.
Q: Is the base metal or plastic?
A: Plastic, which the review calls out as a letdown given the price and how steep the recline goes.
Q: Does the seat cushion slide or angle?
A: No, it’s fixed in place with no forward/back sliding or angle adjustment.
Q: How long did assembly take?
A: About twenty minutes, and the review calls it one of the chair’s genuine strengths.
The Verdict
The Mavix M4 is a comfy chair; it just isn’t $444.44 comfy. The seat stays soft and inviting through long stretches and the mesh keeps your back from getting sweaty, but going without the basic features I’d expect from a gaming chair at this price stings. It doesn’t help that Mavix labels the M4 entry-level while asking more than plenty of brands charge for their flagships. Given the cheap plastic feel of the base and the few controls the M4 offers, you’d be wiser to put $400+ toward a fully loaded gaming chair, or pick up a sub-$200 generic office chair that pulls off everything the Mavix does.
Price: $444.44
Product Link: Mavix
Source: The sample of this product was provided by Mavix


