LumiTool F20 20W Fiber Laser Engraver – Compact fiber engraving for metal work

Our Score★★★★★4/5
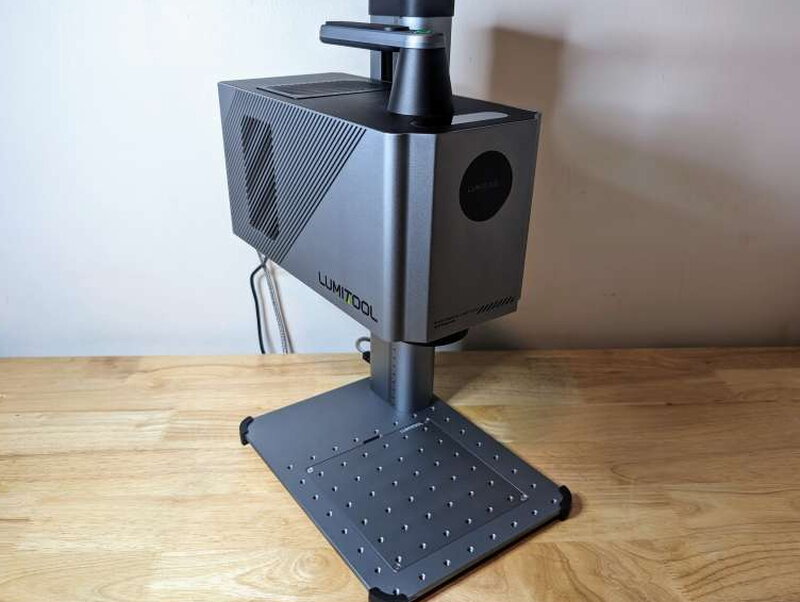
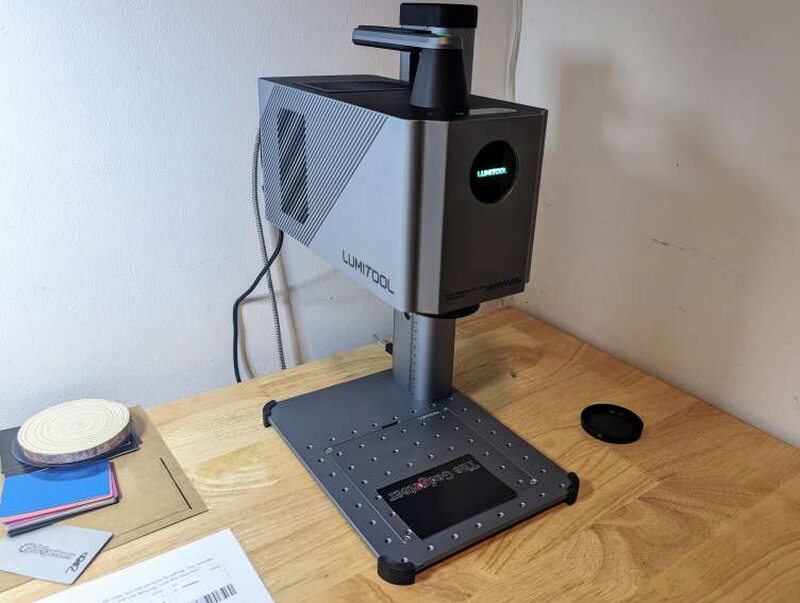
The LumiTool F20 fully assembled and powered up on the bench.

REVIEW – Bench space is the thing that never stops being a problem for a maker. My current laser engraver, the TwoTrees TS2 (which I reviewed back in January 2023), is a great machine that also eats up nearly my whole workbench every time I turn it on. That’s what sent me looking at the LumiTool F20 20W Fiber Laser Engraver, which packs twice the power of the TS2 into roughly a quarter of the footprint. LumiTool ran this as a Kickstarter campaign, and I tested the lowest reward tier at $1599, a 38% discount off the $2599 MSRP.

The Basics

The F20 is a fiber laser that both engraves and cuts at 20W. Inside is a 1064nm laser rated for 0.001mm accuracy, a 1.5mm to 3mm engraving depth, and speeds up to 7000mm/s. It arrives only partly assembled, built around an all-metal body and stand.

In the Box
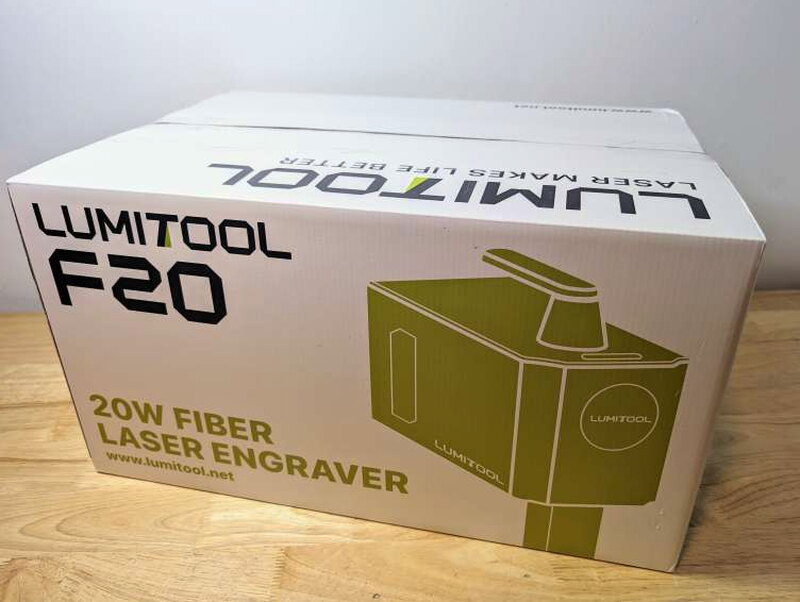
The shipping box, printed top to bottom with the LumiTool name and headline specs.
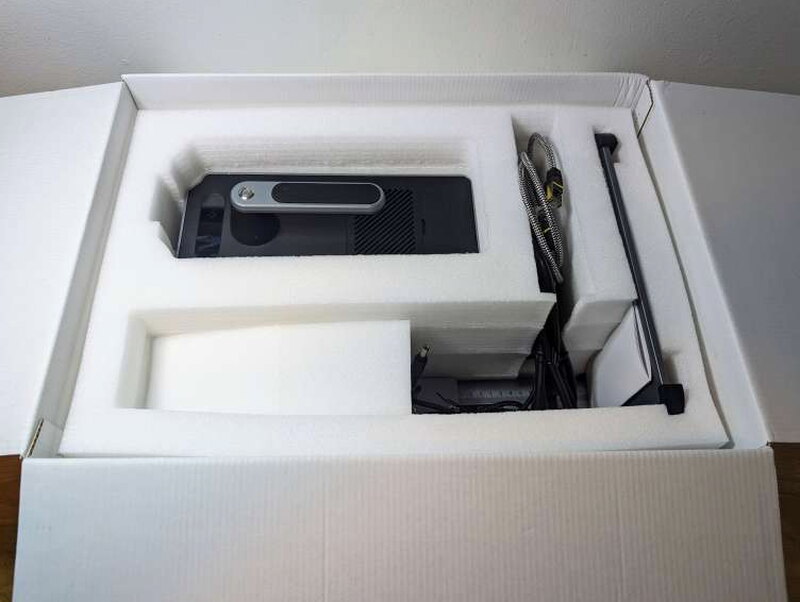
Everything nested in thick cut foam for the trip.

Inside: the LumiTool F20 laser head, a field lens (110 x 110mm), a power adapter, a positioning plate, Allen wrenches, a wooden ruler, a data cable, a user manual, and a handful of material samples to test on.
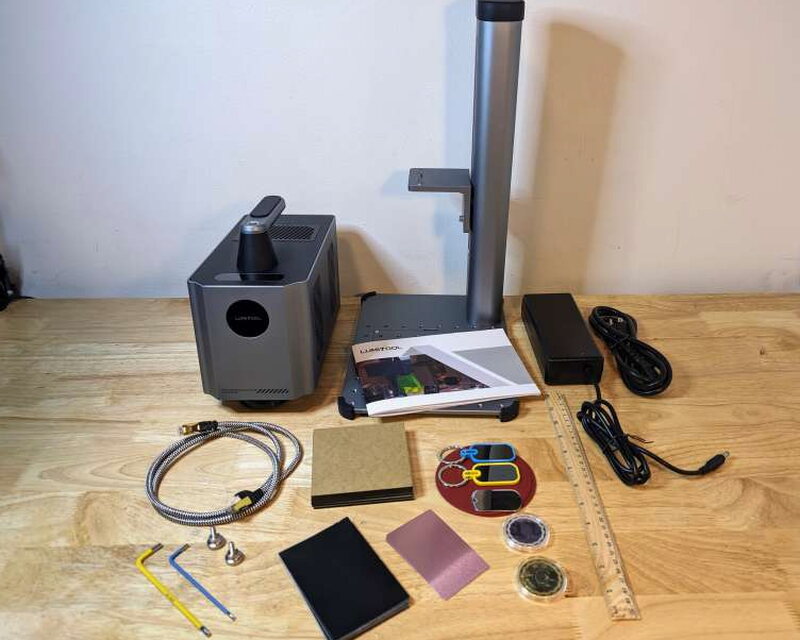
The full kit laid out on the bench.

By the Numbers

The F20 assembled and idle, waiting for a job.
  • Model: F20
  • Laser Type: 20w 1064nm Fiber Laser
  • Engraving Accuracy: 0.001mm
  • Engraving Depth: 1.5mm-3mm
  • Engraving Speed: 7000mm/s
  • Working Area: 110 x 110mm as tested (150 x 150mm available as an optional upgrade)
  • Resolution: 1K/2K/4K/8K
  • Repeat Pulse Frequency Range: 25-67(kHz)
  • Output Power: 18-20W
  • Input Power: 12V/20A
  • Operation Temperature: -15-35°C
  • Laser Head Dimensions: 9.49″ x 3.23″ x 5.5″ (241 x 82.1 x 139.7mm)
  • Laser Stand Dimensions: 10.25″ x 8.58″ x 11.16″ (260.5 x 218 x 283.5mm)
  • Weight: 16.5lbs (7.5kg)
  • Supported File Formats: JPG/PNG/BMP/G-Code/PLT/DXF/AI
  • PC Support System: Windows
  • Mobile Support System:
    • iOS
    • Android
    • HarmonyOS
  • Wireless Connectivity:
    • BlueTooth
    • Wi-Fi

Design and Build

Design is where the F20 shines. It looks modern and sleek, and it carries real weight, which keeps it planted on the bench while it’s working.
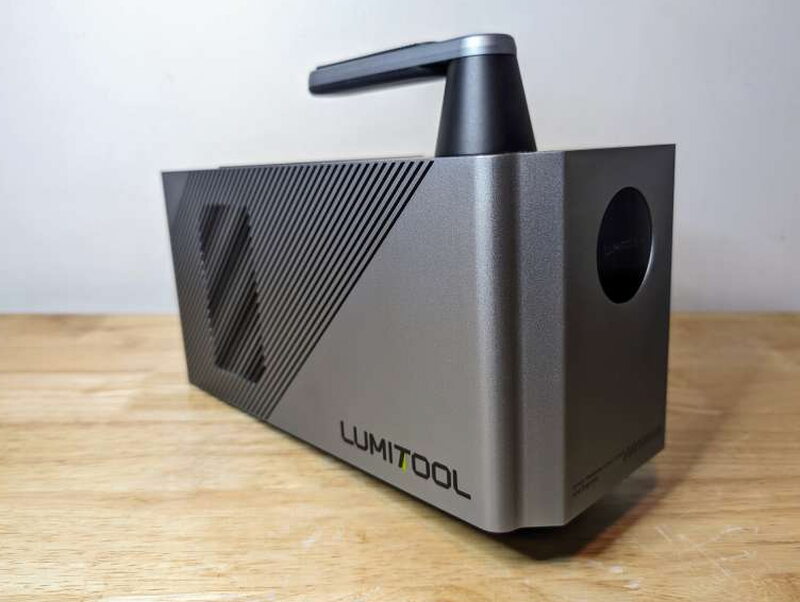
The metallic gray shell up close.

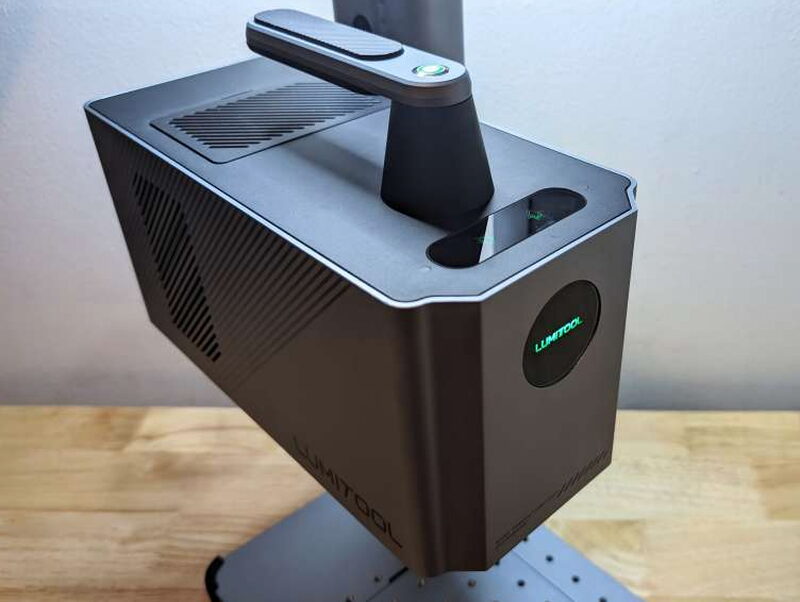
Both the head and the stand wear that same gray shell, which looks good and also does a job, shielding the more fragile internals.
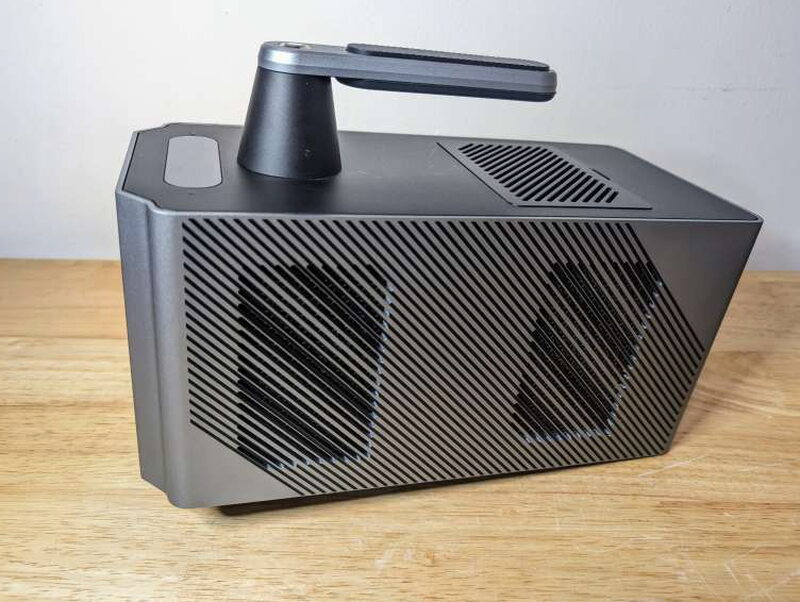
Heat vent slots run along the side and across the top of the head.
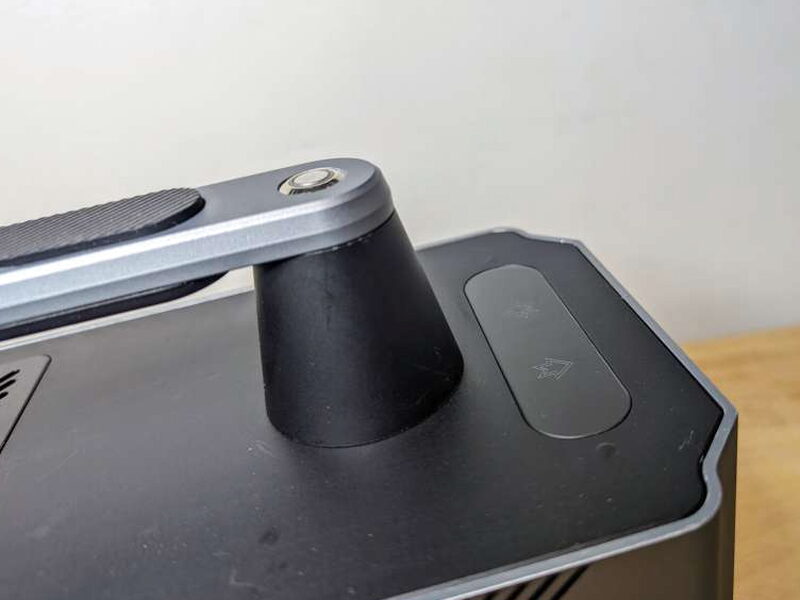
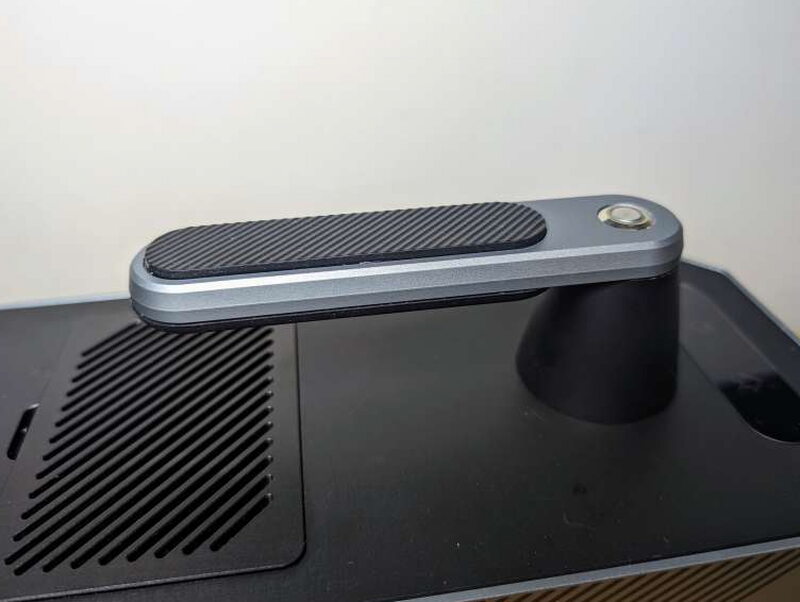
The rubber-gripped handle up top, with the power button built into it.
Just under the handle, a small touch panel for raising and lowering the head once it’s mounted.
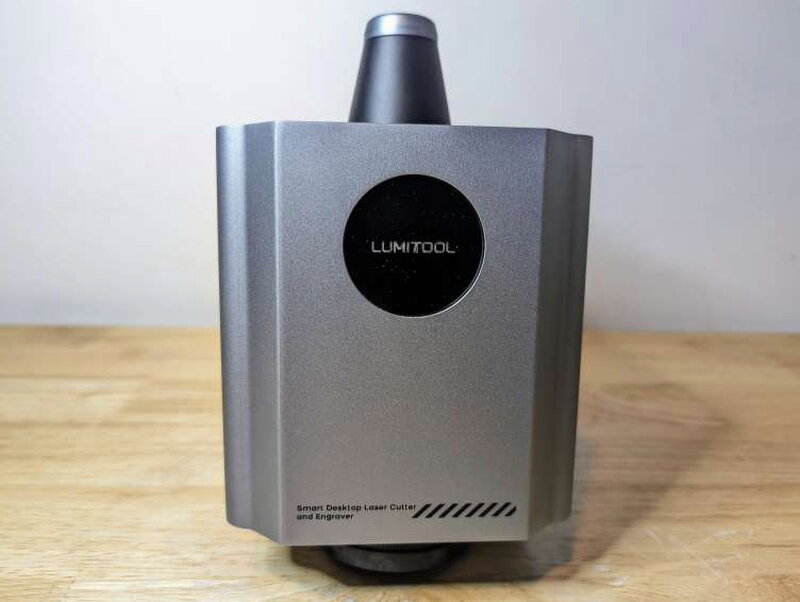
The face of the unit: a couple of heat vents and a LumiTool logo that lights up once it has power.
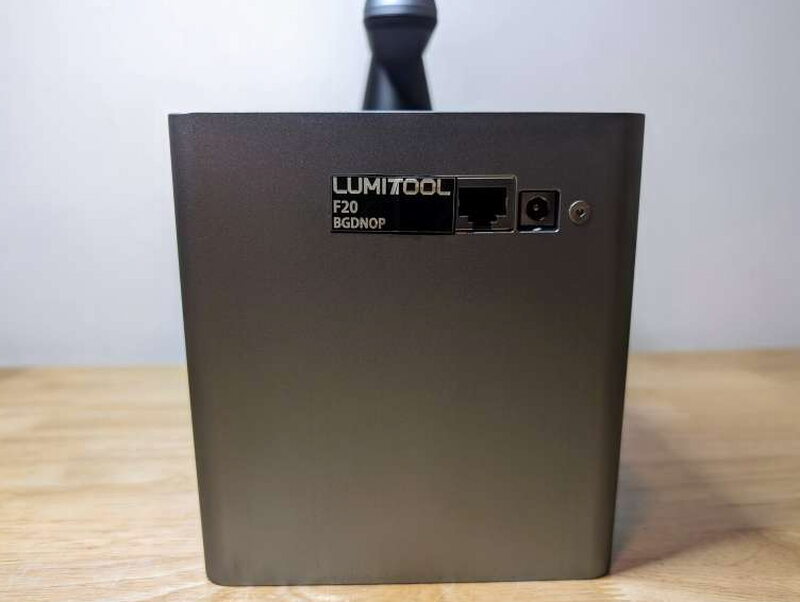
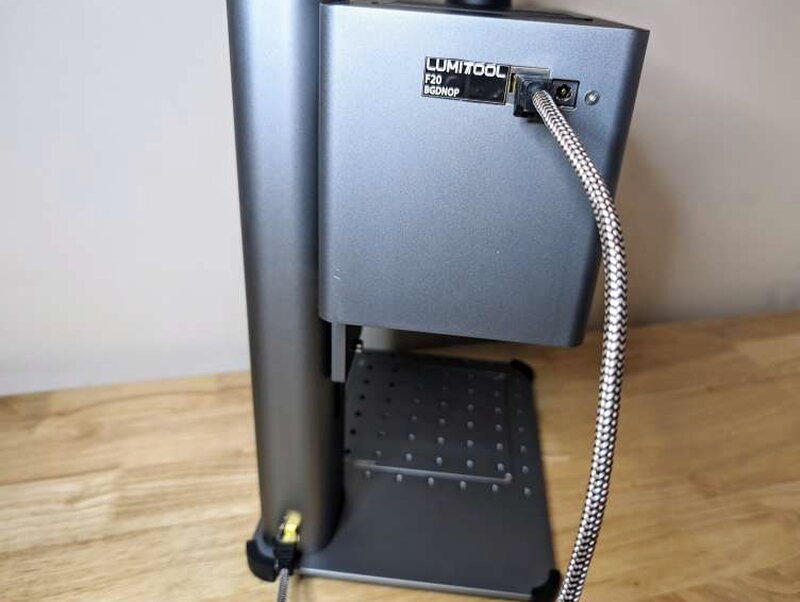
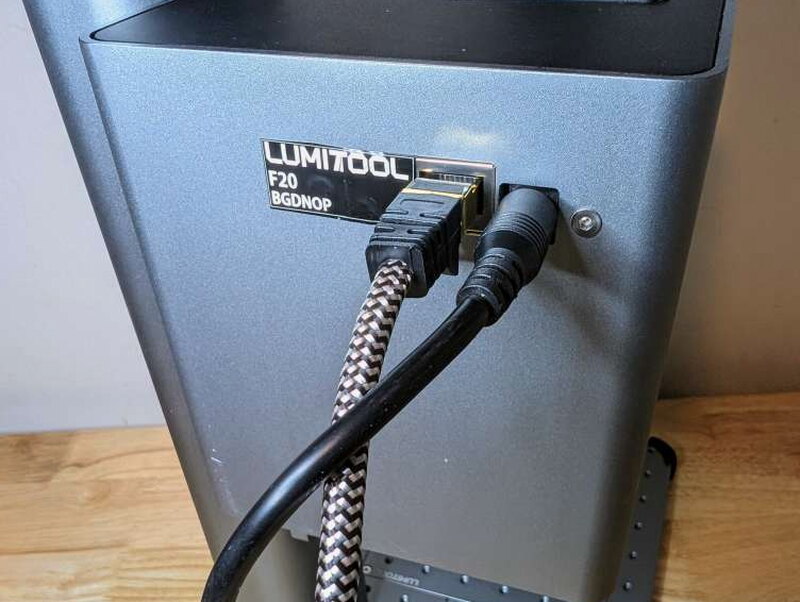
The back panel, with the data port linking head to stand and a small power port beside it.
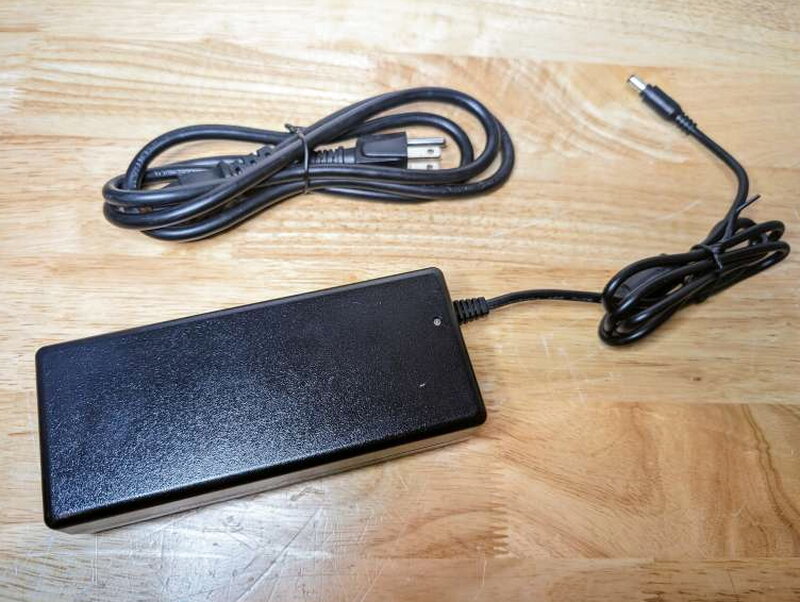
The power brick and cord, a fairly ordinary 12V DC setup.
The data cable, wrapped in a tough braided sleeve that makes it look more like an Ethernet cable than a laser accessory.
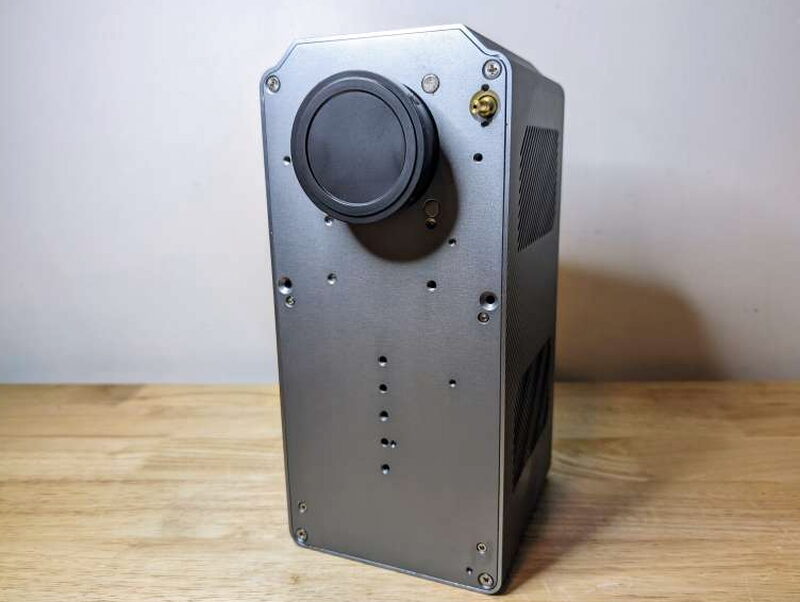
Underneath, the connection points for the positioning plate and the lens.
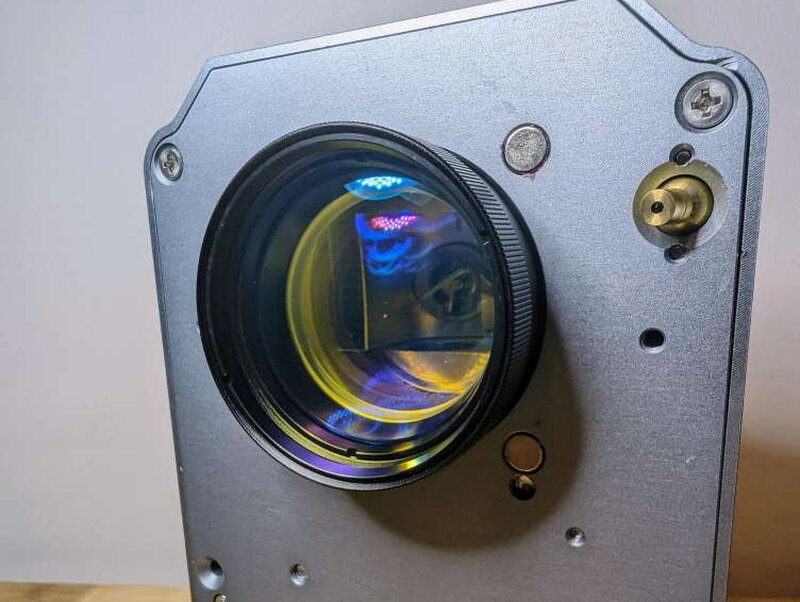
The lens itself, throwing off a little rainbow in the light. My unit shipped with the 110mm x 110mm lens; a 150mm x 150mm option is available for a bigger working area.
The stand and positioning plate, built to the same standard as the laser housing.
The plate from above: 64 threaded holes for locking down material, plus a removable center section for handheld use or odd-shaped objects.
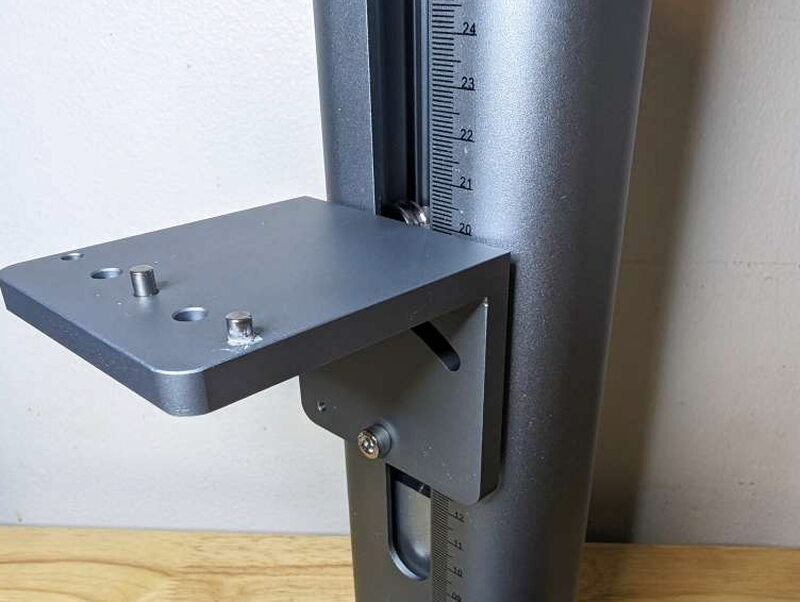
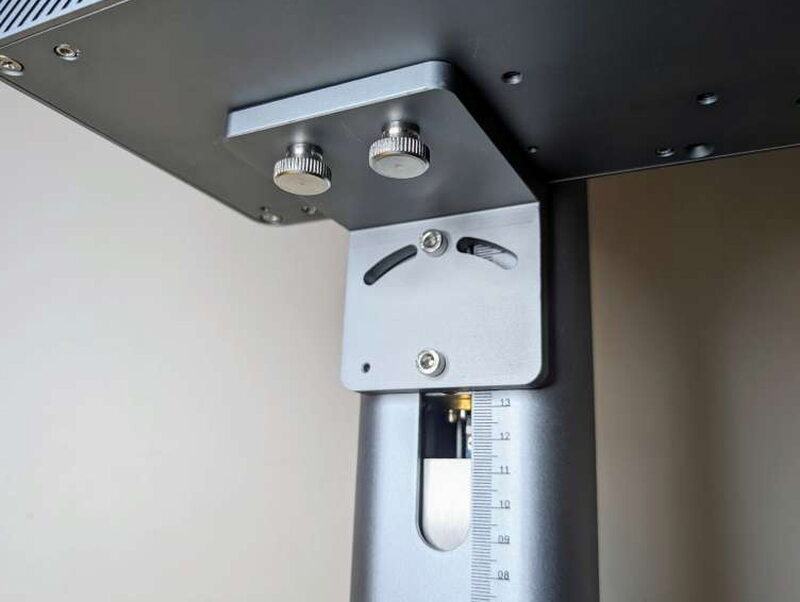
The bracket partway up the post, where the head’s ride height gets set. My test unit had some odd build-up on one of the pegs here, cleaned off easily with a file and a bit of sandpaper.
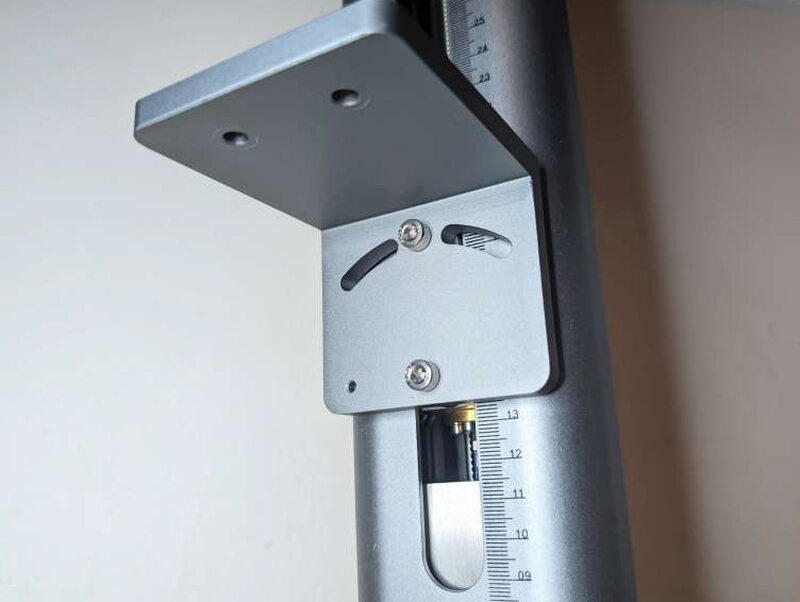
A closer look at that bracket and the two Allen bolts that set the laser’s tilt.
The data port down at the base of the stand, tying the adjustable plate to the laser head.
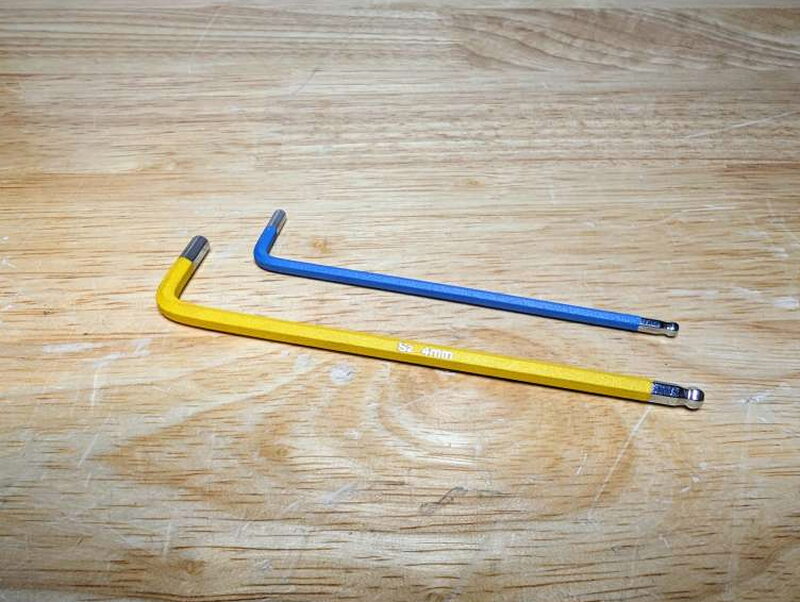
The two Allen wrenches in the box, sized specifically for the tilt bolts.

Putting It Together

Getting the F20 running takes a bit of light assembly, focusing the laser, and installing the app.

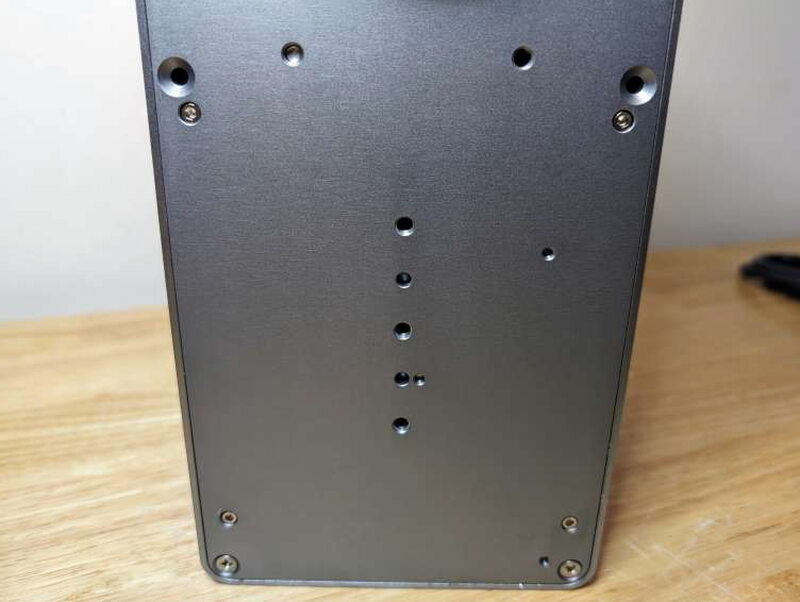
Two pegs on the stand’s adjustable plate line up with holes in the bottom of the laser head.
The underside of the head. The printed instructions were a little confusing, but it wasn’t hard to work out which of the many holes lined up with the plate’s pegs.
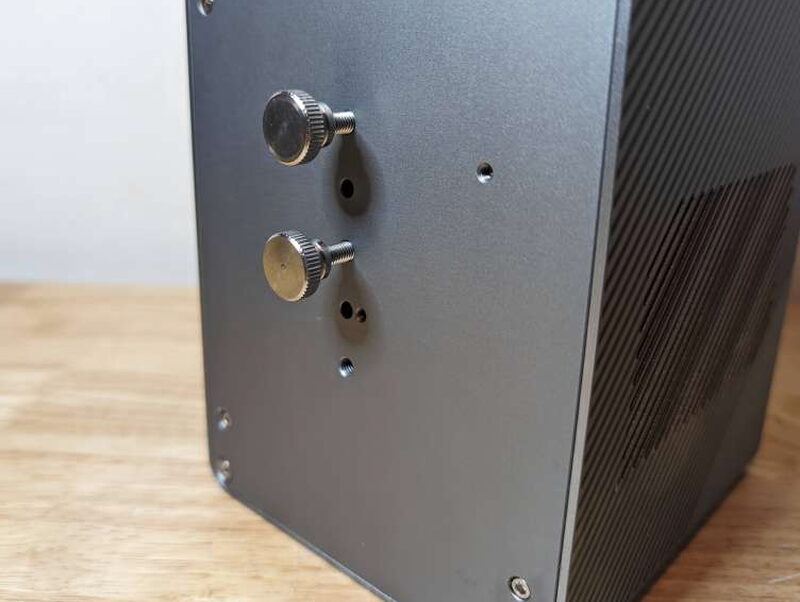
A pair of thumb screws locks the head down firmly. I threaded them in here just to show which holes match the stand’s pegs.
Pegs, holes, and bolts lined up and snugged down. The head sits tight on the stand once this is done.
Assembled, and ready for the data cable and power.
The braided data cable plugged into the back of the head.
Data and power cables, connected side by side on the back panel.
Powered on, the ring around the button glowing green.

Finding Focus

With assembly done, flipping the F20 on lights it up and gets it ready to run.

The two touch-sensitive arrows on the top panel, used to raise or lower the head for focusing.

Take the lens cap off first, and a laser dot shows up on whatever material is sitting on the plate. Focusing is a matter of raising or lowering the head until that dot lands exactly where you want the engraving to start.
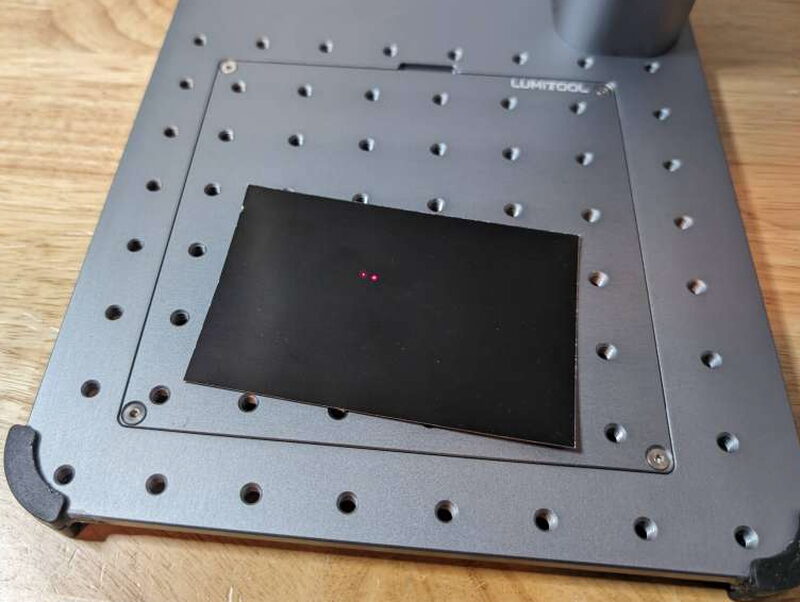
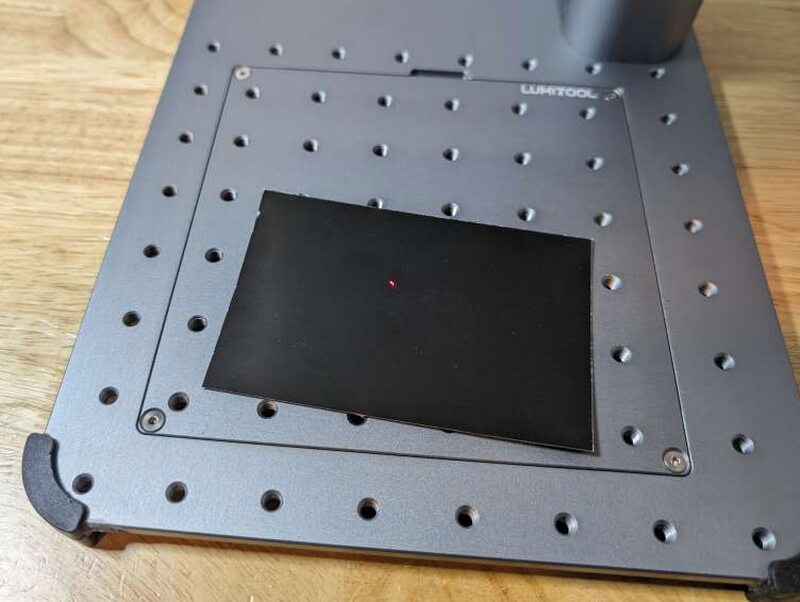
The dot, faint, landing on a piece of the black test material.
Dialed in and centered where the engraving should start.

Inside the App

The app’s home screen lays out eight ways to send a design to the laser. Cloud vector, text, and camera were the three that worked best for me.

Whichever option you pick, expect a lot of guesswork and testing before you land on the right settings for your material and design. The instructions in the box and online were no help at all. It took contacting the LumiTool team directly to get documentation that actually gave me a sense of the right settings per material.

The advanced parameters screen, a few menus deep, for fine-tuning things like trapezoid and pincushion correction.

Engraving Metal

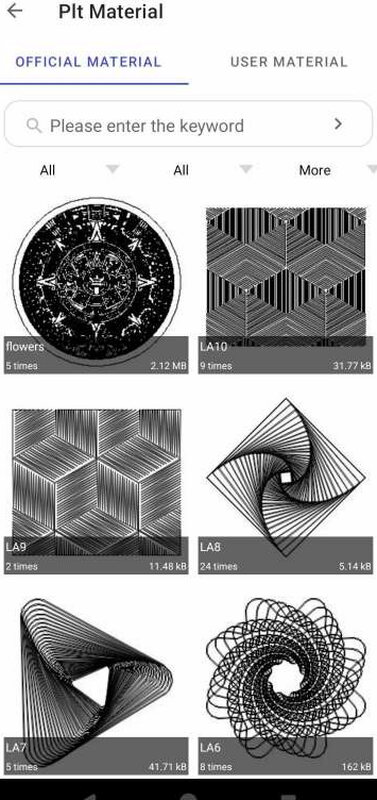
The cloud vector library, stocked with ready-made patterns.

To get started I picked an intricate vector design and ran it on one of the black test sheets in the box. Settings matter a lot here. Get them wrong and an engraving can come out looking like a photo negative, or come out with too much white space and lines with no real weight to them.
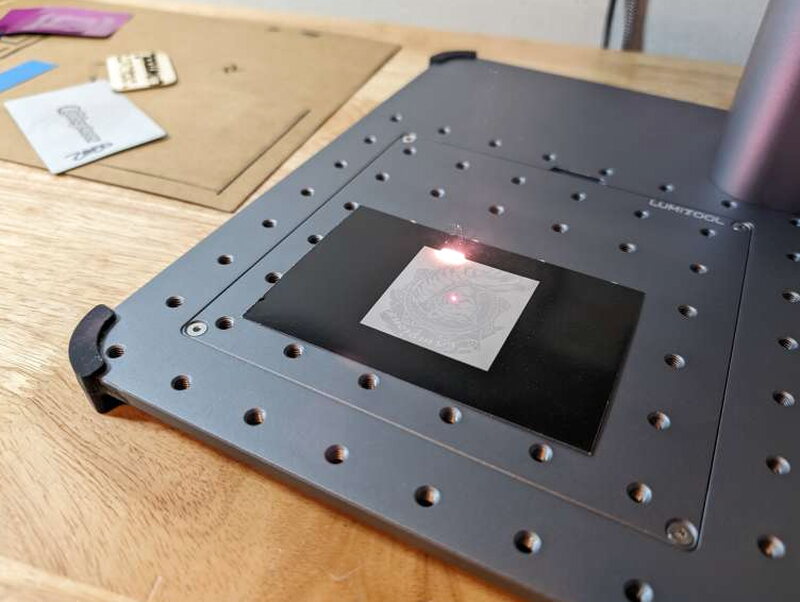
A dense vector pattern mid-pass on the black test material.

Text is the simplest feature on offer, easy enough to use, though the app only gives limited font control (outline, interior pattern, and effects like bold or italic; you can’t actually swap the typeface). I ran through a bunch of interior patterns and outlines on the black test paper, and the F20 is fast and accurate enough that I knocked out three different takes before settling on one I liked.
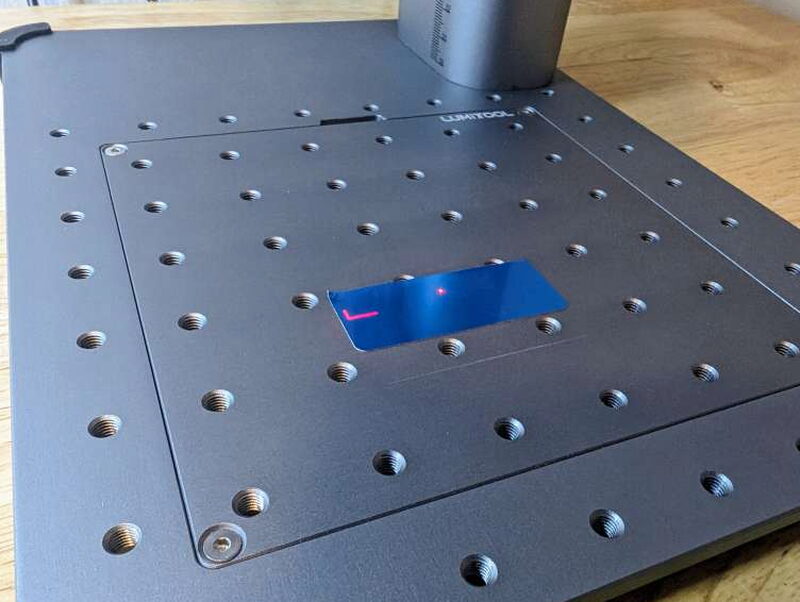
The Fill Setting screen, where spacing and fill direction get dialed in.

Once I understood what the settings actually did, the rest of the engraving options got a lot easier to handle. With the vector tool I gave the LumiTool logo a shot on a piece of aluminum.

Queuing up the logo for a pass on aluminum.
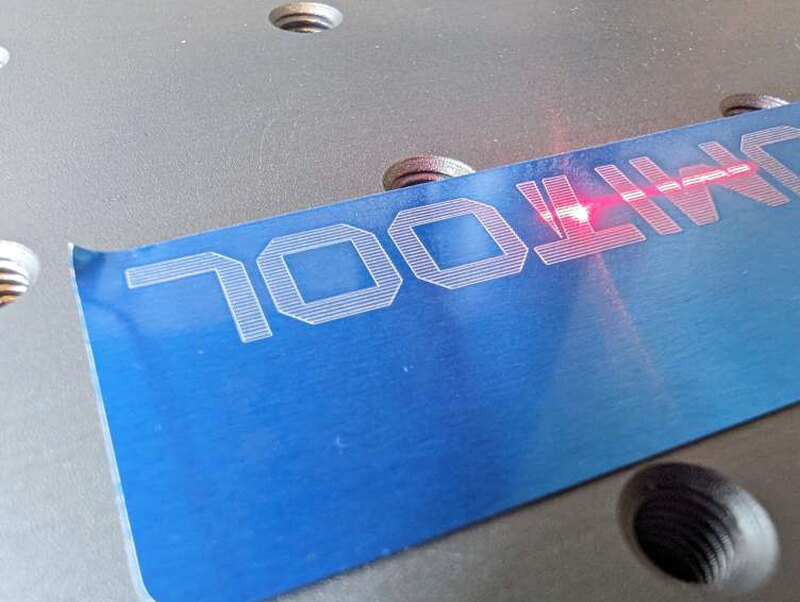
The wordmark, engraved twice on a strip of aluminum, solid interior on one pass and thin-lined on the other. Getting both to look right took a handful of attempts.
A second pass on aluminum, laser mid-line.

There’s something genuinely satisfying about engraving aluminum, watching and hearing the laser burn through the outer coating down to bare metal.
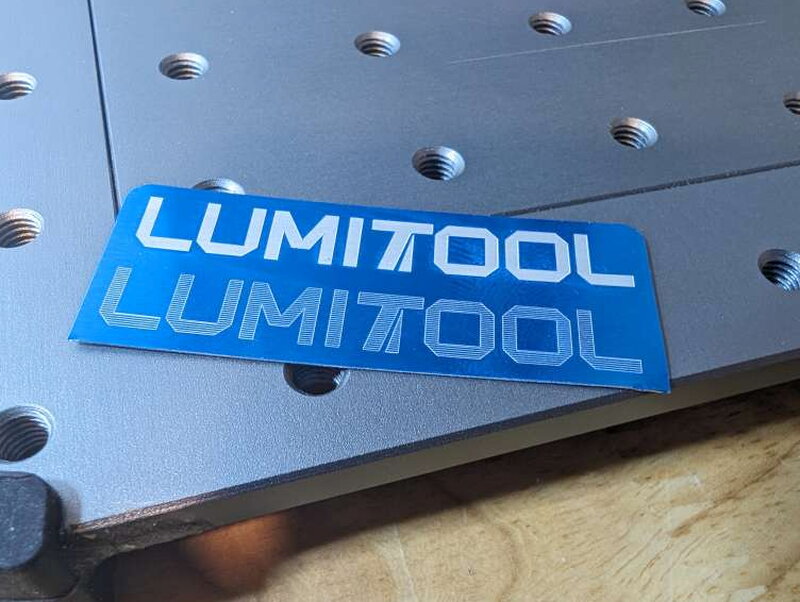
The finished logo, catching the light on brushed aluminum.
A test piece that warped from too much heat. Aluminum is especially prone to this if the power is too high or the pass too slow.
The opposite problem: push the F20 to engrave faster than the material can handle and the outlines go wide and lose their fidelity.

The Camera Feature

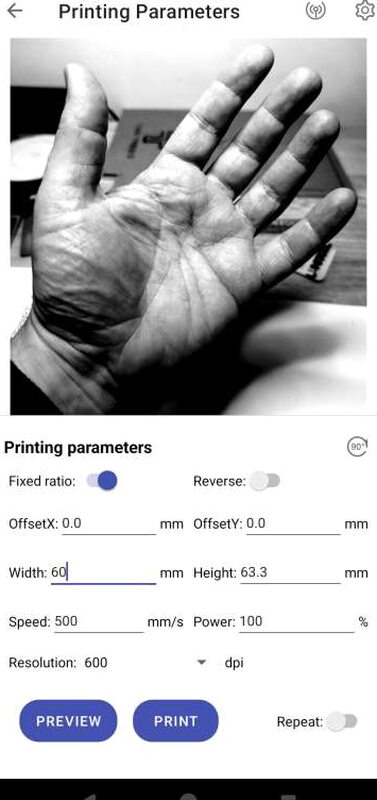
With the camera feature you snap a photo and send it straight onto a material.

A hand photo loaded up and queued for a pass.
The result, engraved onto black material. Dialing in a genuinely usable image this way took some trial and error.

More Vector Work

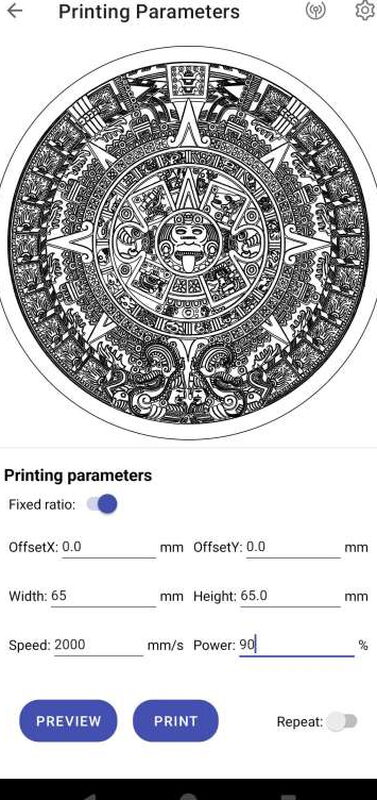
Back on the vector tool, I ran some more complex designs, and they turned out great. The one real gripe: nailing the right spacing takes a lot of tweaking, more the more complex the design gets.
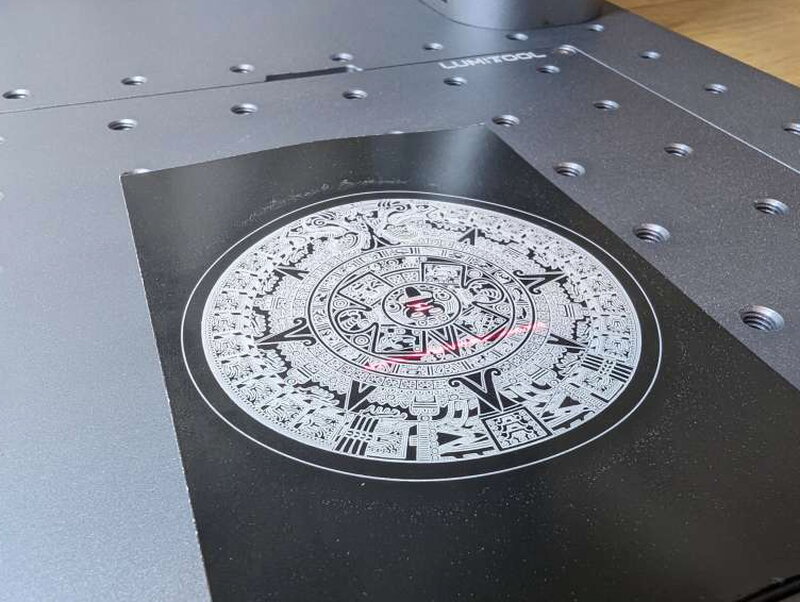
An Aztec calendar design queued up in Printing Parameters.
The finished engraving on aluminum, every line intact.

Cutting

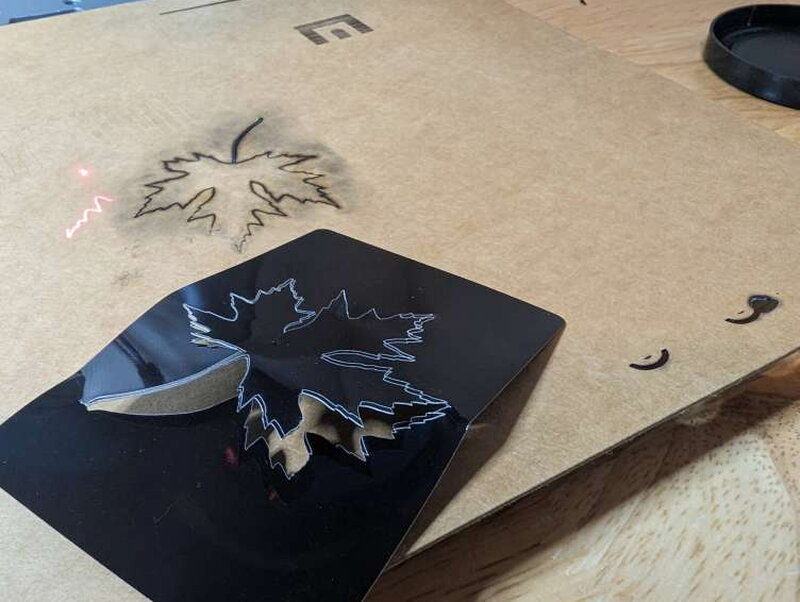
I tried recreating one of the images from the LumiTool demo by cutting through thin aluminum, and it didn’t go as well as I’d hoped, mine came out rougher than the demo version. The F20 isn’t really built for wood either, but I tried a leaf shape on scrap wood I keep around for the TwoTrees TS2. Run at full power, it burned the design in but couldn’t cut all the way through.

A maple leaf outline, cut clean through a sheet of black material.

A Tag for Addy

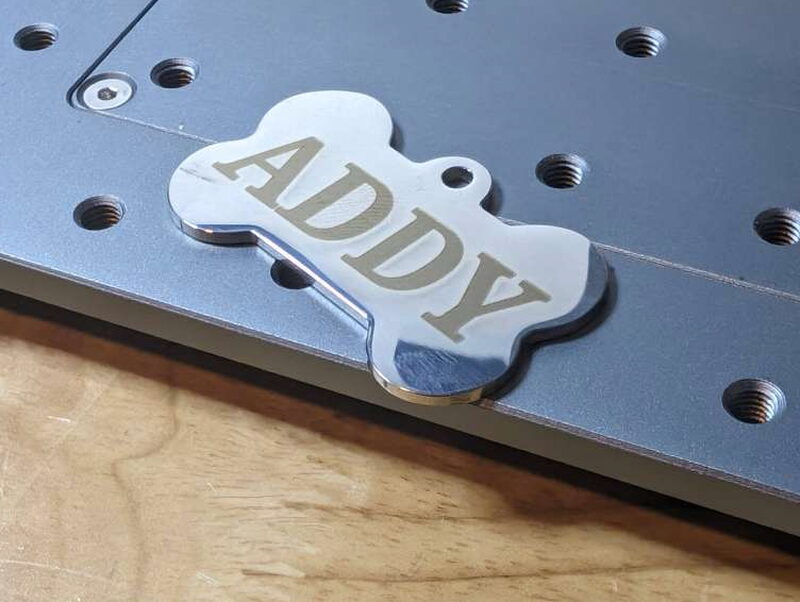
Circling back to the text feature, I finally put the LumiTool to work on something I actually needed, a fresh name tag for my dog, Addy.
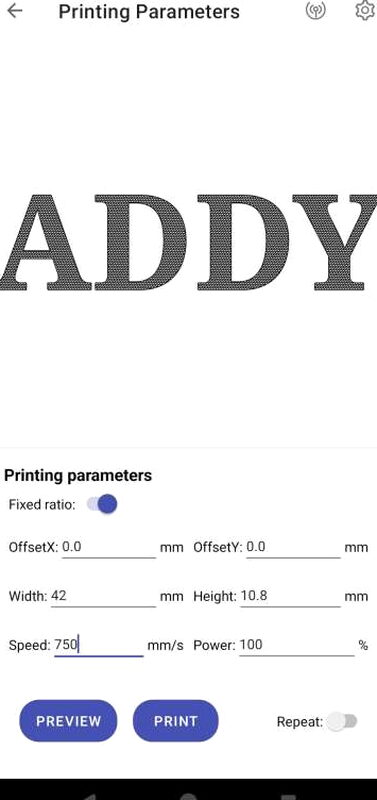
The text job queued up, ready to fire.
The finished tag: a bone-shaped blank with Addy’s name engraved in clean, deep lettering.

What impressed me here was the depth of the text and how clean the edges came out. Materials like stainless steel and aluminum are really where the LumiTool does its best work.

The AI Angle

LumiTool talks up the app’s tie-in with the AI service Midjourney, but I found it barely useful in practice. It’s really just a Midjourney prompt box baked into the app, which beats nothing, but you’re better off generating the image with pretty much any other AI service and uploading the result. That route makes tweaking a prompt or spinning up new versions much easier.

The AI diagram feature’s task list, with a submitted photo of an actual grey and white pitbull in a winter hat.

Final Thoughts

The F20, set up and ready to go on the bench.

All told, I had a good time with the LumiTool F20. Dialing in settings took a ton of testing, but the results made the headaches worthwhile. The unit runs well and looks fantastic, coming off more like a futuristic art piece than a laser engraver.

The Good

  • Great compact design and build quality
  • Effective on different materials and objects
  • Can also be used in a handheld configuration

The Not So Good

  • Confusing / Non-existent instructions
  • Takes a lot of test passes on materials to get proper results
  • AI aspect of unit is mostly useless

Quick Questions

Q: What’s the LumiTool F20’s footprint compared to other laser engravers?
A: Much smaller. The review compares it directly to the reviewer’s TwoTrees TS2, saying the F20 packs twice the power into roughly a quarter of the footprint.

Q: Are the instructions helpful?
A: No, they’re called out as confusing, and the reviewer had to contact LumiTool directly to get real per-material settings guidance.

Q: Is the AI/Midjourney integration useful?
A: Not really. It’s described as barely useful in practice, just a basic Midjourney prompt box, and generating images elsewhere and uploading them works better.

Q: Can it cut all the way through wood?
A: Not reliably at full power in this test. It burned a design into scrap wood but couldn’t cut all the way through.

The Verdict

When bulky machines are hogging your bench, the LumiTool F20 20W Fiber Laser Engraver makes a great alternative. Being so compact even unlocks extras, such as angling the laser differently or using it handheld. That $1599 price seems steep up front, but stacked against similar engravers with weaker builds, it’s genuinely a good value. The AI stuff mostly disappoints and the instructions are worthless, but the engraver itself has more than earned its place in my workspace.