
REVIEW – Being stuck at home more than usual during the pandemic had one upside: I finally had time to get back into 3D printing, a hobby I’d been neglecting because it used to be expensive and slow. Printers have gotten cheaper and better since then, and the Labists ET4 is one of the budget options riding that wave, $249 for a machine with auto-leveling, filament-run-out detection, and print resume built in. The catch: strip away the branding and the ET4 is a straight rebrand of the ANET ET4, and nobody at Labists could tell me what their version actually does differently. I judged it purely on how it performed over several weeks of printing anyway.
The Basics
The ET4 is a Cartesian FDM printer you assemble yourself, running 1.75mm PLA or ABS off an SD card or USB connection, controlled through a built-in LCD touchscreen. The feature list is legitimately good for the price: auto bed leveling, a filament sensor that catches broken strands mid-print, and a resume function that picks a job back up where it left off.
What’s in the Box
- Labists ET4 Platform
- Metal Frame
- Extruder
- Filament Rack
- Filament Holder
- Power Cord
- Roll of PLA Filament
- USB SD Card Reader
- SD Card
- User Manual
- Allen Keys
- Connecting screws and hardware
By the Numbers
- Technology: FDM (Fused Deposition Modeling)
- Print Filament: 1.75mm PLA, ABS
- Nozzle Diameter: 0.4mm
- Max Printing Speed: 150mm/s (Recommended speed: 30-60mm/s)
- Max Nozzle Temperature: 250℃
- Max Hotbed Temperature: 100℃
- Printing Size (Build Volume): 220mm x 220mm x 250mm
- Unit Dimensions: 440mm x 340mm x 480mm
- Unit Weight: 7.4 kg
- Layer Thickness: 0.1mm – 0.3mm
- Precision: ± 0.1mm
- Compatible Systems: Windows, Mac
- Connection: USB, SD Card
- File Format: STL, G-code
- Recommended Slicing Software: Cura
- Power Input: 100- 240V AC
- Working Temperature: 10°C – 40°C
- Working Humidity: 30% – 90%
Assembly, Start to Finish
Before any printing happens, there’s real assembly to get through, and this is where the ET4 loses points fast. I always follow whatever instructions ship in the box, since that’s what a typical buyer would rely on, and the ET4’s manual is close to useless: skipped steps, unclear diagrams, and a pointer to a YouTube “operation video” that’s just as confusing. Support wasn’t much better. One rep told me never to flash ANET firmware onto the ET4 or I’d wreck it; another rep’s own fix for a question was a link to the ANET site. I ended up Googling my way through assembly using tutorials mostly made for the ANET version.


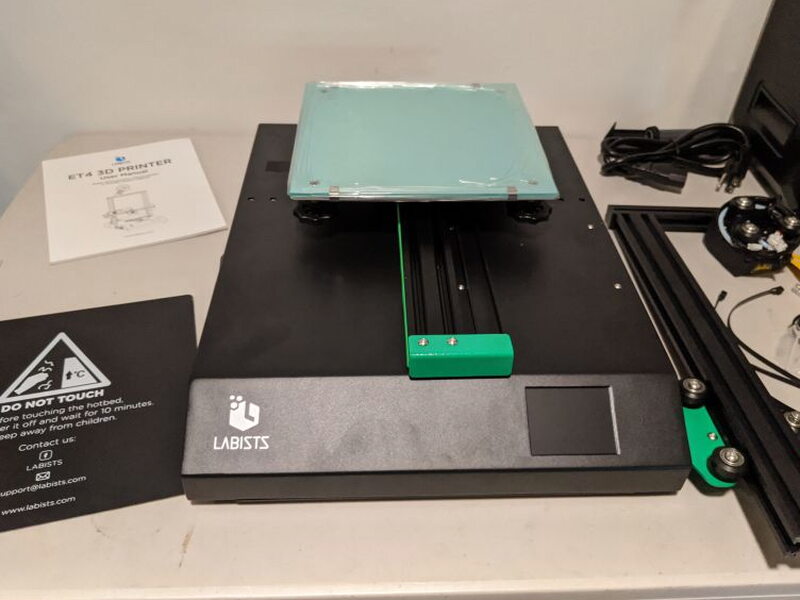
The first real step is bolting the upper metal frame to the platform base. Flip the base over and the mounting holes for the frame’s screws are right there.

That’s the toughest part of the whole build, since the frame is awkward to hold steady and the base is heavy. Once it’s fastened, the rest goes smoothly provided your instructions are decent. One step the manual leaves out entirely: peeling the stabilizing plastic strips off the base rails before you run setup. Skip that and you risk real damage to the machine.
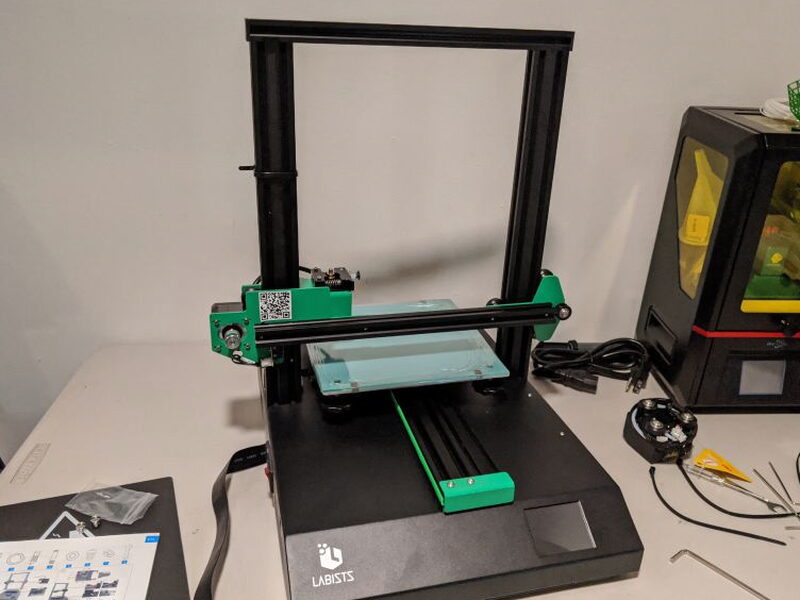


With the strips off, the print head module mounts onto the top rails, and a long rubber drive belt loops around the pulleys to drive it back and forth.
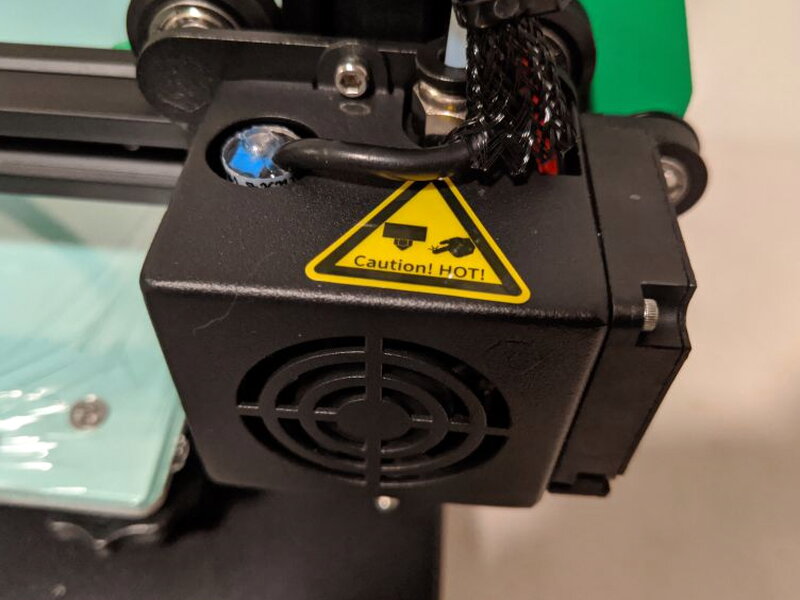


Next is wiring. The connection board on the back looks daunting at a glance, but every port is labeled, even if the print is tiny. Double-check each connector and the main controller ribbon cable seat all the way into their matching plugs.


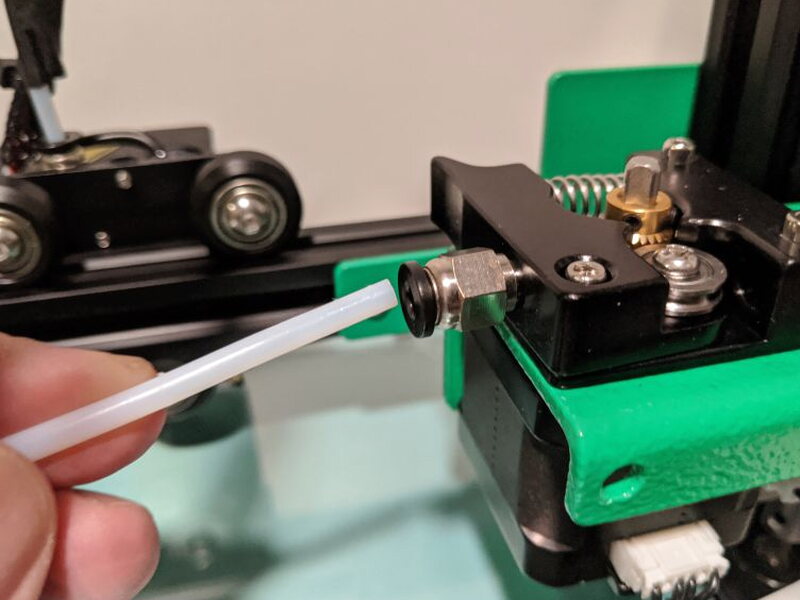
Once the wiring’s done, the included Bowden tube pushes into simple fittings on both the print head and the filament feeder, and the filament holder screws onto the top of the frame.

Last step: peel the backing off the included plastic bed cover and lay it onto the glass print bed. With the bed protected, it’s on to calibration.

Calibration and the Touchscreen
Everything on the ET4 runs through a small 2.8-inch touchscreen, and the interface is poorly laid out and genuinely unintuitive. Expect to tap the wrong option, back out of menus by accident, and generally feel a little lost at first.

Auto-leveling is one of the ET4’s genuine bright spots, though. Normally you’d level a bed by hand, sliding the print head around and slipping a piece of paper under the nozzle to judge the gap. The ET4 can still do that, but letting it handle things automatically is far easier: it checks the nozzle-to-bed distance at nine points across the surface and compensates for the differences as it prints, keeping every layer the same distance from the bed.


Feeding Filament and Loading a Print
With calibration done, it’s time to print. A little white PLA ships in the box, so that’s what I used first. Squeeze the spring on the filament feeder, then feed the filament through the filament detector and into the Bowden tube.

That filament detector is a genuinely useful feature, a small electric eye in the little black box next to the feeder that can tell when the strand has snapped. Most budget printers have no idea when filament stops feeding and will happily keep “printing” thin air until the job is supposedly done. Pair the detector with the ET4’s resume function, and a broken strand just means reloading filament and picking the print back up where it left off.
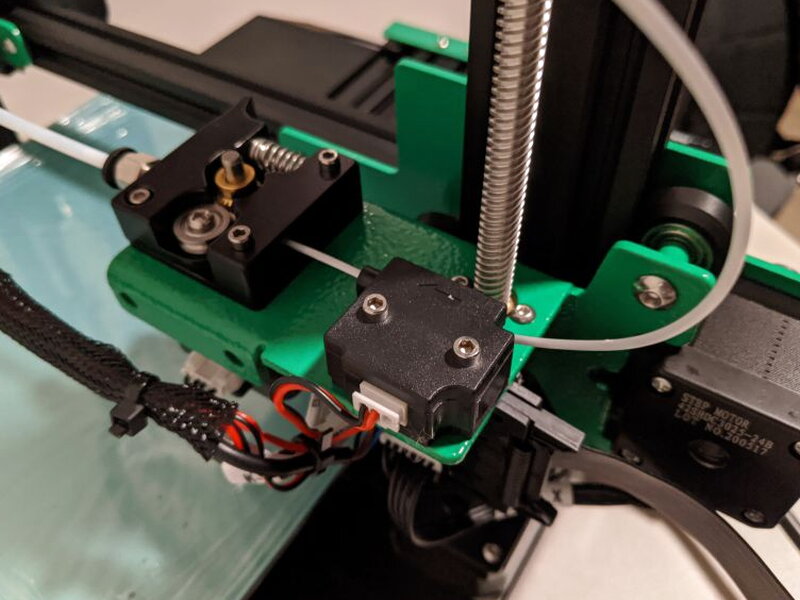
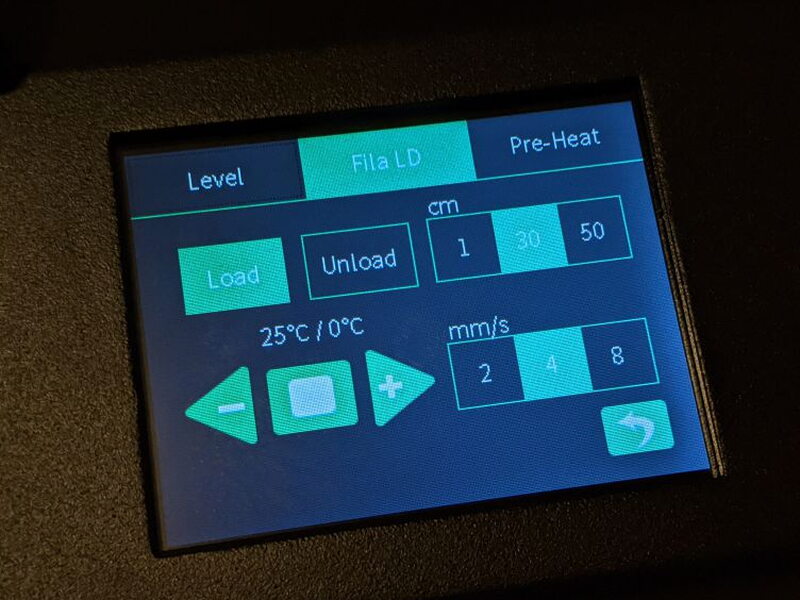
From the load screen, you push the filament the rest of the way up into the print head.
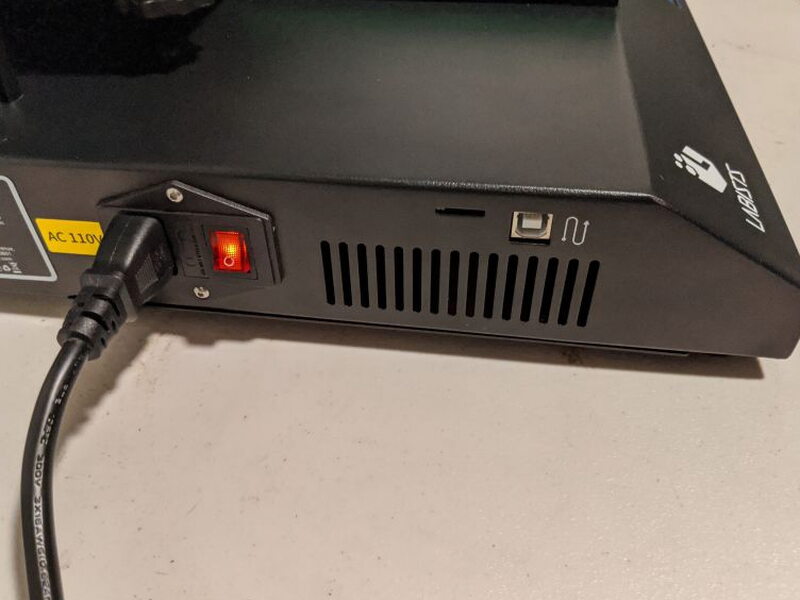
Models load from USB or SD card, both ports sitting on the left side of the machine right next to the power switch.
Going the SD card route, you open the file menu, pick a model, and hit OK. The card ships preloaded with a few test files, but true to my luck with Labists, not one of them printed correctly, so I reformatted the card and loaded my own test models.

Watching It Print
Once you pick a file, the ET4 gets moving right away. It’s not especially loud next to other printers in its class, and depending on the model’s complexity and your speed settings, it works through a job efficiently enough. A progress bar on the touchscreen keeps you posted the whole way.
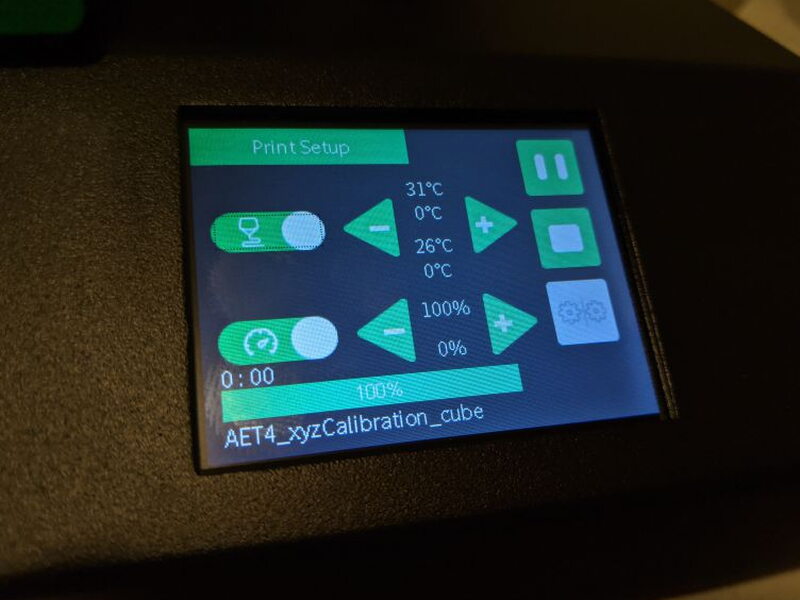
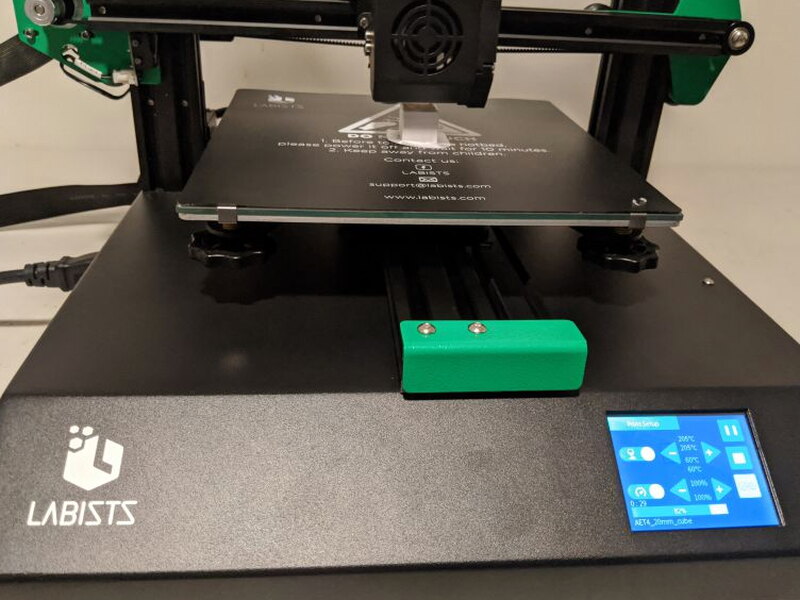
When a job wraps up, the head and bed return home and the screen lets you know it’s ready.

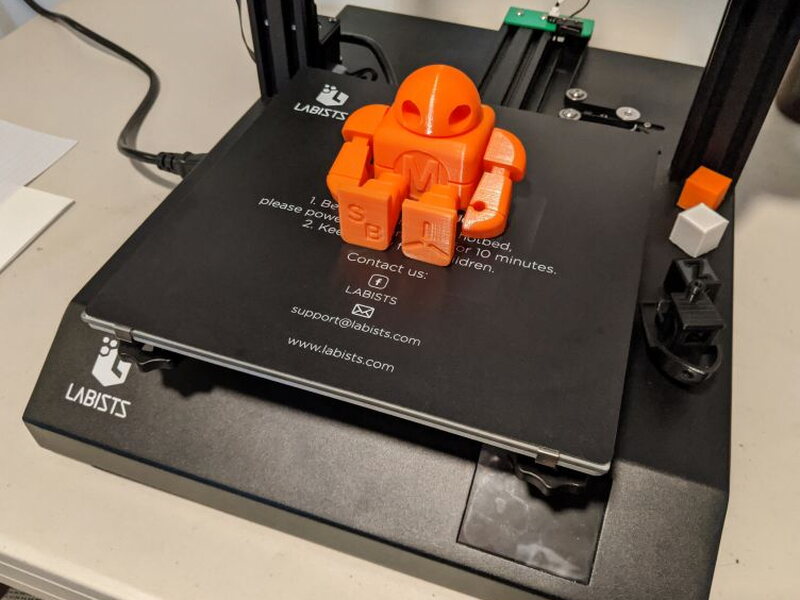
The quality coming off the ET4 genuinely impressed me. A few small issues cropped up along the way, but tweaking print temperature and speed sorted most of them out, and on the whole the prints looked great.

Whatever hiccups I did run into, like the odd clogged nozzle, had nothing to do with the ET4’s design specifically. That’s just par for the course with 3D printing in general.

Stress-Testing It: Benchy, Cubes, and the Torture Test
To really put the ET4 through its paces, I spooled up some black Hatchbox PLA and turned to the classic 3D printing benchmark: Benchy the tugboat.

People lean on Benchy because the model packs in a bunch of details that trip up lesser printers. The ET4 crushed it, with just a tiny flaw on the front of the portholes, nailing the overhangs and symmetry beautifully.

I also ran off an XYZ 20mm calibration cube, the same one I use to dial in every printer I test. The ET4 reproduced it flawlessly.


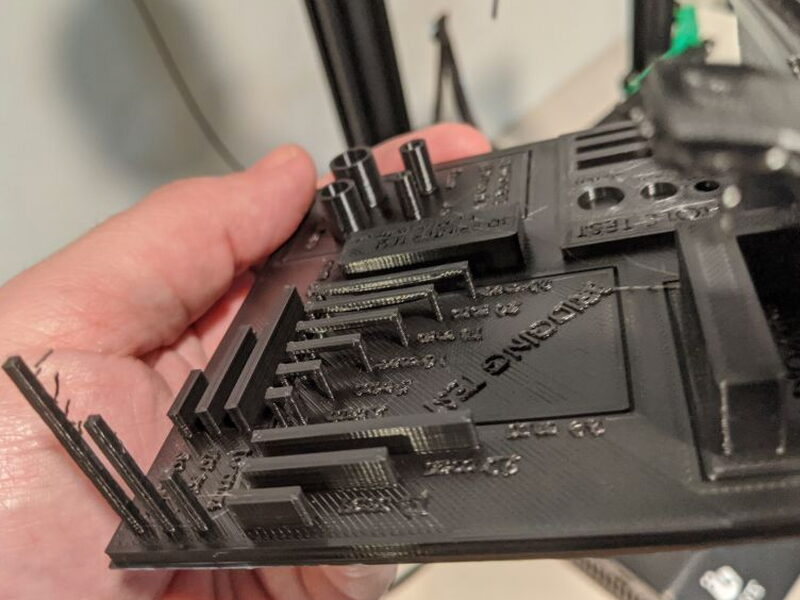
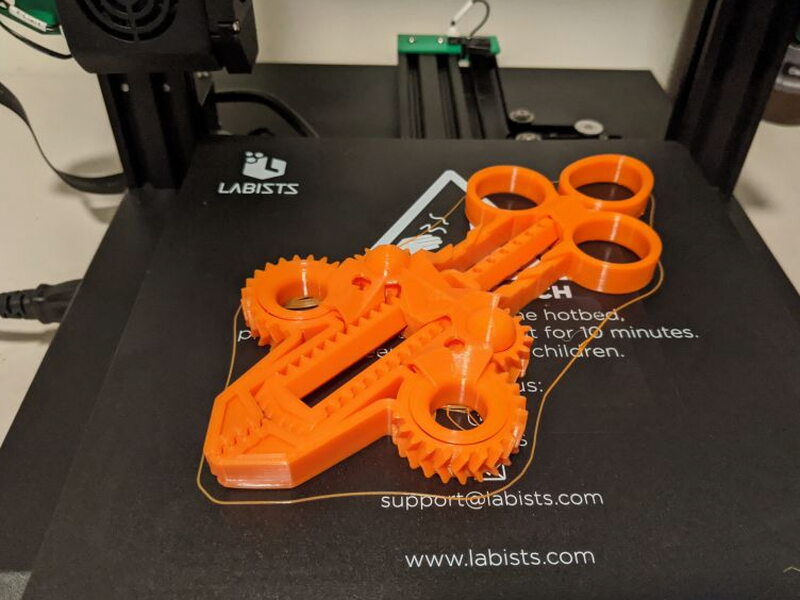
With the simple tests done, I wanted to see what the ET4 was really capable of, so I loaded a huge 3D-printing torture test that piles on every challenge most printers stumble over. It took more than nine hours to finish, but the results held up: overhang angles stayed clean out to roughly 70°, and fine details like the bridging tests came out looking flawless.


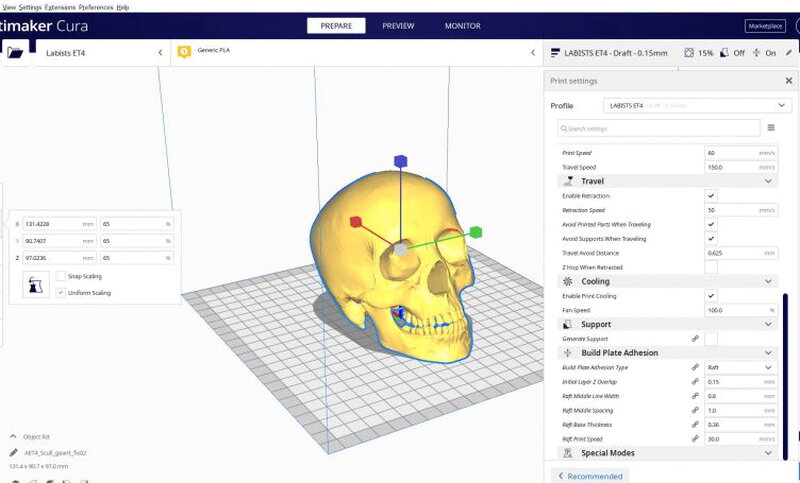
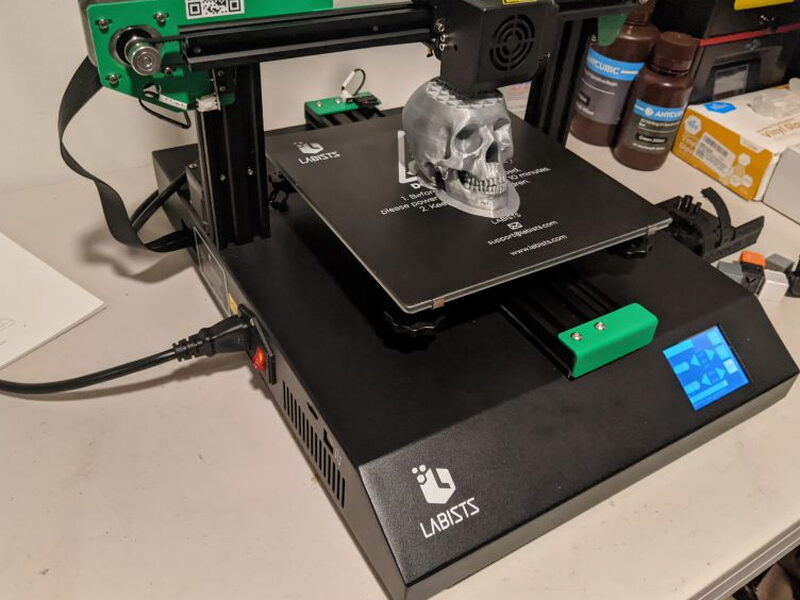
For custom prints, I sliced everything in Ultimaker Cura, the industry standard and the slicer Labists itself recommends. The version bundled with the ET4 is pretty dated, so I grabbed the current release and spent a little time building a proper profile for the printer. Once that was dialed in, slicing whatever I wanted to print was easy.
Where the Cracks Show
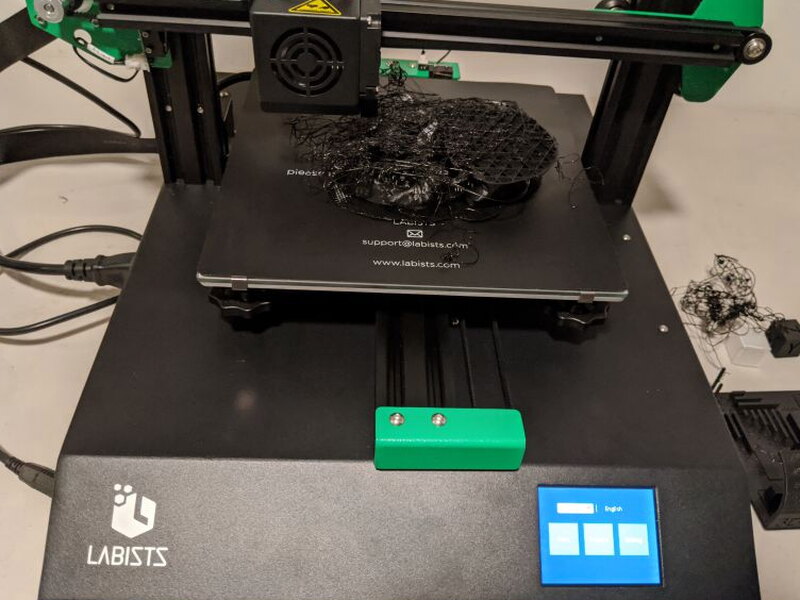
Not every print went smoothly. I lost at least one job to a total tangle, filament that kept extruding into open air instead of onto the model.
I turned out a mountain of good prints on the ET4 overall, which only makes the support experience sting more. This is a strong printer on paper, but for a lot of 3D printing enthusiasts the whole appeal of a budget machine is upgrading it yourself. The community around this hobby is deeply DIY, and one of the first things most owners do after dialing in their printer is print replacement parts for that very printer. Third-party add-ons like OctoPrint, which turns a budget printer into a network-controllable machine, don’t work properly on the ET4, specifically because Labists doesn’t update its firmware as often as ANET does for the identical hardware. No firmware updates means no new features and no fixes for the printer’s rough edges, which undercuts the whole reason to buy an affordable printer you plan to grow with.
I’ll keep the ET4 around as a backup, making parts for my other printers and running off test projects, but it’s a real shame I can’t network it or count on Labists to keep its firmware current.

The Good
- Excellent print quality once properly calibrated
- Solid construction
- Affordable and feature-rich
The Not So Good
- Setup instructions are terrible
- Customer support is appalling
- Unit is not upgradeable or compatible with third-party options like OctoPrint
Quick Questions
Q: Is the Labists ET4 actually a Labists-original design?
A: No, it’s a rebrand of the ANET ET4, and Labists could not explain what, if anything, is different about their version.
Q: Does it include filament sensing and print resume?
A: Yes, a filament detector catches a broken strand mid-print, and paired with the resume function you can reload filament and pick the job back up where it left off.
Q: Does the ET4 work with OctoPrint or other third-party upgrades?
A: No, OctoPrint and similar third-party add-ons don’t work properly on it because Labists doesn’t update the firmware as often as ANET does for the identical hardware.
Q: How was the assembly manual?
A: Poor. The included manual skipped steps and had unclear diagrams, and support gave conflicting advice about firmware, so most of assembly required outside tutorials meant for the ANET version.
The Verdict
The Labists ET4 3D Printer is a budget-friendly entry-level machine. Get it properly set up and calibrated and it can turn out genuinely high-quality prints, backed by nice features like auto-leveling, broken filament detection, and resume printing. At $249.99 it costs about the same as similarly specced printers, and the exact same as the identical but far better supported ANET ET4. Weigh all that up, and I honestly can’t find one reason to pick the Labists ET4 over the ANET version. The ANET has better documentation, better support resources, and a company with real 3D printing history behind it. Anyone hunting for a sub-$300 FDM printer should pass on the Labists ET4 and look to makers like ANET instead.
If you’re comparing options in this category, see The Best 3D Printers I’ve Tested (So Far) for how this one stacks up against the others I’ve tested.
Price: $249.99
Product Link: Labists
Source: The sample of this product was provided by Labists.


