
REVIEW – VR is at its best when the headset disappears and the room turns into the game. The cable running back to a PC or game console is the part that keeps reminding you where you really are. It can drag, snag, wrap around your legs, or pull at the headset just when you are getting into a session. KIWI design’s V2 VR Cable Management system attacks that problem with a ceiling mounted pulley kit, and at $26.99 it turned out to be a very affordable upgrade for a wired VR setup.
What the V2 Is Made to Do
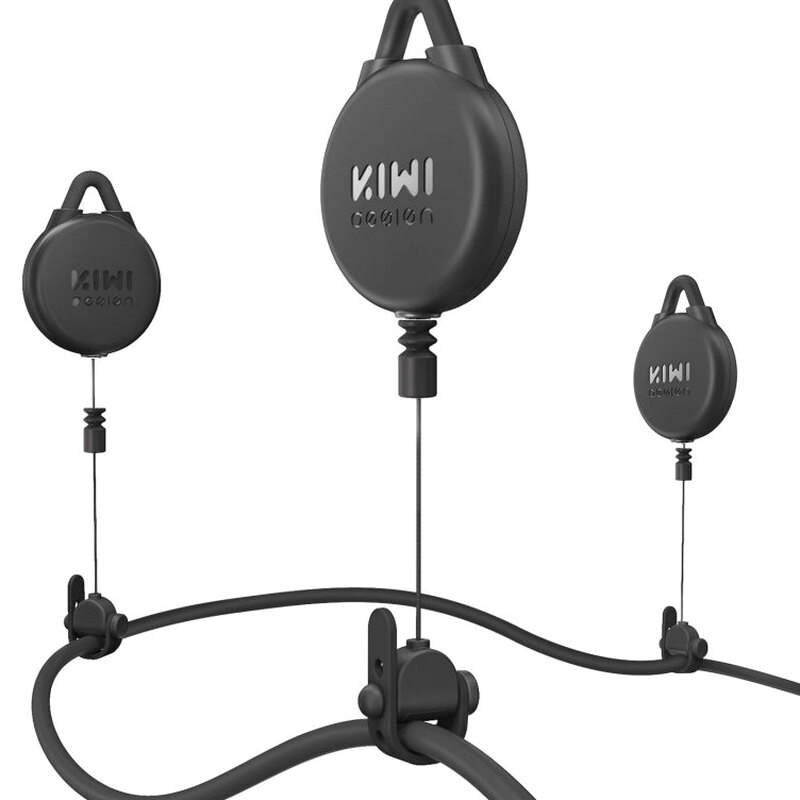
The V2 is a set of small retractable pulleys that lift the VR headset cable above the player instead of letting it trail across the floor. Each pulley uses a thin cable, a soft adjustable rubber loop for the headset cable, and a mount that can be attached to the ceiling or wall. Any wired VR rig that runs from a headset to a PC or gaming unit is a fit for this kind of system.
M1 Max 16-Inch MacBook Pro One Year Review: Still Worth It?
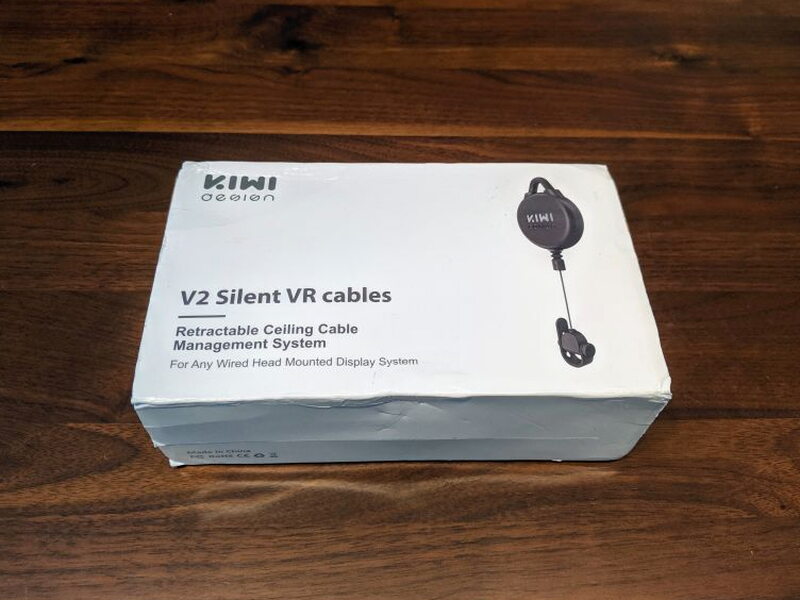
The kit arrives in a slim cardboard box. Inside, the pieces are separated into small plastic bags, which makes it easy to see what belongs to the mounting hardware and what belongs to the pulley system itself.
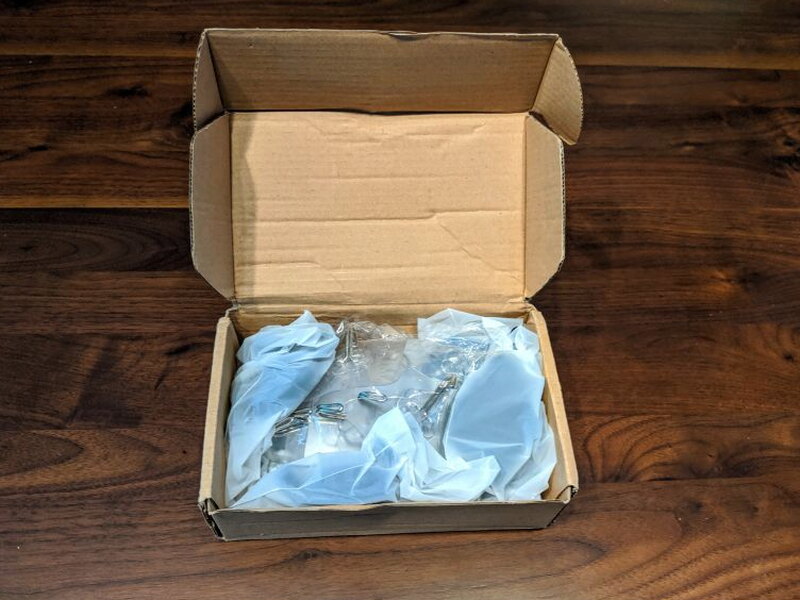
Everything in the Box
KIWI design includes enough hardware to build several layouts before settling on the one that works best in your room.
- 6 VR Cable Management System Pulleys
- 7 Ceiling Screw Hooks with Plastic Wall Anchors
- 8 Ceiling Adhesive Hooks
- 1 Allen Wrench
- 1 Ring Hook
- 1 User Guide

Hardware and Mounting Options
The pulleys are simple, but not cheaply thrown together. The main housings are molded from hard plastic, and each retractable line can stretch out to 71 inches. The rubber loop at the end is soft enough to hold headset cables without feeling like it is biting into them.

The loop can be set to hold the cable loosely or tightened down for a firmer grip, depending on how much cable movement you want during play.
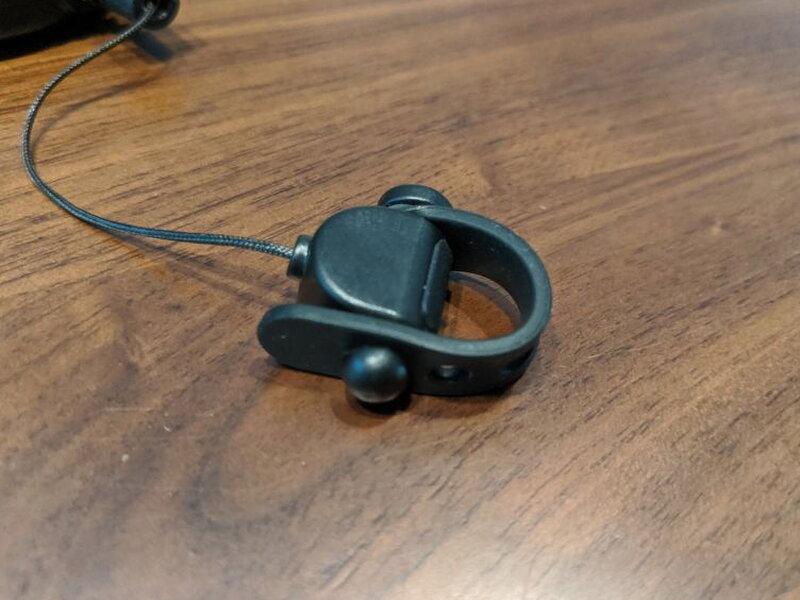
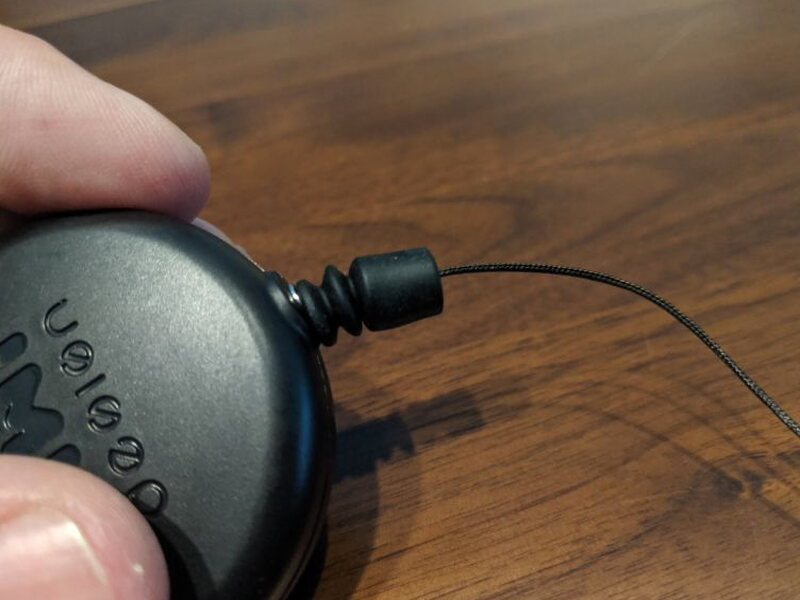
Each pulley also has a tiny nut on the retractable line. That nut is the adjustment point for setting how far the headset cable hangs down from the ceiling.
For mounting, KIWI design gives you two approaches instead of forcing one method on every room.
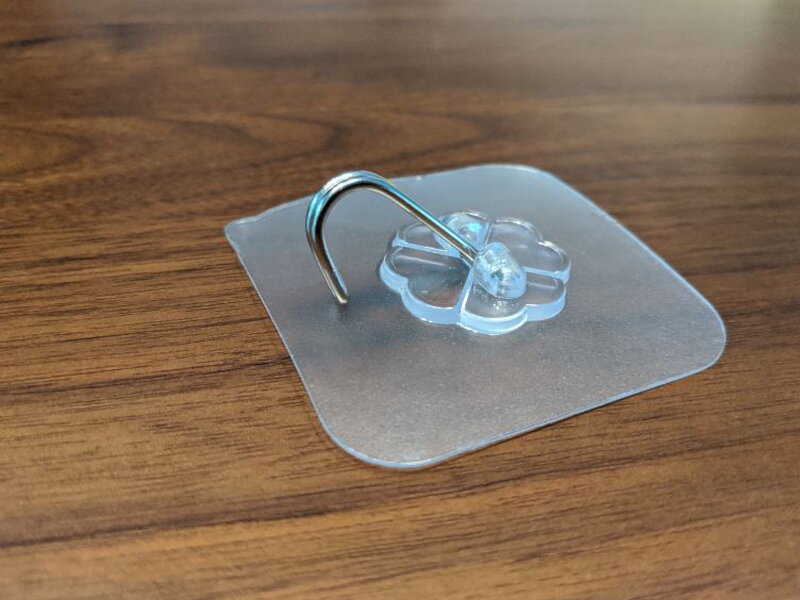
On smooth ceilings or walls, the included adhesive hooks are the cleanest option. They press into place and give the pulley a small hanging point.

For textured surfaces, or anywhere adhesive may not hold reliably, the screw hooks and plastic wall anchors are the safer pick.

Installation and Adjustment
If your VR play area is already mapped out, putting the V2 into service is mostly a matter of deciding where the cable should travel above your head.
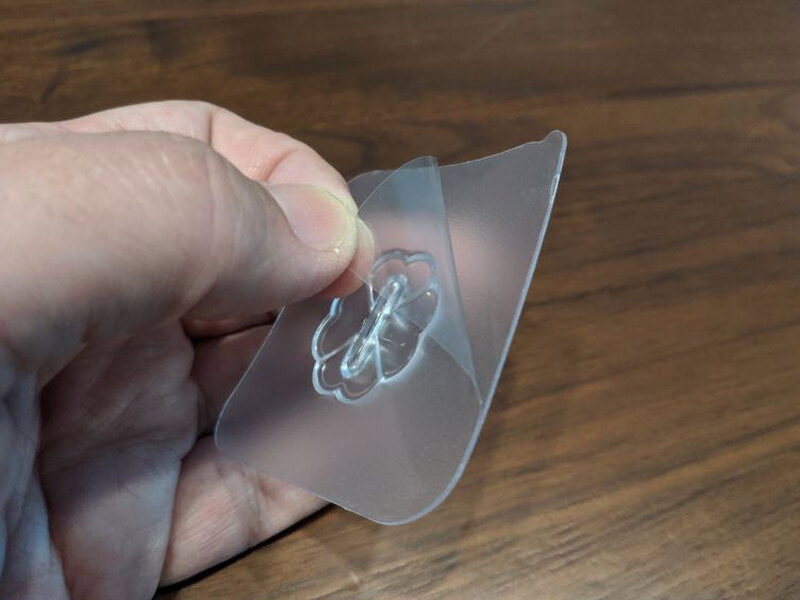
Using the adhesive hooks starts with peeling away the plastic backing and pressing the hook into the chosen spot.
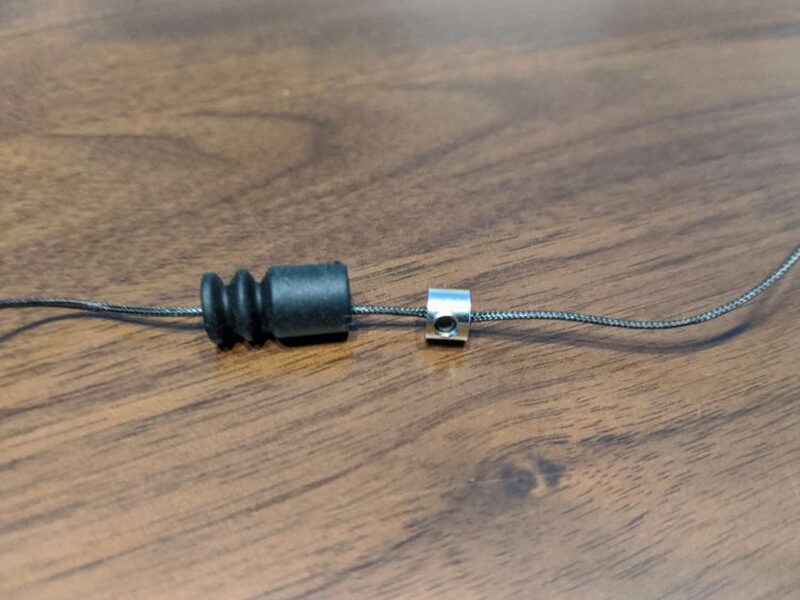
Fine tuning the hanging height takes a little more work. First, pull back the rubber cover over the adjustment nut on the pulley cable.
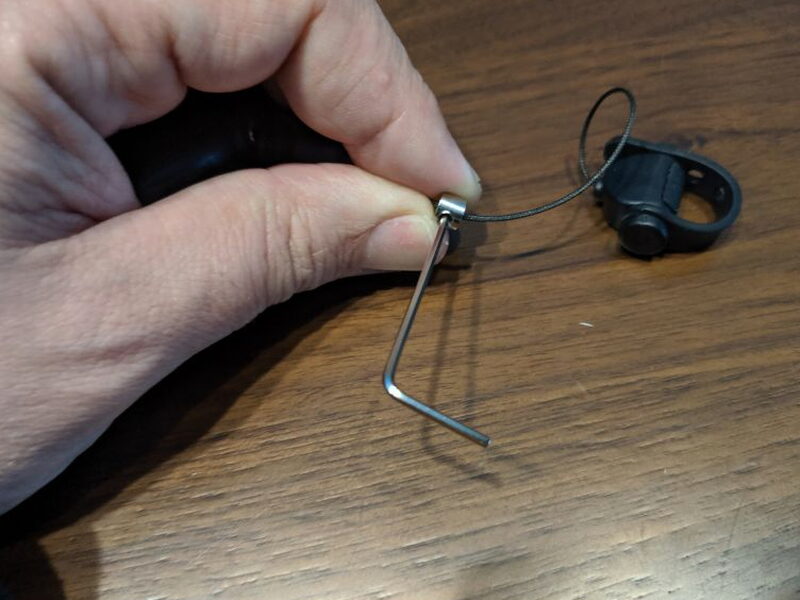
Then use the included Allen wrench to loosen the nut, slide the retractable cable to the length you want, and tighten it again.

Once the pulley is hanging at the right height, the headset cable sits above the play space instead of falling across the floor.
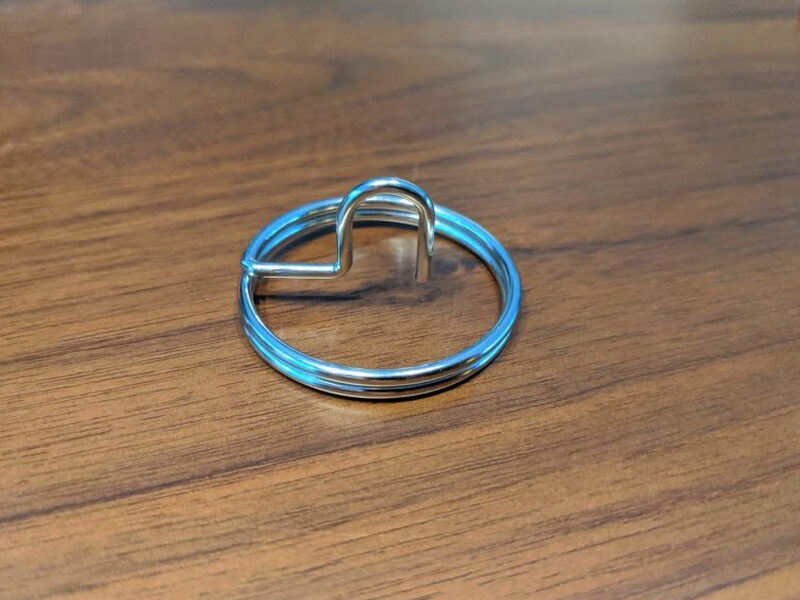
The kit also includes a ring hook. Its purpose is to connect four pulleys together, creating a more mobile suspended point for the cable.

It is easier to clip the pulleys to the ring hook first and then hang the whole group as one piece.
Testing in a Real Play Space
For testing, I first used painter’s tape with the adhesive hooks so I could try different positions without committing to a final ceiling layout.
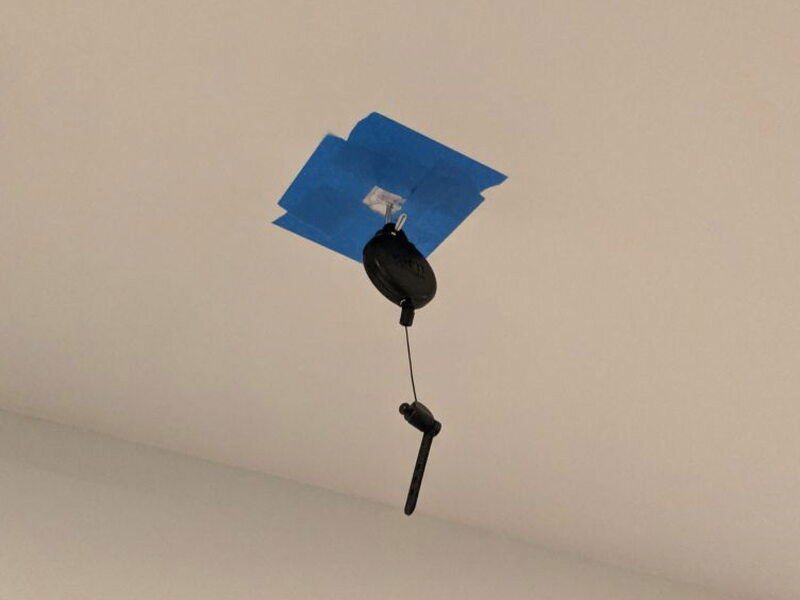
After the hook locations looked right, I adjusted the length of each retractable cable.

This was the one part of the process that felt fussier than it needed to be. The nut is tiny, the Allen wrench is tiny, and making changes while the pulleys are already mounted is awkward. It went much better when another person held the retractable cable while I loosened and tightened the nut.

With the height set, I ran the cable path from the PC toward the center of the VR play area.

The first layout used the ring hook, with one pulley suspended from three other pulleys fixed to the ceiling.

Once the cables were in place, I brought in three testers of different sizes and let them work the system harder than a quiet solo session would.
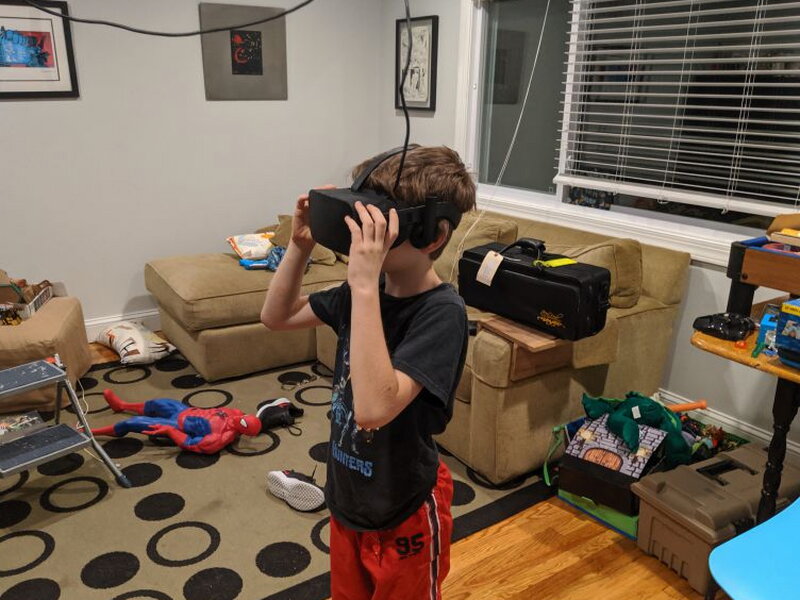
The first tester is the shortest of the group and spends a lot of time in Minecraft. That made him a useful test for how much vertical flexibility the V2 could provide.
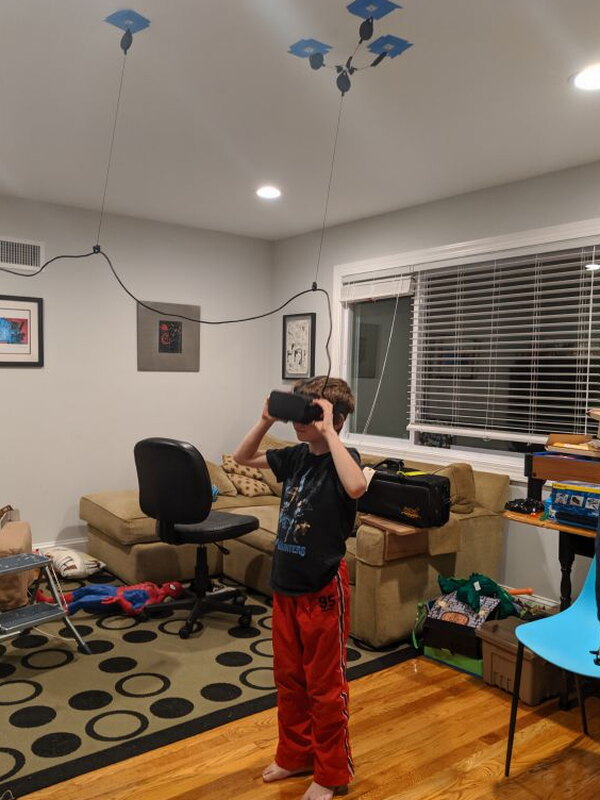
His play style was energetic, but the pulleys kept the cable lifted away from him from the beginning of the session to the end.
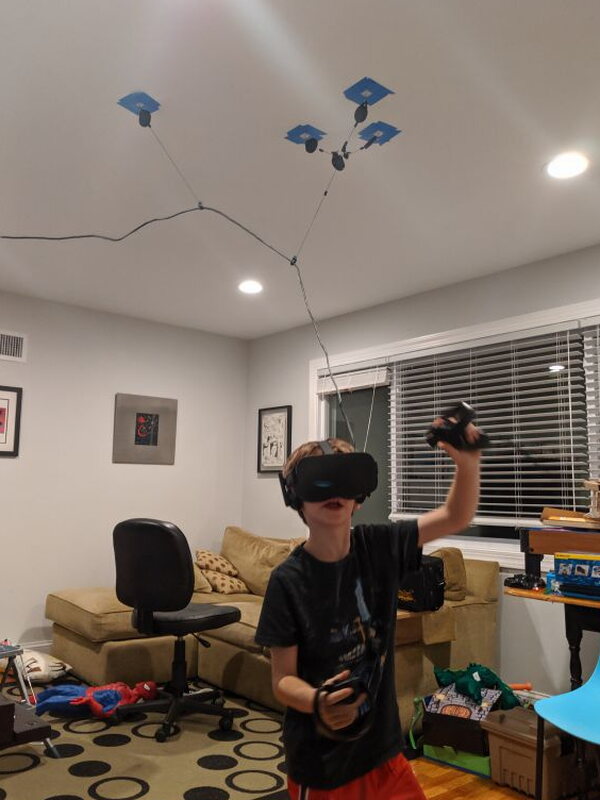
Jumping, turning, and wide arm movement did not tangle him up or knock the V2 out of position.

The three pulleys feeding the ring hook gave him enough range to keep battling through Minecraft without the cable becoming the main thing he had to think about.

The second tester is much taller, so I removed the ring hook setup and tried a single pulley instead. Even without the three pulley arrangement, the V2 still gave him enough slack for a more careful and precise style of play. It also left three pulleys free for another part of the room.

For the final tester, I switched between the single pulley layout and the ring hook layout.
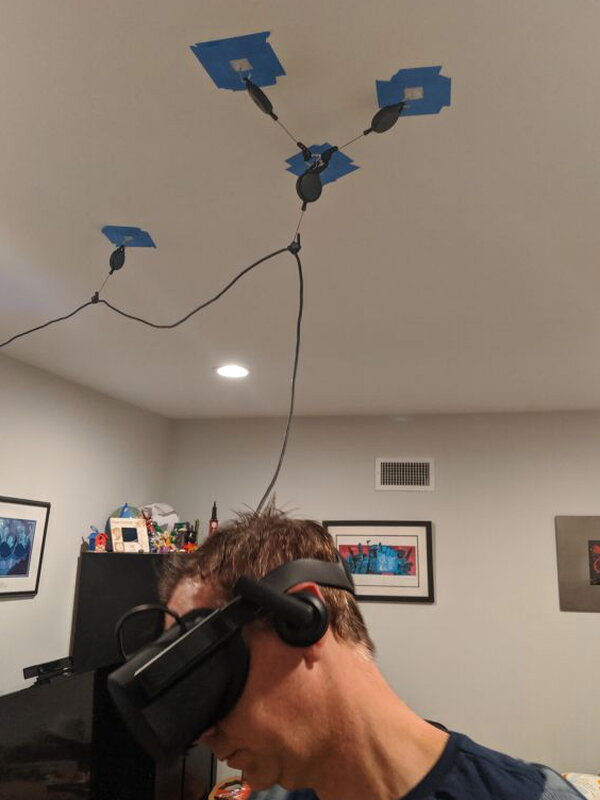
That quick change between layouts is one of the V2 system’s best traits. You can tune the setup for the player or game without rebuilding everything from scratch.
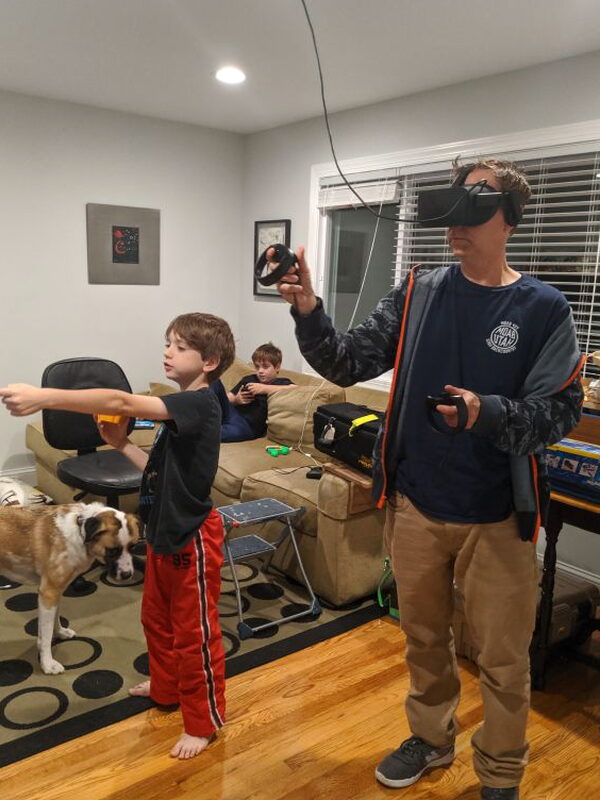
With a few pointers from the younger testers, our senior tester tried the V2 during Job Simulator.
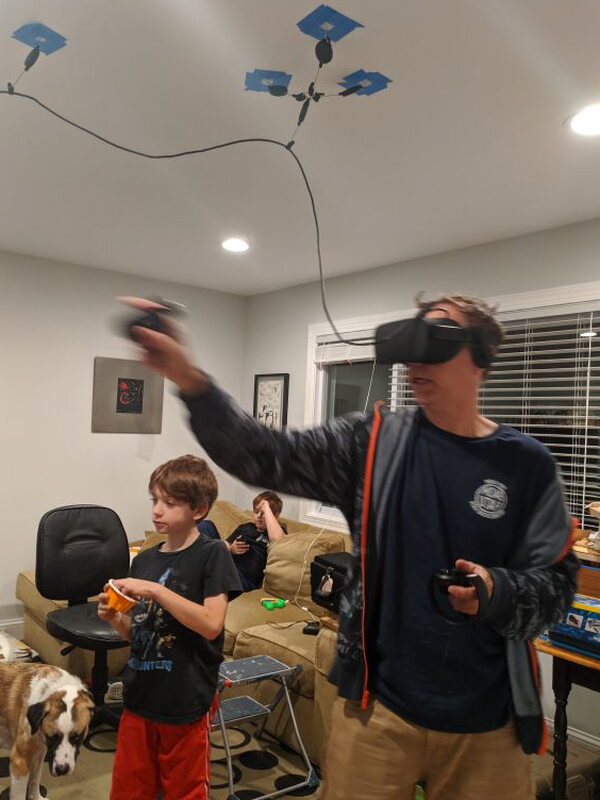
This round showed off the system especially well. His approach to VR was unconventional, including a moment where he lay down both in the game and in the room, yet the cable stayed managed and the session kept going.

Across three testers, several body sizes, Minecraft, Job Simulator, and different pulley layouts, the V2 VR Cable Management system did exactly what it was supposed to do. It made wired VR feel less wired.
What Worked Well
- Very affordable
- Easy to install and adjust
- Works very well and enhances VR experience
What Could Be Better
- More mounting options would be great
- Better system needed for adjusting cable length
Quick Questions
Q: How many pulleys are included?
A: Six retractable pulleys, along with ceiling screw hooks, adhesive hooks, a ring hook, and an Allen wrench.
Q: What’s the maximum length each pulley cable extends?
A: Up to 71 inches per retractable line.
Q: Is the cable-length adjustment easy to do?
A: Not especially. The adjustment nut and included Allen wrench are both tiny, and it worked best with a second person holding the cable while adjusting.
Q: Can multiple pulleys be combined for more range?
A: Yes, the included ring hook connects up to four pulleys together for a more flexible suspended point.
Final Verdict
KIWI design’s V2 VR Cable Management system is a smart, inexpensive way to make a wired VR rig feel cleaner and more open. The pulleys keep the cable off the floor, reduce snagging, and help preserve immersion while people move around the play space. I would like mounting choices that are less permanent or easier to remove, and the cable length adjustment system could be easier to handle. Even with those complaints, the $26.99 V2 delivers excellent value and adds a lot to the VR experience.
Price: $26.99
Product Link: KIWI design
Source: The sample of this product was provided by KIWI design.


