
REVIEW – With this year’s New York Comic Con coming up, I’ve been working hard to step up my presentation game. Last year my trusty cameraman and I brought the Zhiyun Crane M2S Camera Stabilizer into our kit, which I reviewed in June 2022, and it made a real difference in our video quality. Audio, though, is still our weak spot, and too many of our clips get ruined by background noise and interviewees you can barely make out.
The JOBY Wavo Air Wireless Lav Microphone Kit I recently put through its paces might just be the fix we’ve been after. It has a few quirks, like those loud red accents, but at an affordable $249 it carries everything a budding field reporter needs to grab professional-level audio on the chaotic show floor of the New York Comic Con.
The Basics
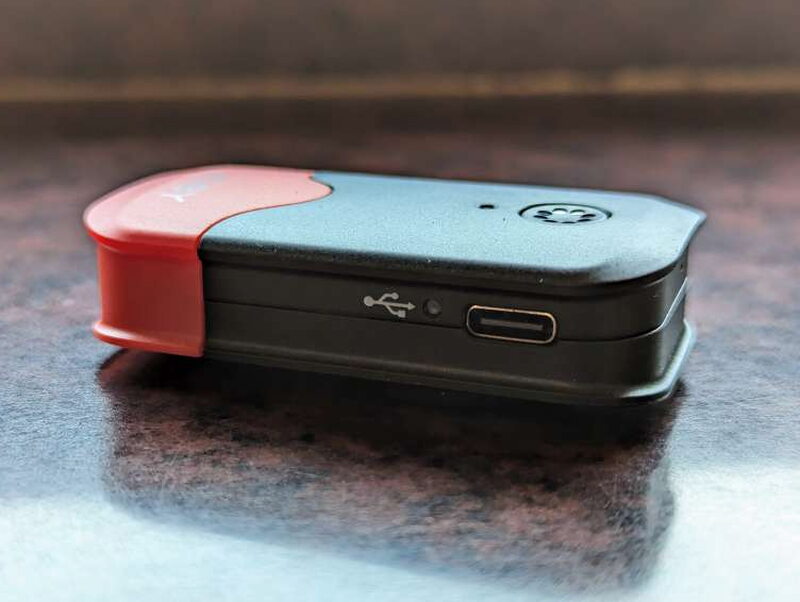
The JOBY Wavo Air is a 2.4GHz wireless lavalier microphone kit that bundles one receiver and two transmitters with internal microphones, letting you record two subjects at once. The mic kit works with smartphones and digital cameras through the included TRS mic cables, though you’ll need adapters to use it with iPhones and smartphones that lack 3.5mm audio jacks.
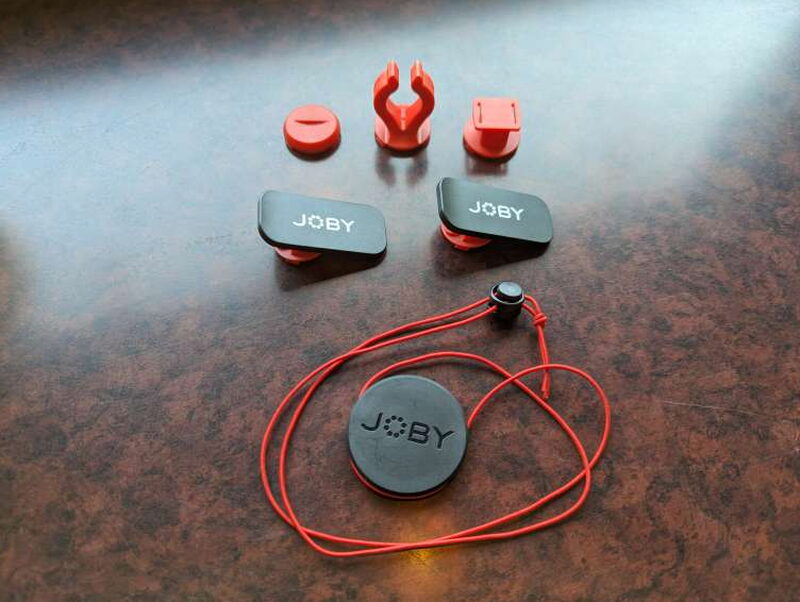
In the Box


- Receiver
- 2 Transmitters with built-in microphones
- 2 Windjammers
- 2 Omni-directional lavalier microphones with foam windshields and alligator clips
- 2 Belt clips
- GorillaPod tripod clip
- Magnetic pendant
- Cold-shoe support
- Pairing pin
- 3 USB Type-C to USB Type-A cables
- 3.5mm TRS to TRS cable
- 3.5mm TRS to TRRS cable
- User manual

By the Numbers

- Transducer: Condenser Electret
- Polar Pattern: Omnidirectional
- Number of RF Channel Frequencies: 18
- Frequency Response: 50Hz – 18kHz
- Sensitivity:
- Mic: -39+dB
- Lavalier mic: -2dB
- Signal to Noise Ratio: >78dB
- Maximum SPL:
- Mic: 120dB
- Lavalier mic: 110dB
- Battery life: 6 hours continuous use
- Power source: Li-ion Polymer Battery
- Transmission Type: 2.4GHz
- Operating Range: 164′ / 50m
- Material: Polycarbonate PC, ABS Plastic
- Output Connection: 3.5mm TRS
- Dimensions: 1.4″ x 2.5″ x 0.7″ / 35mm x 64mm x 18.5mm
- Weight: 0.9oz / 26.5g
Design and Build
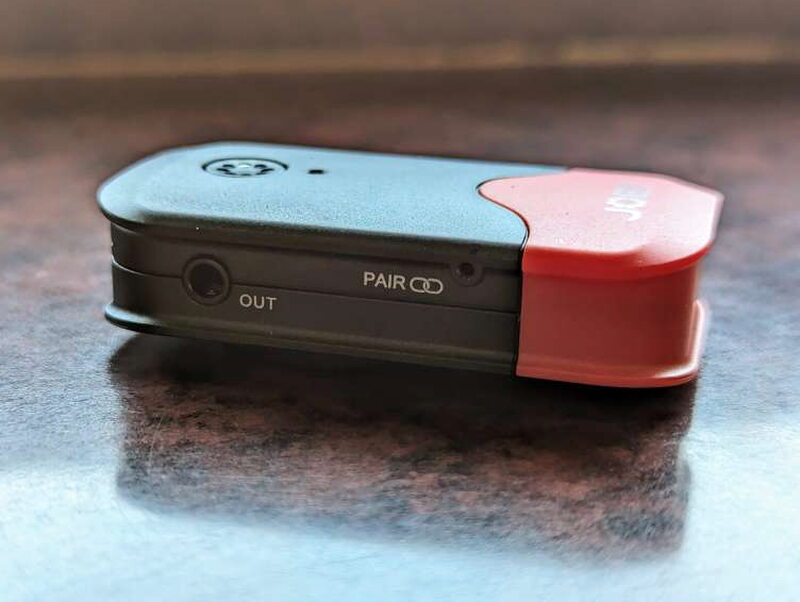
The first thing that jumps out about the Wavo Air is the bold red and black design. The receiver has a black top and red bottom, while the transmitters flip that with a red top and black bottom. Most similar mic kits are almost always uniformly black so they don’t stand out on the person wearing them. It’s a nice change of pace, but it won’t be for everyone, since the whole point is for the mics to disappear in use.

The receiver and transmitters are made of plastic and feel a touch light in the hand, which usually reads as lower quality.


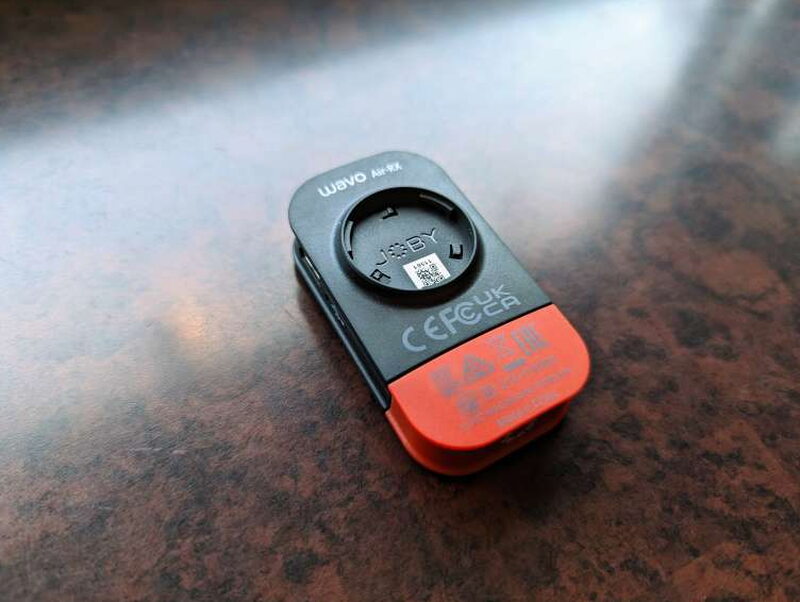
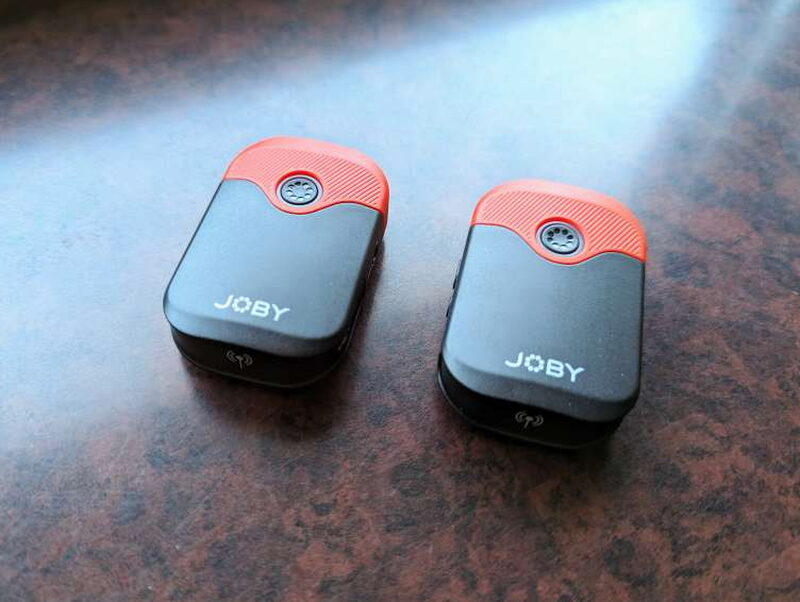
They have power buttons on the front too, ringed by circular LEDs that show power, pairing status, and mic gain.




Getting Started
Like most similar devices, the first step of setup is getting the batteries charged up. Once that’s done, it’s all about mounting the receiver and then prepping the mics on you and/or your subjects.
The next part of setup is deciding which mics you’ll use. Choosing between the internal condenser mics on the transmitters and the lavalier mics comes down to the recording environment, your subjects, and the type of content. If you go with the internal condenser mics, snapping on the fuzzy windscreens is a good idea for outdoor recording.


You can also wear the magnet under a thin shirt and stick the transmitter to the outside.


Living With It
The JOBY Wavo Air did well in my testing; the biggest snag was not being able to get a good read on the mic gain while recording. The LED indicator lights only show the gain level, but won’t tell you about clipping or if a mic is running too hot. The only way to nail a good mic level is to record something and then play it back to see if the audio works for you.
Battery life was never a concern, and I have no doubt the receiver and transmitters can go the full six hours JOBY claims. I regularly topped the batteries off while using the Wavo Air, just to play it safe.
I made some sample recordings using the lavalier mics at different gains along with the transmitter condenser mics. I also recorded something to compare them against using my GoPro HERO8 Black’s Media Mod mic. The overall quality winner seems to be the transmitter condenser mic set at mid gain. But every recording situation is different, so it’s tough to crown one catch-all setting. All of the levels struck me as a bit hot, though, so I’d lean toward lower gain settings.
Sample Recordings
This first recording comes from the microphone on my GoPro HERO8 Black Media Mod, used as a baseline audio level.
This clip runs the transmitter condenser mic at mid gain.
This clip runs the transmitter condenser mic at high gain.
This sample captures the lavalier mic at mid gain.
This last sample captures the lavalier mic at high gain.

All in all, I’m quite impressed with how the Wavo Air performs. The mics consistently delivered great audio and paired well with my GoPro HERO8 Black. The range of mounting options adds to the kit’s value and versatility too.
The Good
- Easy to set up out of the box
- Very good sound quality from both internal and lavalier mics
- Great versatile mic mounting system
The Not So Good
- Need to purchase adaptors for use with iPhones and smartphones without a 3.5mm input
- Red and black coloring stands out
- No accurate way to see battery or gain levels during use
Quick Questions
Q: How long does the JOBY Wavo Air battery last?
A: JOBY claims 6 hours of continuous use, and testing never ran into battery issues.
Q: Does it show if a mic is clipping or too hot?
A: No, that’s a real limitation. The LED indicators only show gain level, not clipping, so the only way to check is recording and playing it back.
Q: Is a USB charging block included?
A: No, only USB-C cables are included; you’ll need your own charger.
Q: Can it record two people at once?
A: Yes, the kit includes two transmitters, each with its own internal microphone, letting you capture two subjects simultaneously.
The Verdict
For content creators who need to capture two subjects at once, the JOBY Wavo Air is a solid, affordable wireless microphone kit. The build isn’t as rugged as I’d like, and that bright red is the opposite of subtle, but $249 is a great price for how versatile the kit is. Both the internal condenser and the external lavalier mics sound good and just work right out of the box. Between its range of mounting options and cables that fit digital cameras and some smartphones, the JOBY Wavo Air is a smart pick for creators on a tight budget who still care about audio quality.
Price: $249.95
Product Link: JOBY
Source: The sample of this product was provided by JOBY.
RATING: 3 stars


