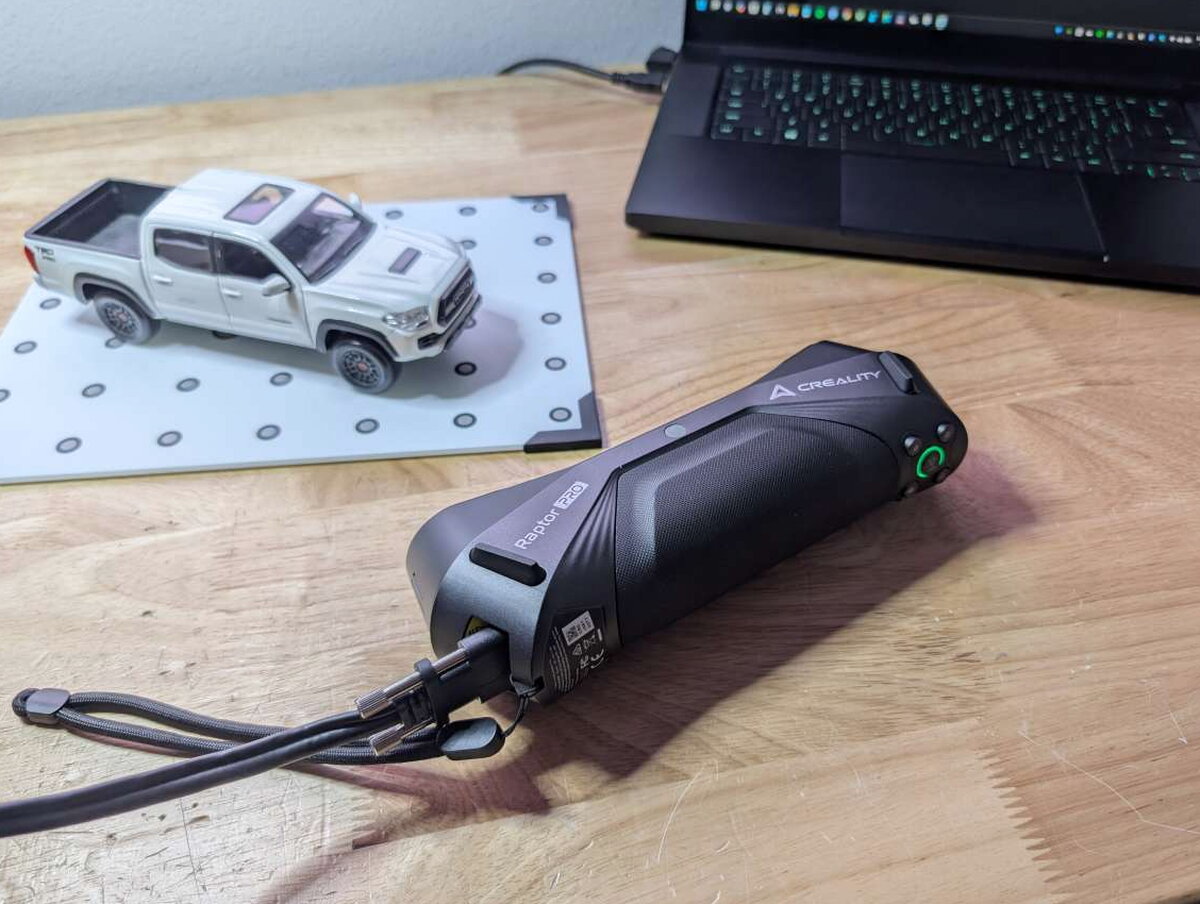
REVIEW – Years in the digital arts left me with a lot of hours hunched over a computer, calipers in hand, rebuilding real-world objects in digital space. TV remotes, surgical appliances, one especially stinky trout (don’t ask), the goal was always the same: a 3D model an Art Director could push and reshape into whatever they actually wanted. When handheld 3D scanners first showed up promising to shortcut that whole process, I was thrilled, and then mostly disappointed. Results were hit or miss, the good ones cost more than I could justify, and my DIY attempts with a hacked Xbox Kinect never amounted to much.
The Creality Raptor Pro caught my eye because it looked like it might finally close that gap: a professional-grade handheld with dual blue laser modes and infrared structured light packed into one compact body, for $1,799. That’s not an impulse purchase, but the price could be worth it if the scans came out fast, flexible, and accurate. After real hands-on time with it, I can say it isn’t the perfect solution I’ve been chasing. It gets close, though.
The Raptor Pro combines blue laser lines with near-infrared structured light to turn physical objects into detailed 3D models, capturing both geometry and full-color texture in the process.
What’s in the Box
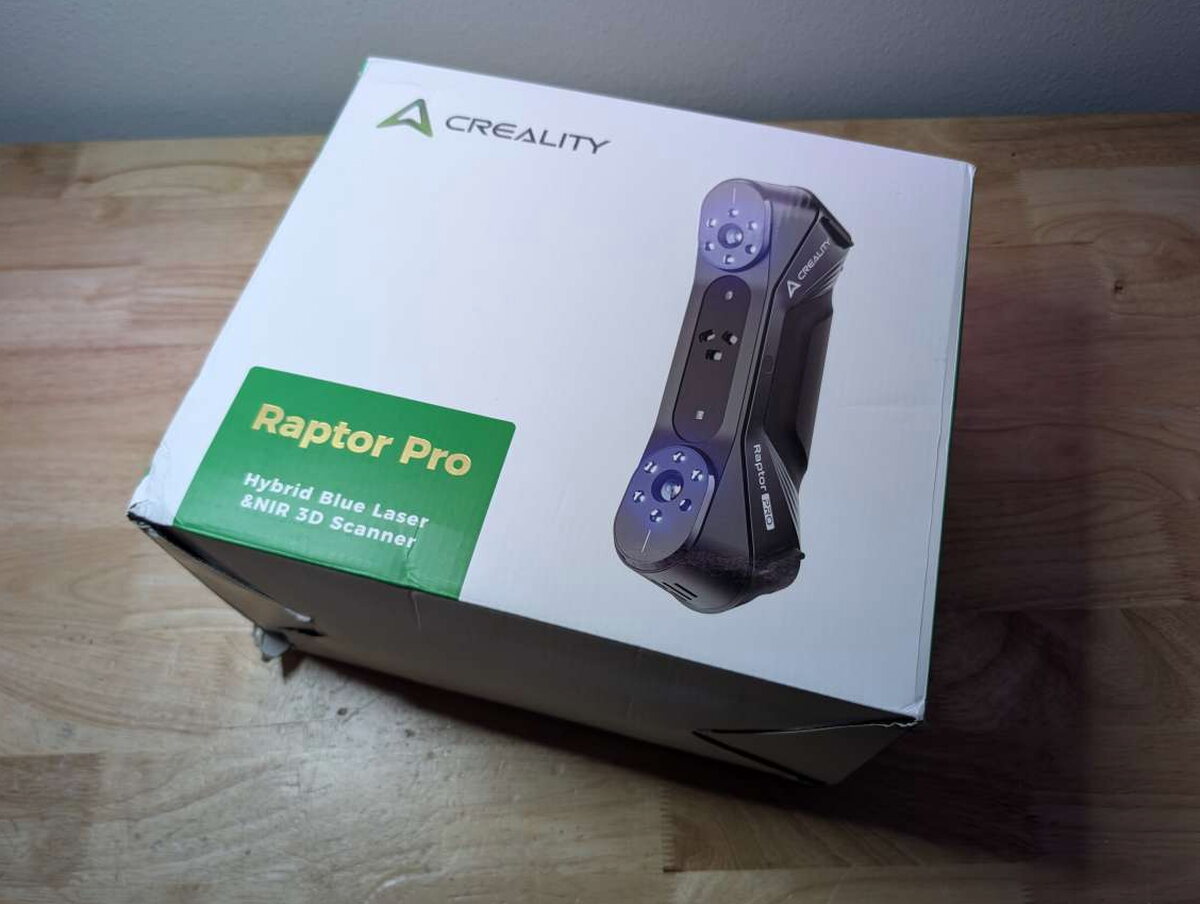
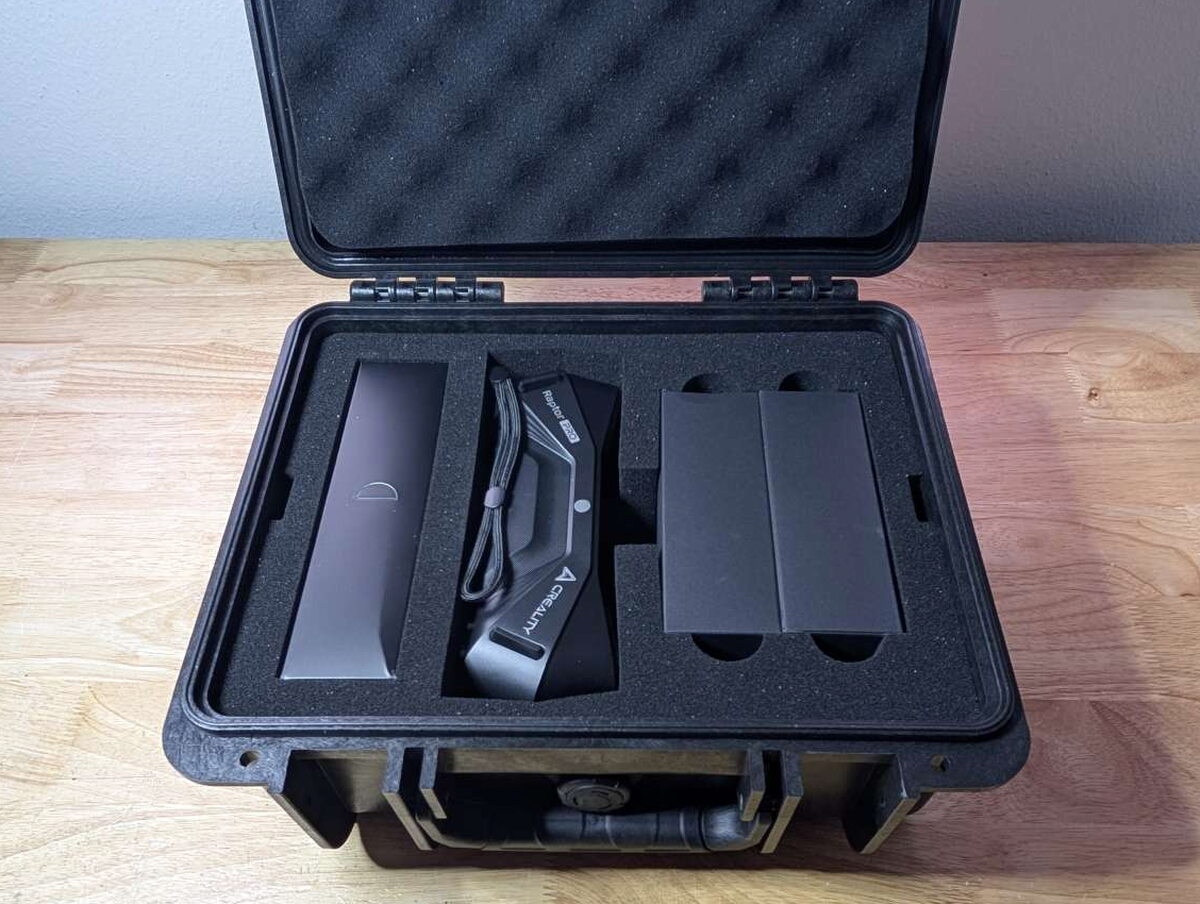
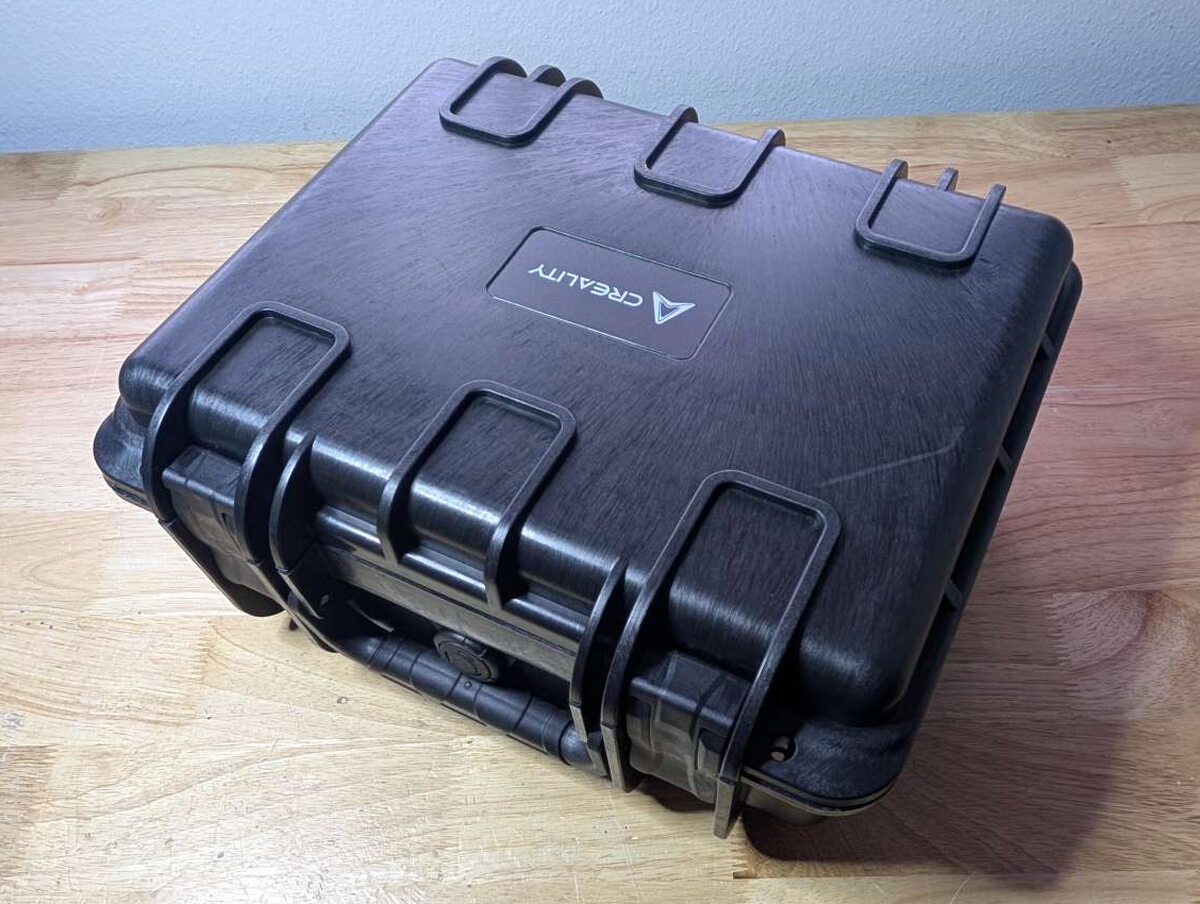
The retail box took a beating in transit, flimsy cardboard that had me worried something inside had cracked. That worry evaporated once I got it open and found a Pelican-style hard case waiting inside, built to shrug off far worse than a rough shipping leg.
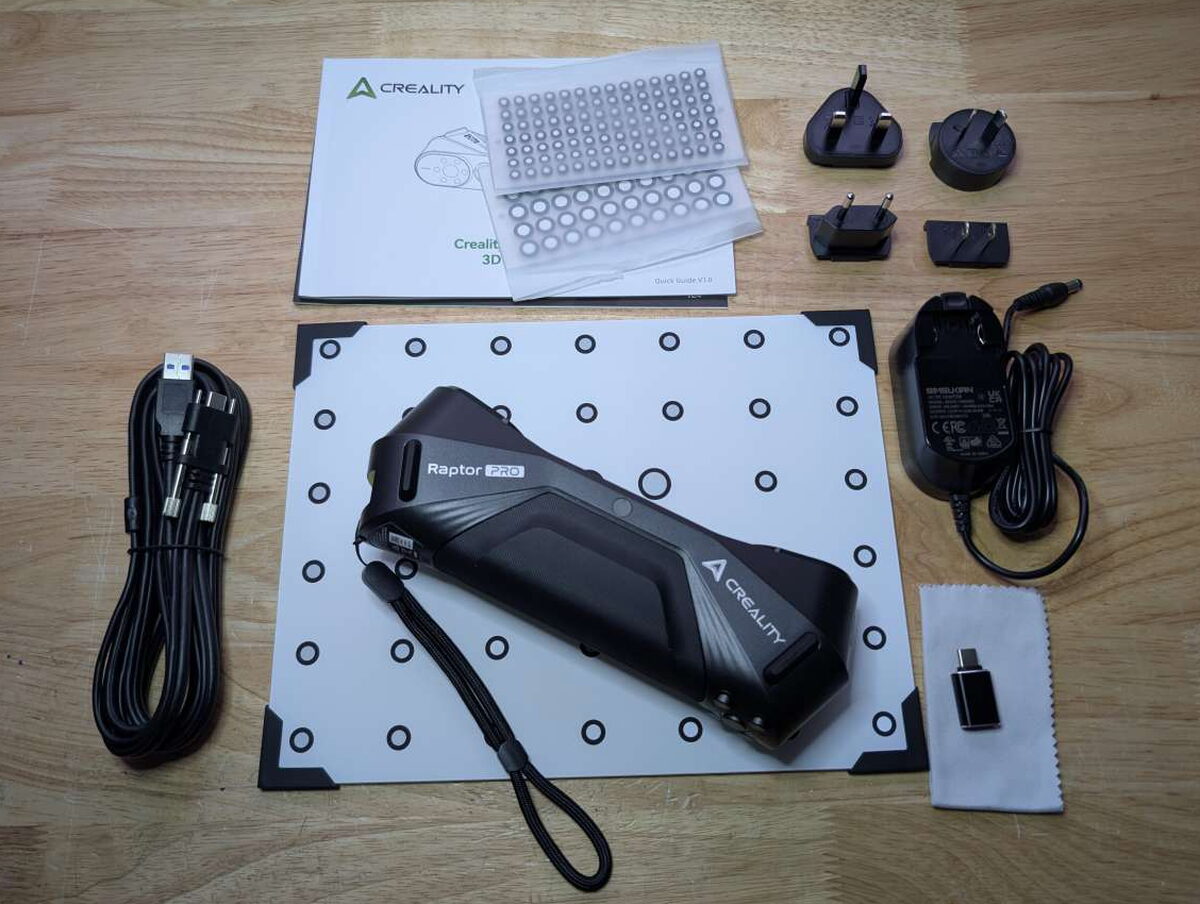
- Creality Raptor Pro 3D Scanner
- Hard carrying case
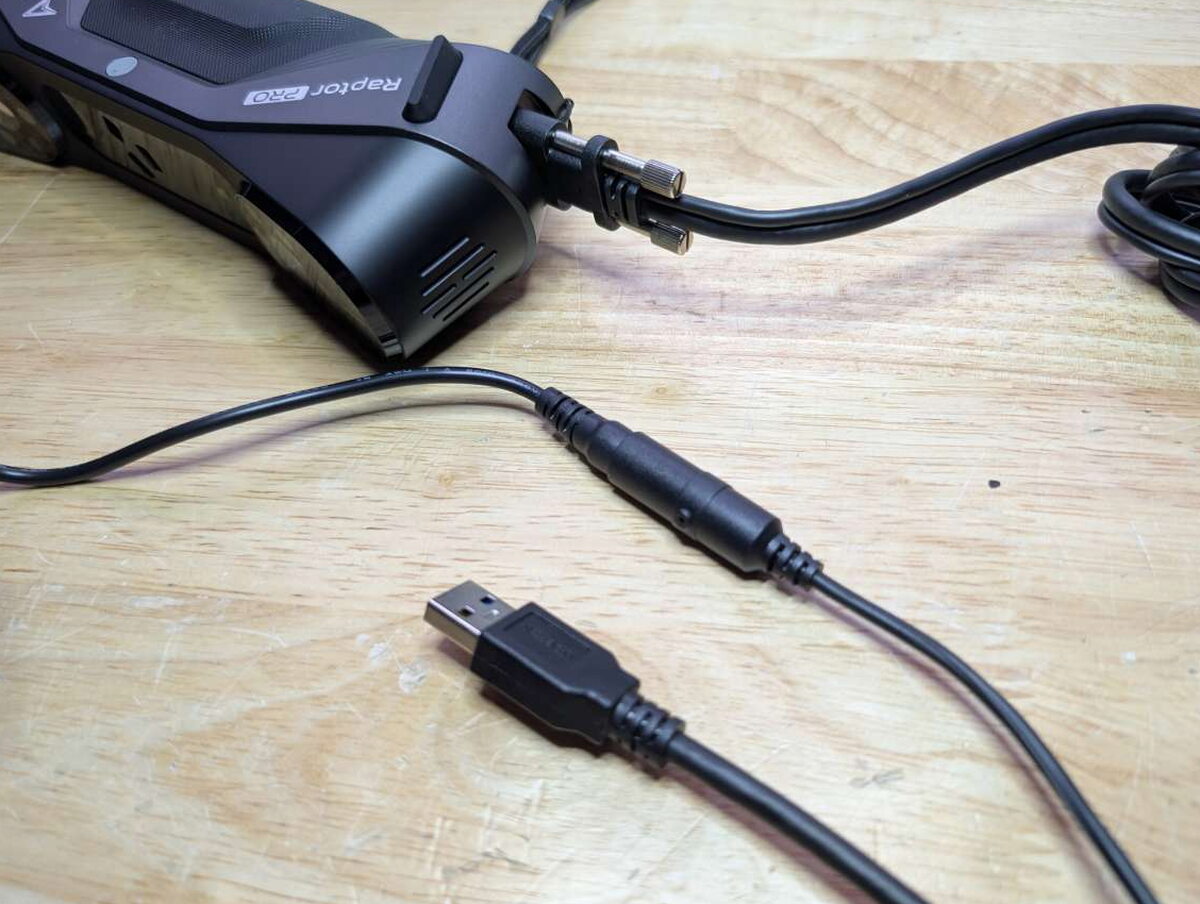
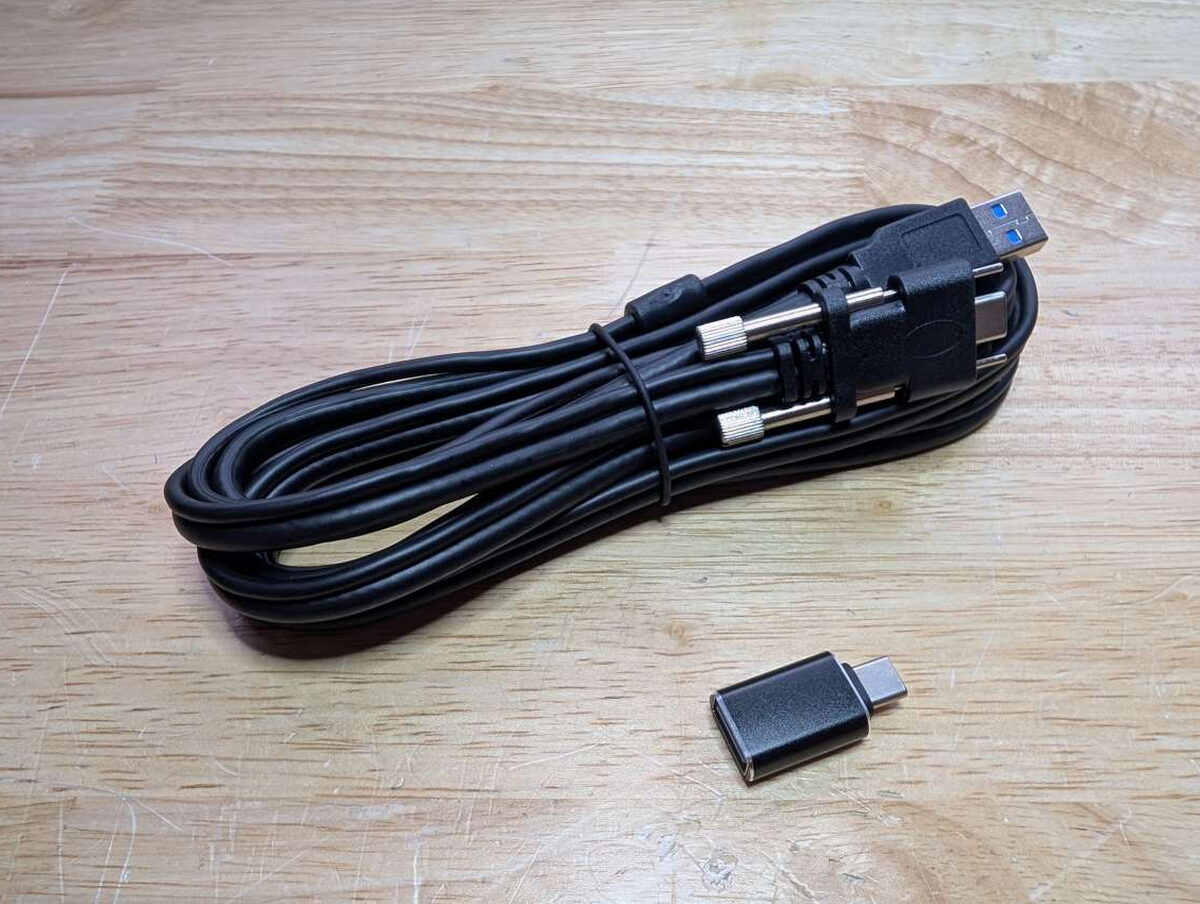
- USB 3.0 data cable (USB-C to USB-A)
- Power adapter with international plug converters
- Glass calibration board
- Adhesive reflective markers
- USB-A to USB-C adapter
- Cleaning cloth
- Quick start guide
By the Numbers
- Scanning modes: Dual blue laser (22 cross lines for coverage, 7 parallel lines for detail) and infrared structured light
- Accuracy: Up to 0.02mm in blue laser mode; 0.075mm in infrared mode
- Volumetric accuracy: 0.02mm + 0.08mm/m (blue); 0.075mm + 0.1mm/m (infrared)
- Speed: Up to 60 fps and 660,000 points/sec in blue laser mode; 30 fps in infrared mode
- Single capture range: Blue laser up to 397 × 290mm; infrared up to 630 × 550mm
- Object size range: 5mm – 4000mm (0.197in – 157.48in)
- Color capture: 24-bit full-color texture
- Weight: 14.29 oz (405 g)
- Connectivity: USB-C 3.2
- OS support: Windows 10/11 (64-bit), macOS 11.7.7+
- Recommended hardware: i7-class CPU, 16–32 GB RAM, dedicated GPU with 6-8 GB VRAM
Build and Feel
The Raptor Pro looks and feels like a genuine instrument, roughly the size of an old-fashioned phone handset and light enough, just under a pound, that long sessions don’t wear out your hand.

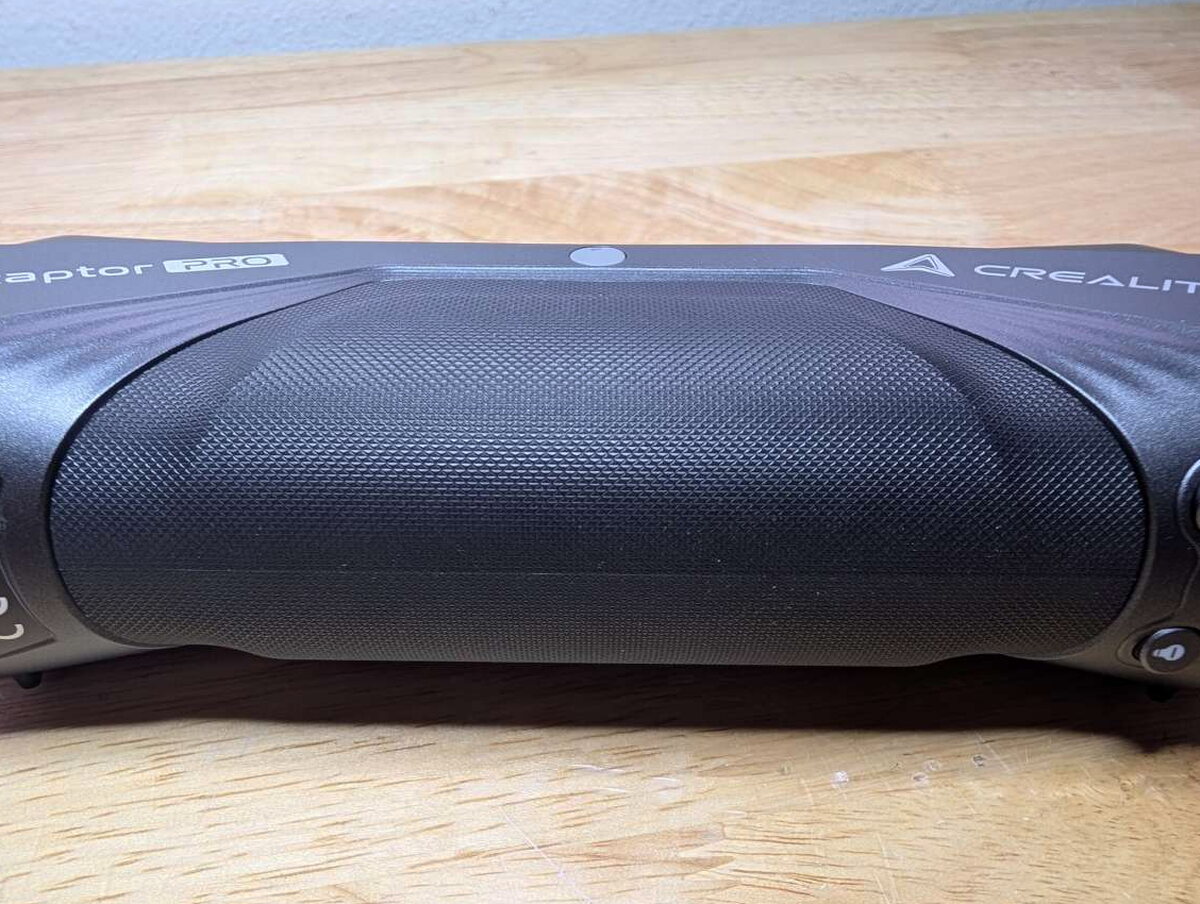
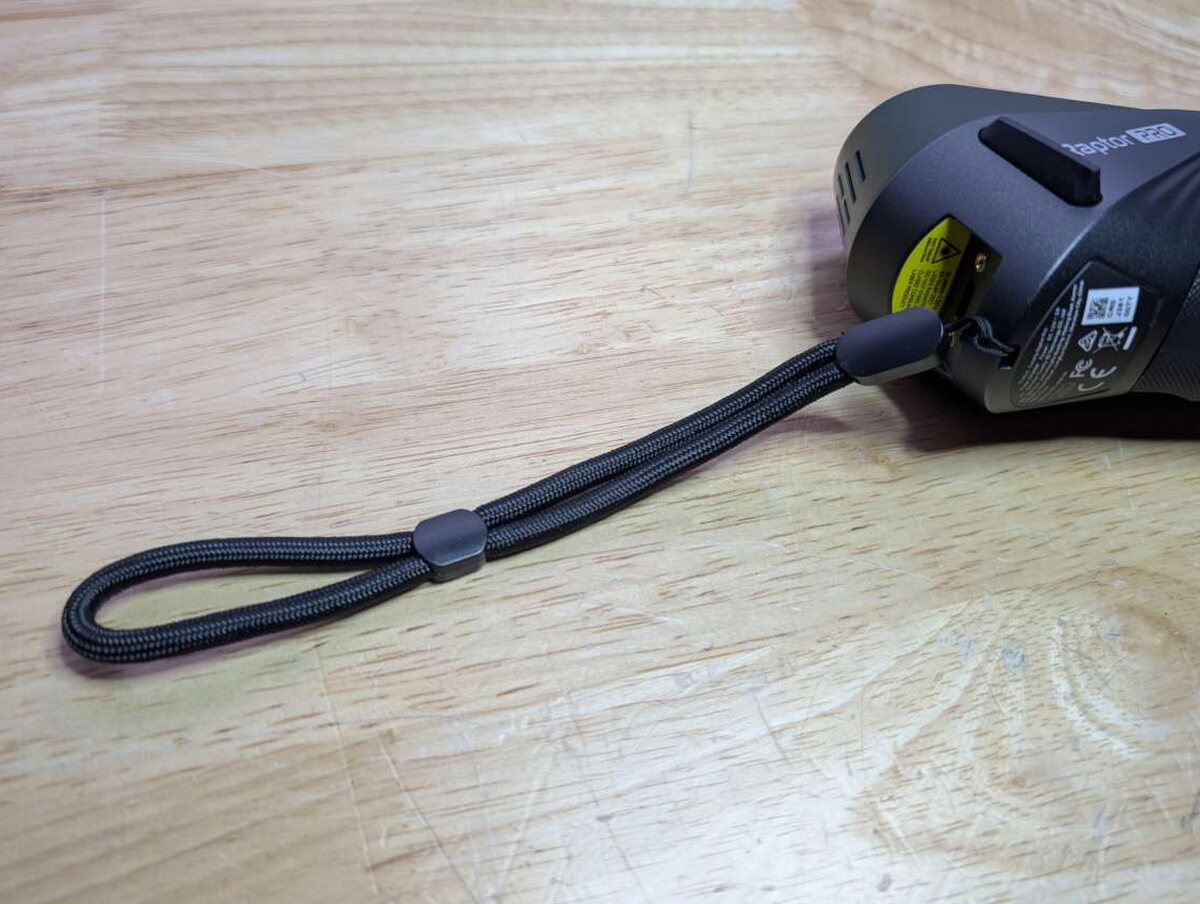
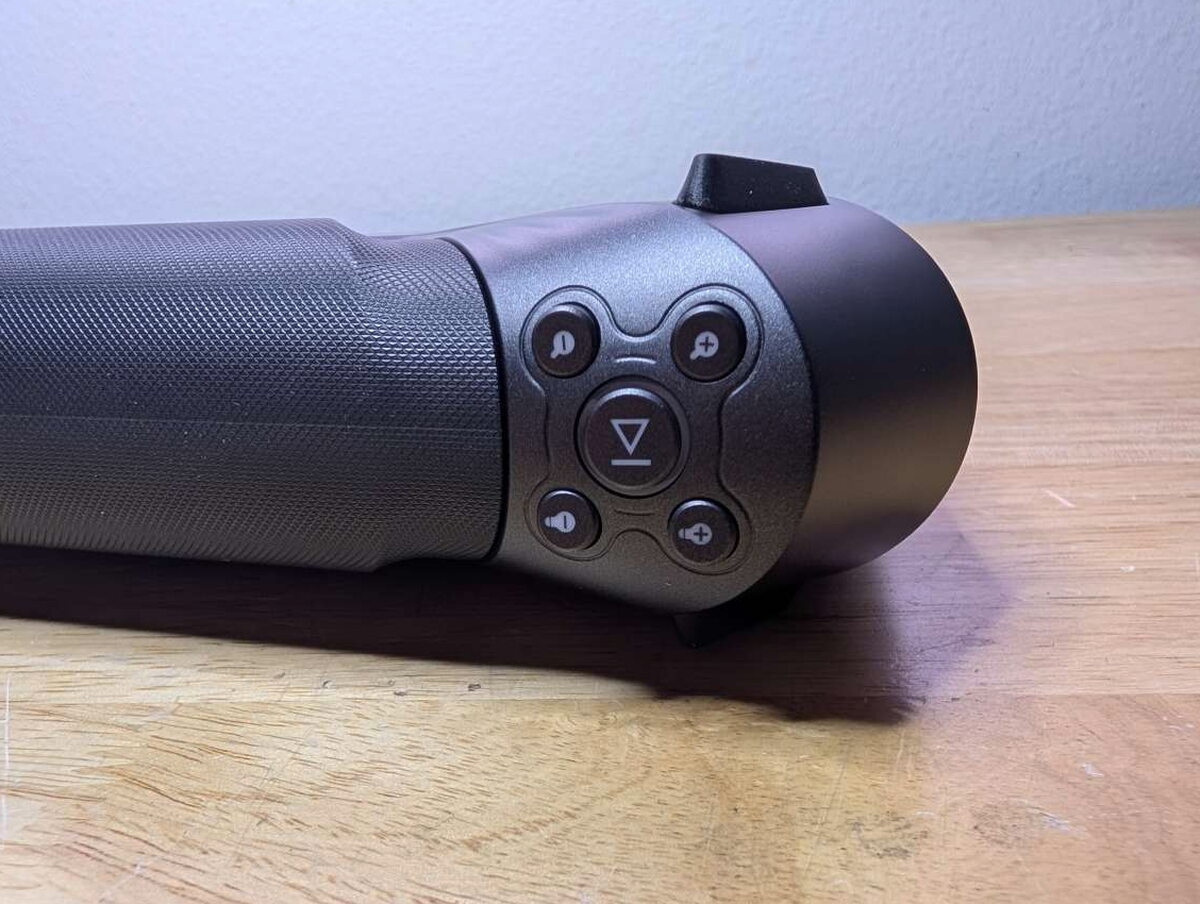
Round push buttons run along one side, circled by an LED status ring, letting you start and stop a scan, zoom, and adjust laser and light brightness without looking away from your subject.
The business end holds the actual scanning hardware, blue laser emitters alongside a color camera and a dedicated 3D depth camera.
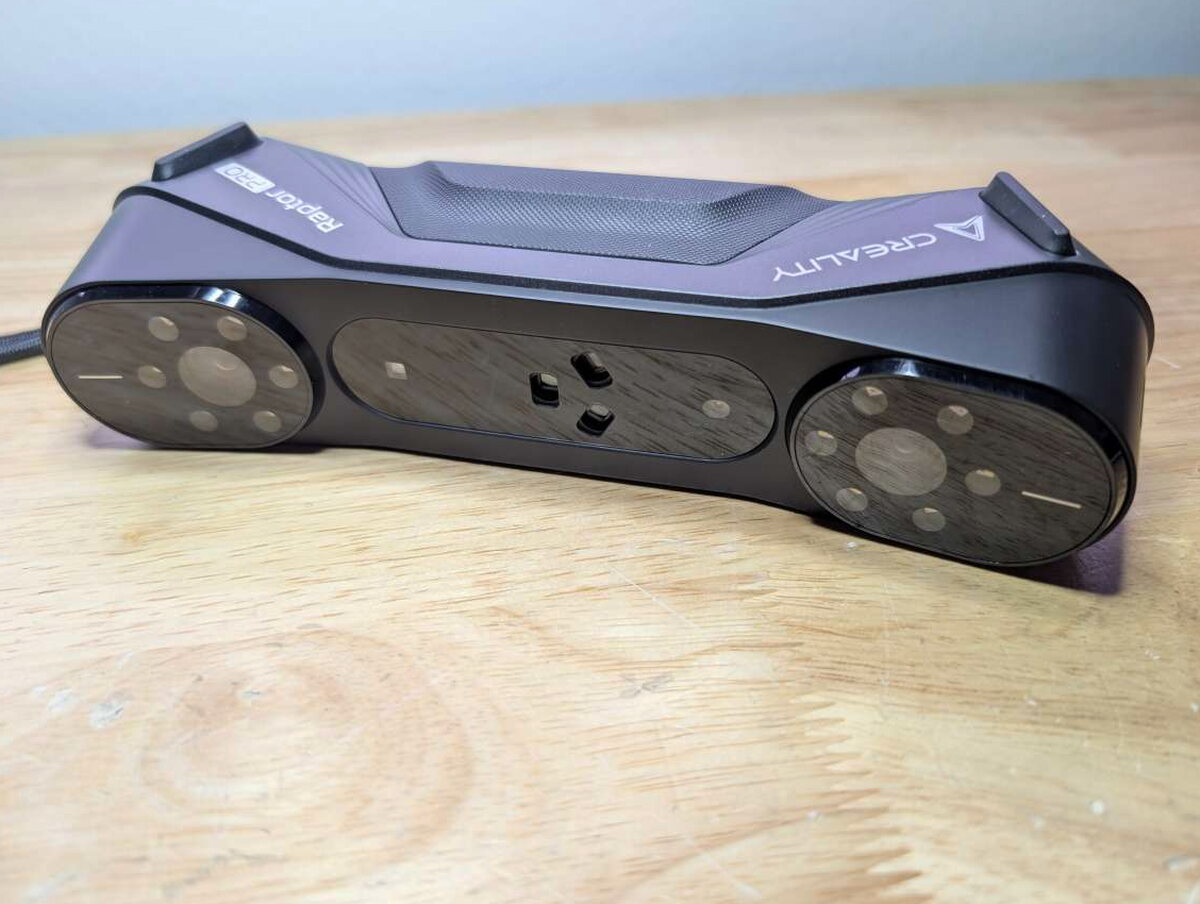

Four rubber feet, a pair on each side, let you set the unit down without scuffing it up.
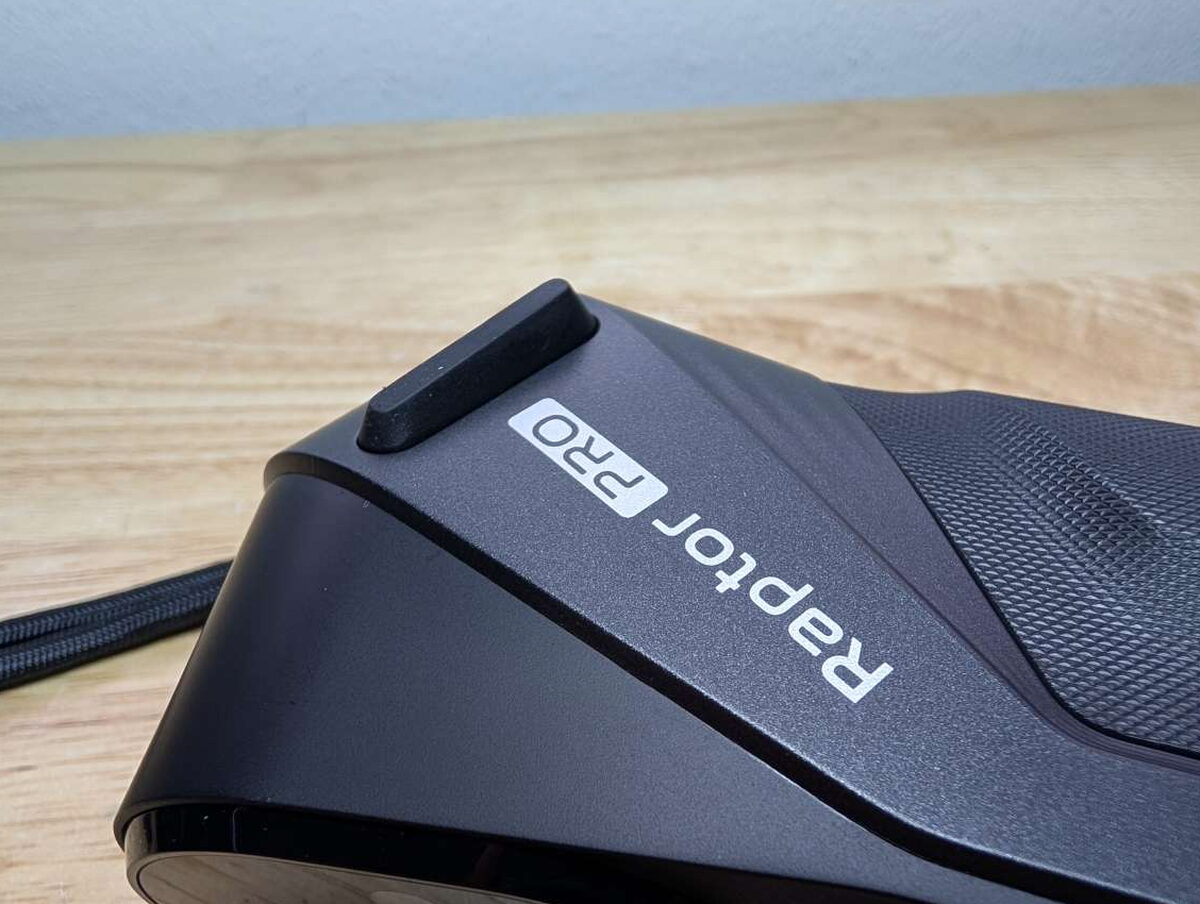
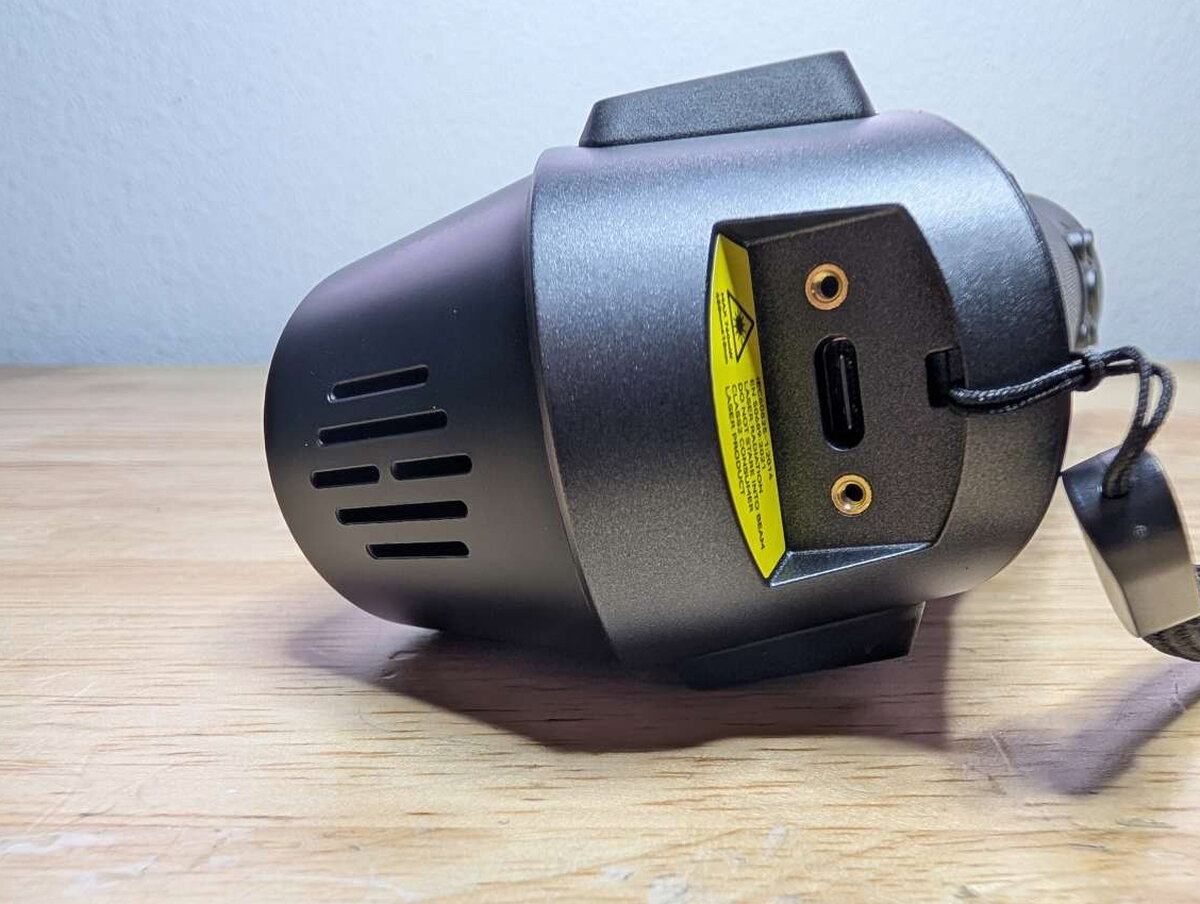
Right below where the wrist strap connects sits a USB-C port for hooking up to a laptop or PC, with two small screws that lock the cable’s connector in place so it can’t work loose mid-scan.
Vents on the opposite end handle cooling for the internals, and on the accessory side, Creality includes a handful of international power plug adapters and two sizes of adhesive reflective markers to help lock in scanning accuracy on featureless objects.

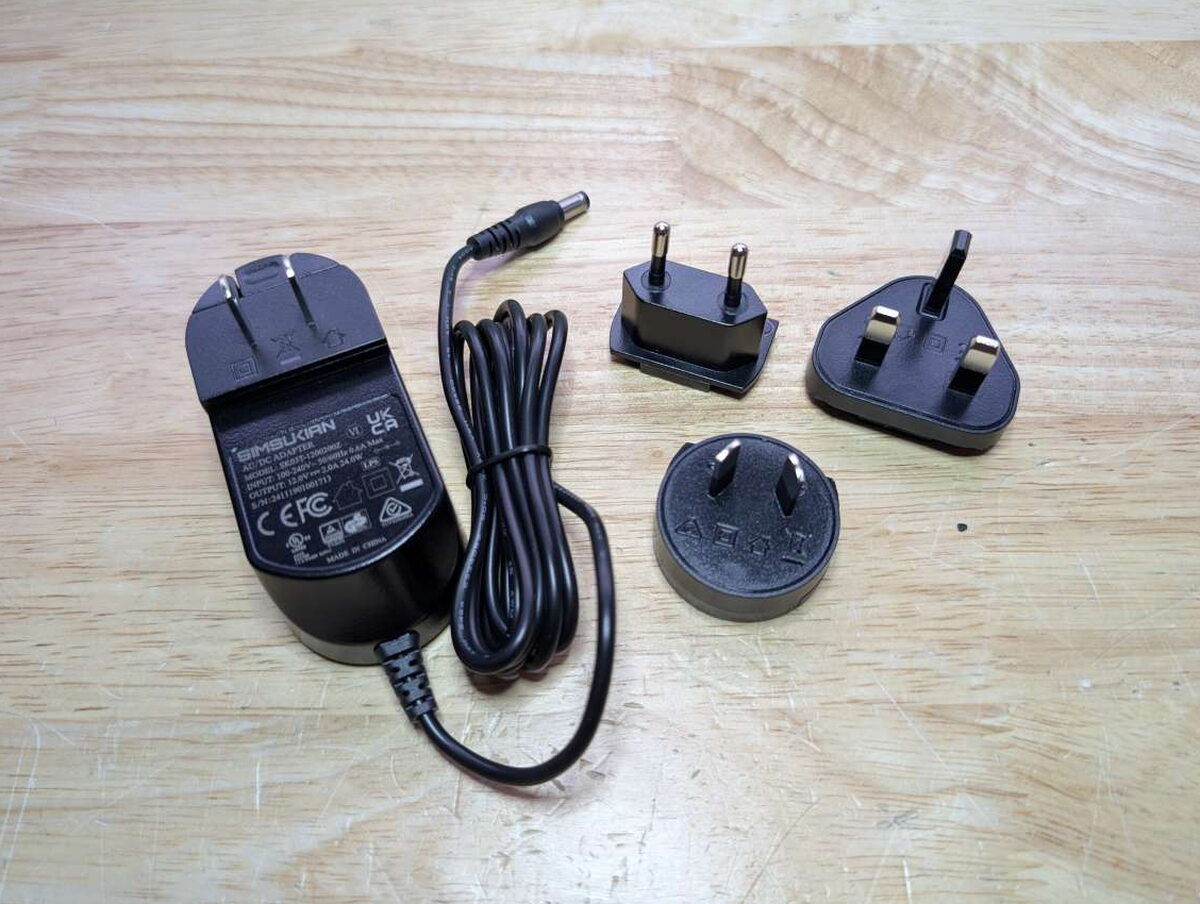
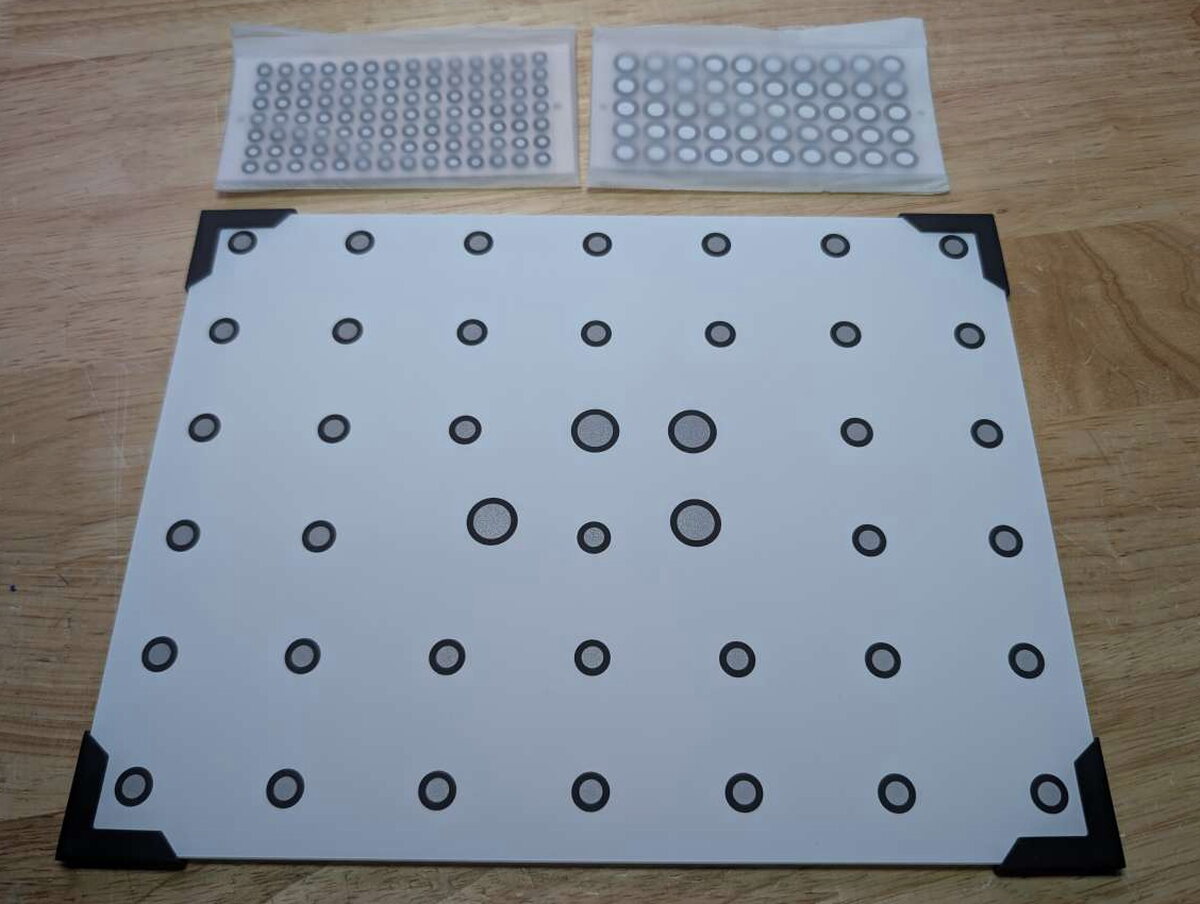
Of everything in the box, the hard case was what excited me most. A solid case genuinely extends the working life of pricey, fragile gear like this.
Getting It Running
Getting the hardware side going is painless. The Raptor Pro comes as one complete unit, nothing to assemble, just the USB cable to your computer and the power adapter, and you’re set.

The real work is installing Creality’s scanning software and running calibration. The installer behaves like any normal app, and once it opens it walks you through a guided calibration sequence.
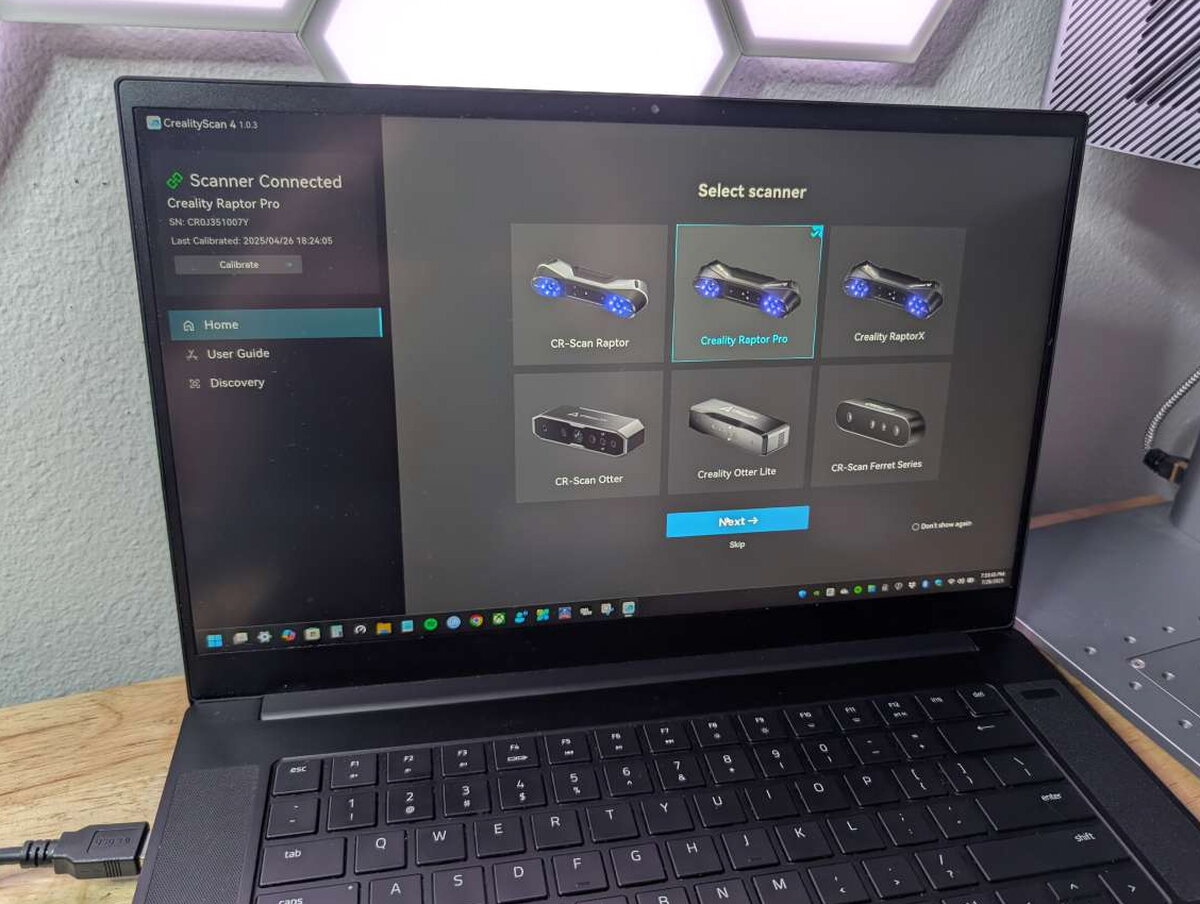
Calibration is supposed to take a couple of minutes. It never did for me. First the software has you scan the glass calibration board, easy enough, and then it asks you to tilt and turn the Raptor Pro over that same board until it’s gathered enough data to confirm alignment. The software walks you through a range of heights and angles, but I could never quite line the scanner up with its own visual guide. It was uniquely maddening every single time I had to redo it.
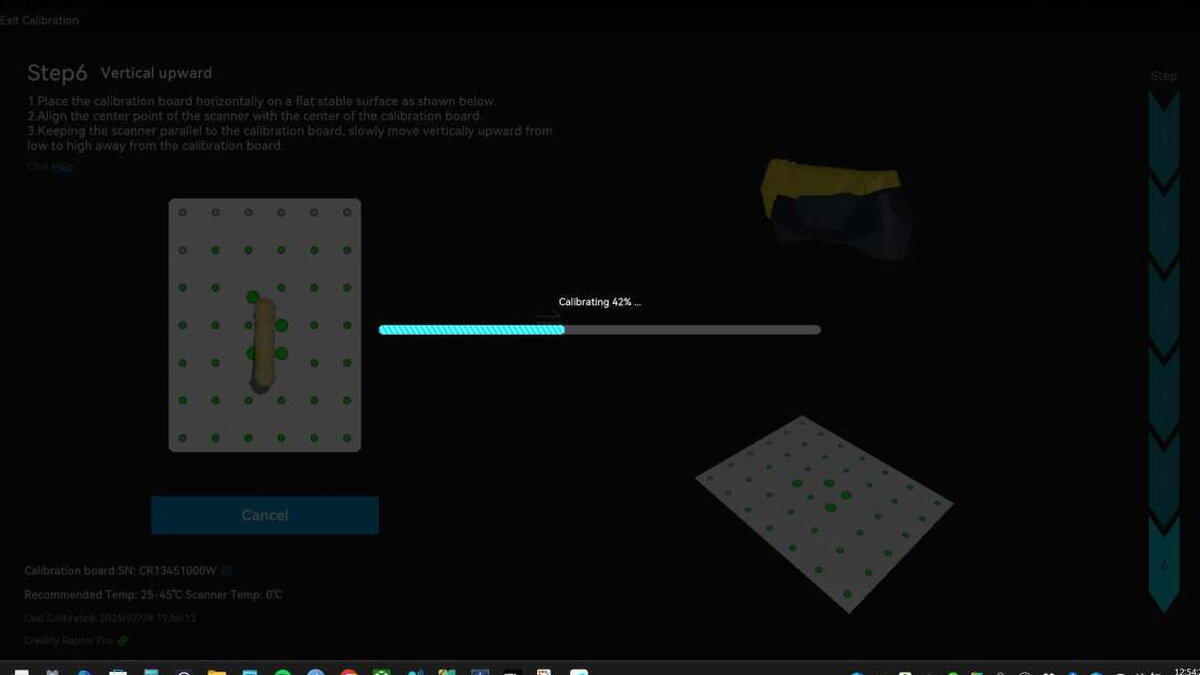
Once you’re finally calibrated, you choose blue laser for precision or infrared for larger subjects. The glass pad keeps small objects steady during a scan, and if whatever you’re scanning has no real surface detail to track, you stick on the included reflective markers to give it something to hold onto.
Trying (and Failing) to Scan My Truck
Scanning is supposed to be as simple as gliding the device around an object while a live point cloud builds on screen. The software stitches frames together as you go, lets you pause and rescan anything you missed, and once you’re done it can align multiple passes, build a mesh, and lay down texture automatically. That’s the theory. In practice, my first real attempt went nowhere.
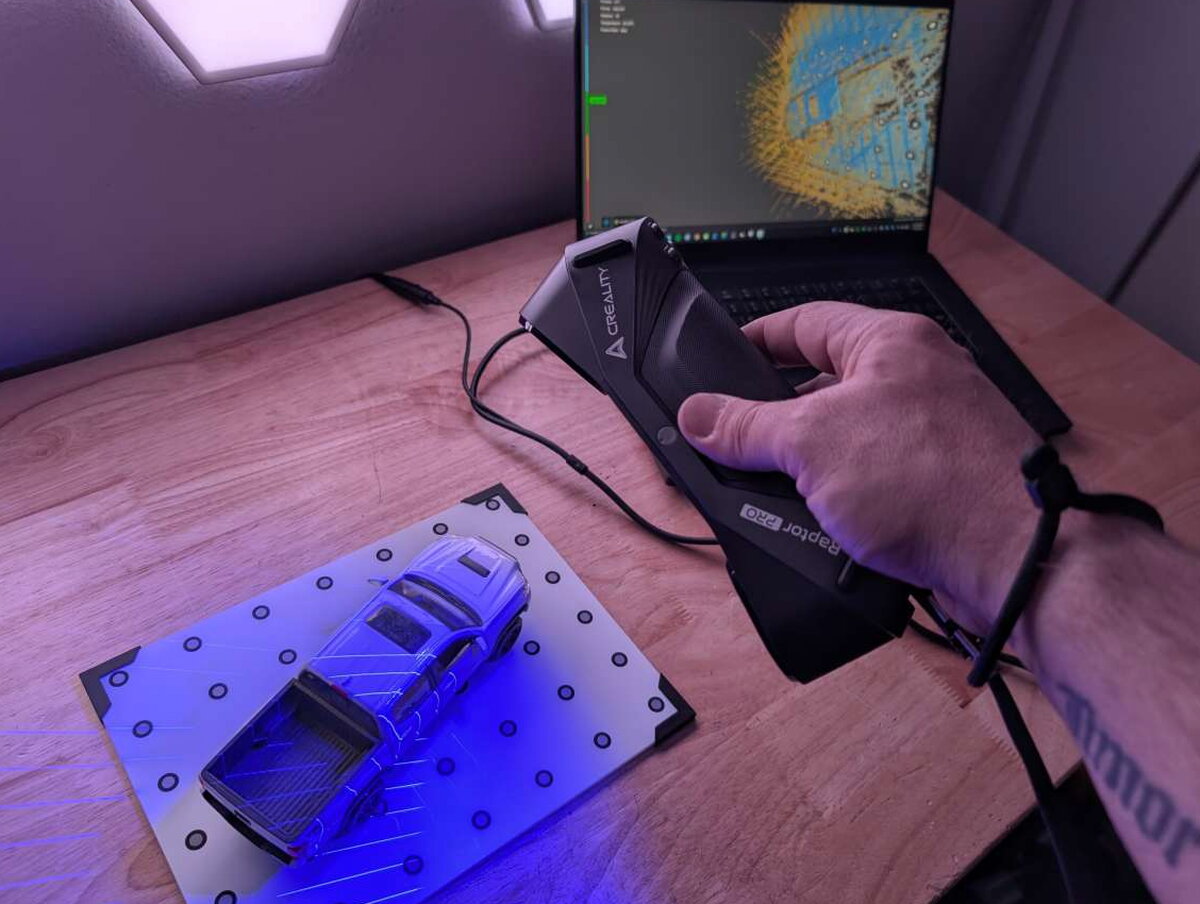
All I wanted was a scan of a little model of my truck, something I could pull into Blender and use to try out different gear setups. Simple, in theory.
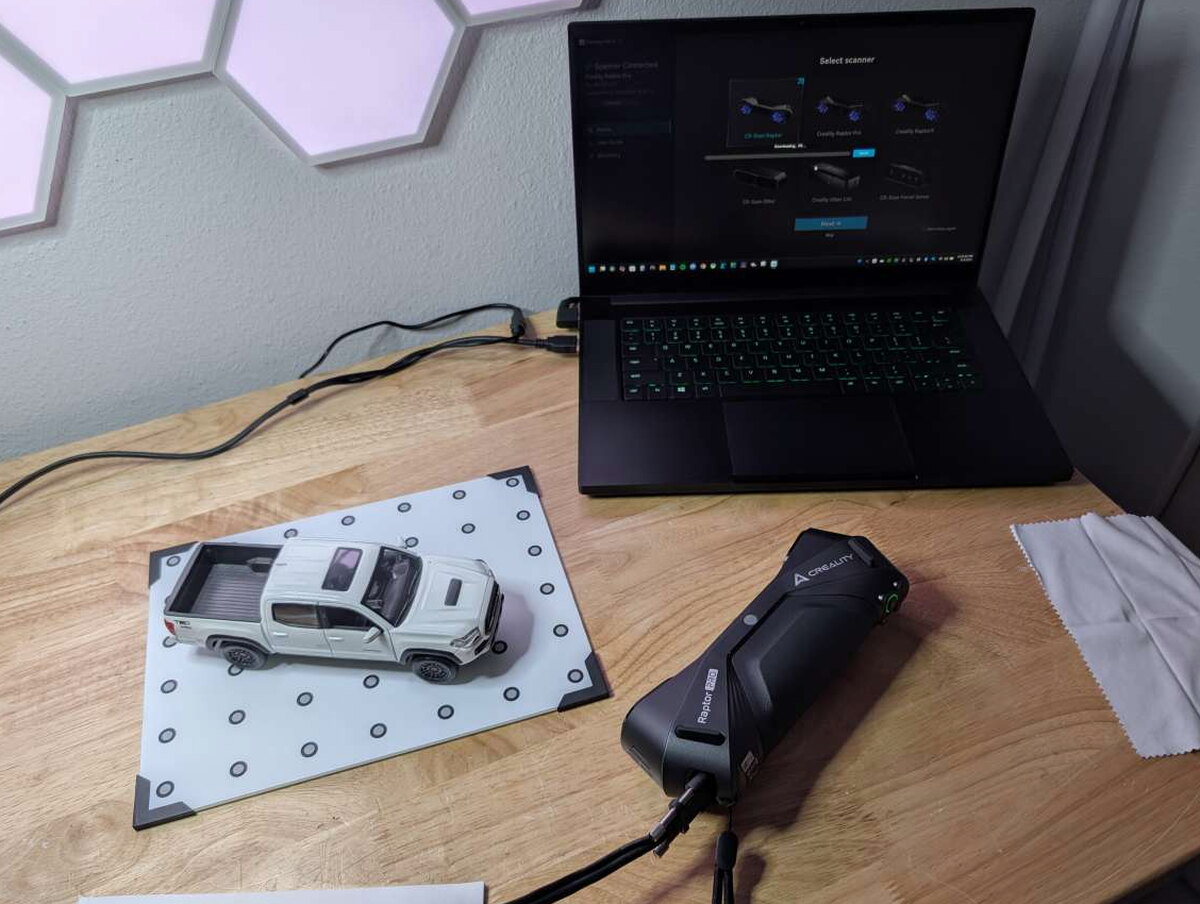

The Raptor Pro disagreed. No matter how slowly I moved it, how level I held it, or how carefully I kept it at the distance the software recommended, I couldn’t land a coherent scan. The result was duplicate geometry stacked on itself, or entire sections it simply never captured.
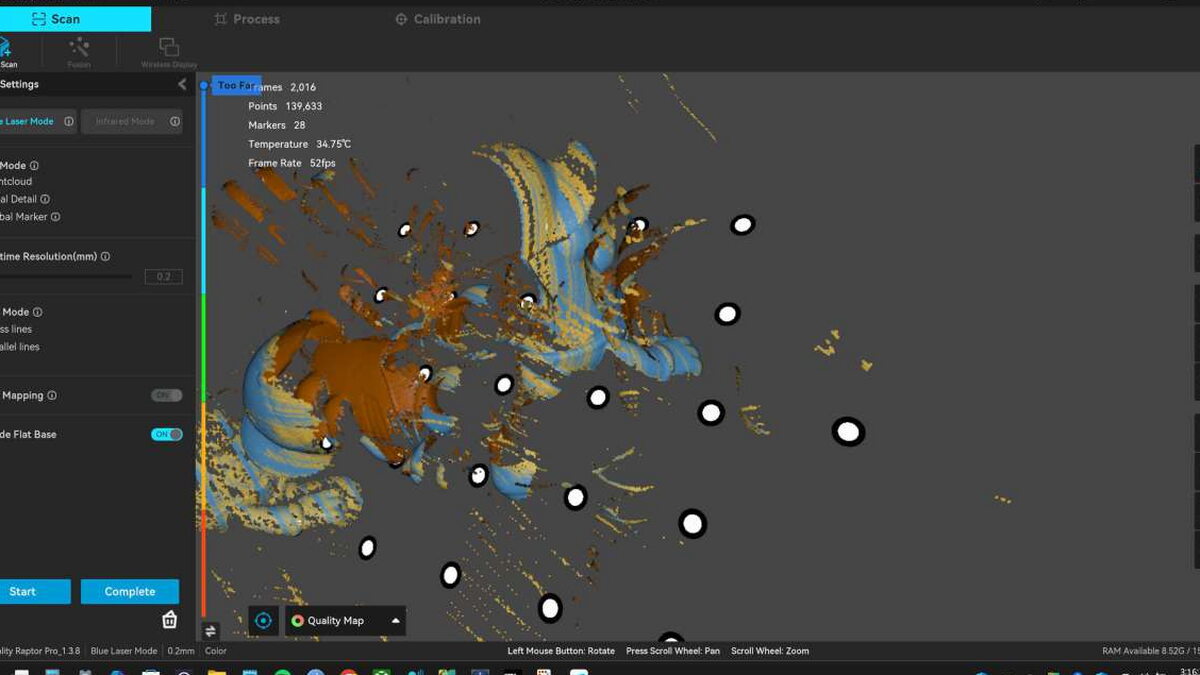
The Creality Scan software itself deserves credit here, it’s well designed and approachable for beginners while still giving advanced users real control: live feedback while scanning, automatic alignment, one-click meshing, plus manual alignment and mesh cleanup tools I leaned on constantly. It exports to STL, OBJ, and PLY, so it slots cleanly into CAD or 3D printing workflows. The software was never the bottleneck. Getting usable raw data into it was.
Striking Out on Ganesh, the Die, and the Tiki God
After burning a mountain of time and patience on the truck, I gave up on it and moved to smaller, simpler test subjects in different colors and materials.
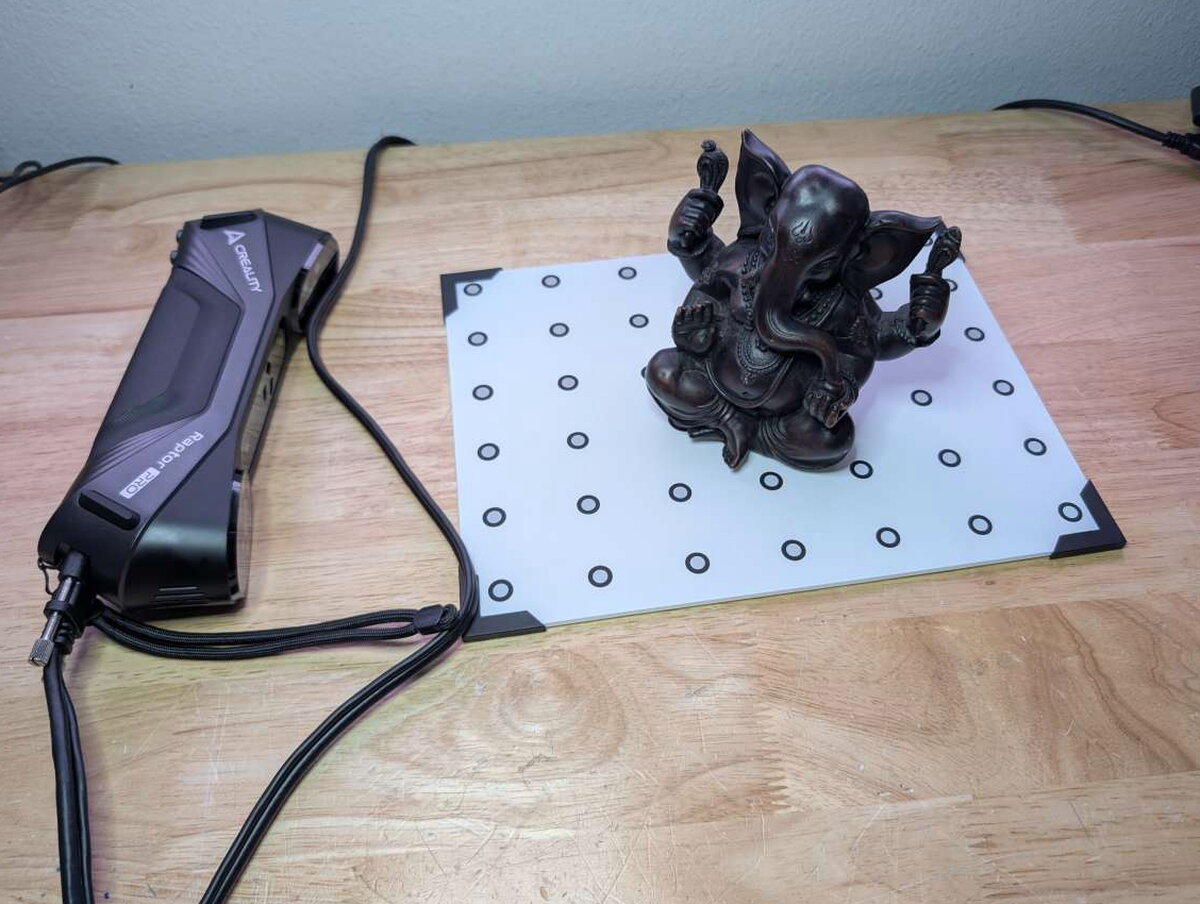
First up was a statue of Ganesh, the Remover of Obstacles. Turns out the one obstacle even he couldn’t clear was getting the Raptor Pro to produce a usable scan of himself.
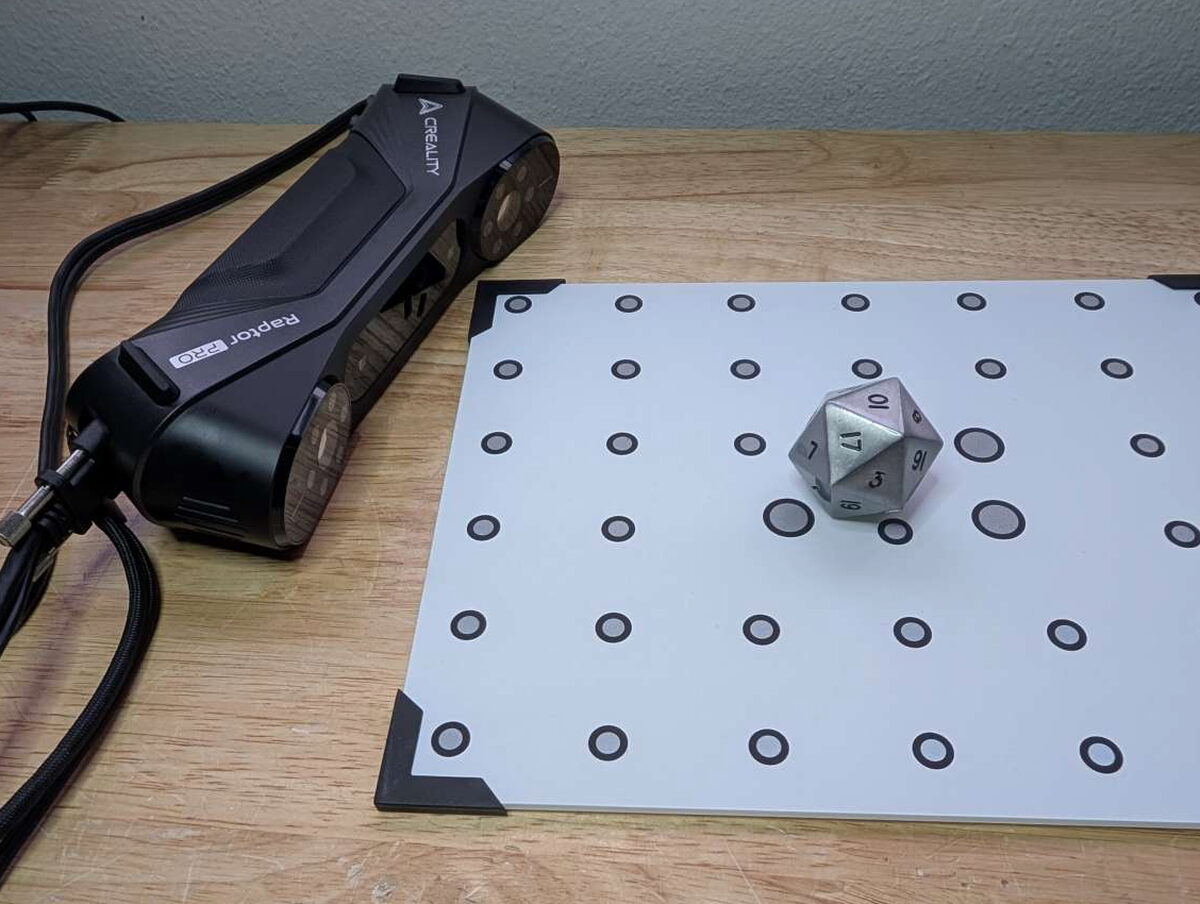
Next was my lucky stainless steel twenty-sided die. On the skill check for this scan, I rolled a natural one. Critical failure.
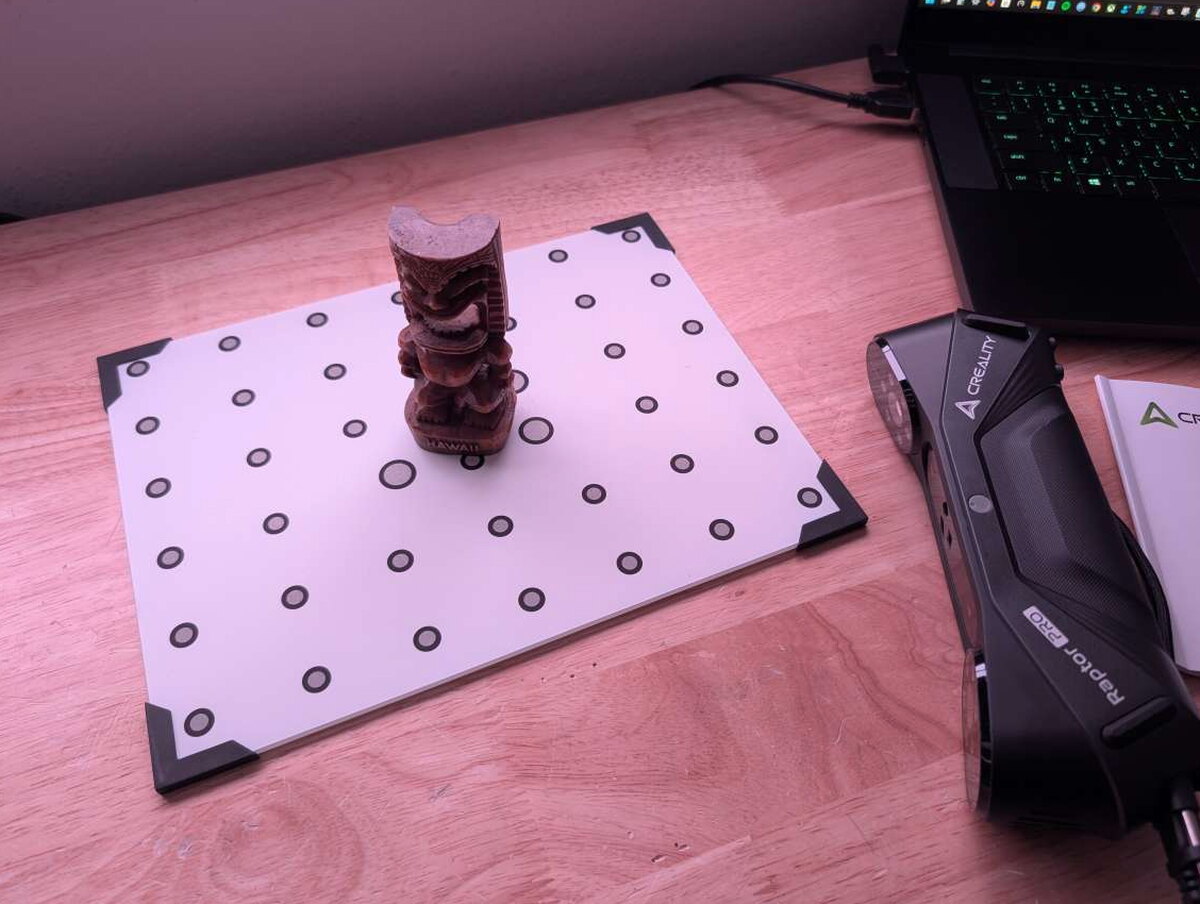
Then my favorite Tiki God statue got a turn, and I fared about as well with it as the Brady Bunch did with theirs. (Google it, Millennials.)
Throwing Everything at One Last Object
For one final attempt, I stacked every advantage I could find: a simple object with good contrast, texture, and color, plus 3D scanning spray and a lot more reflective markers than usual on the board.
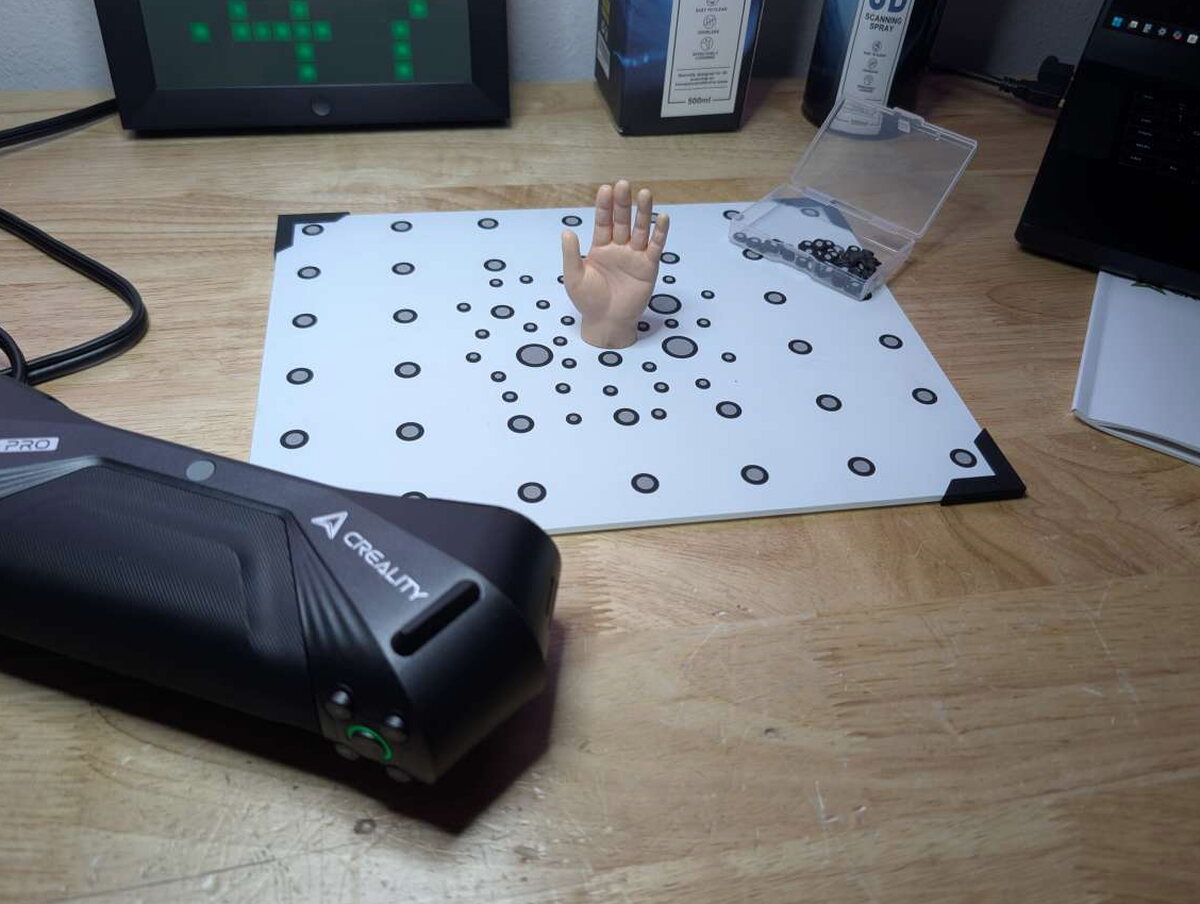
I switched to the higher-precision dual blue laser mode using parallel lines and went slowly, deliberately, over a tiny hand model.

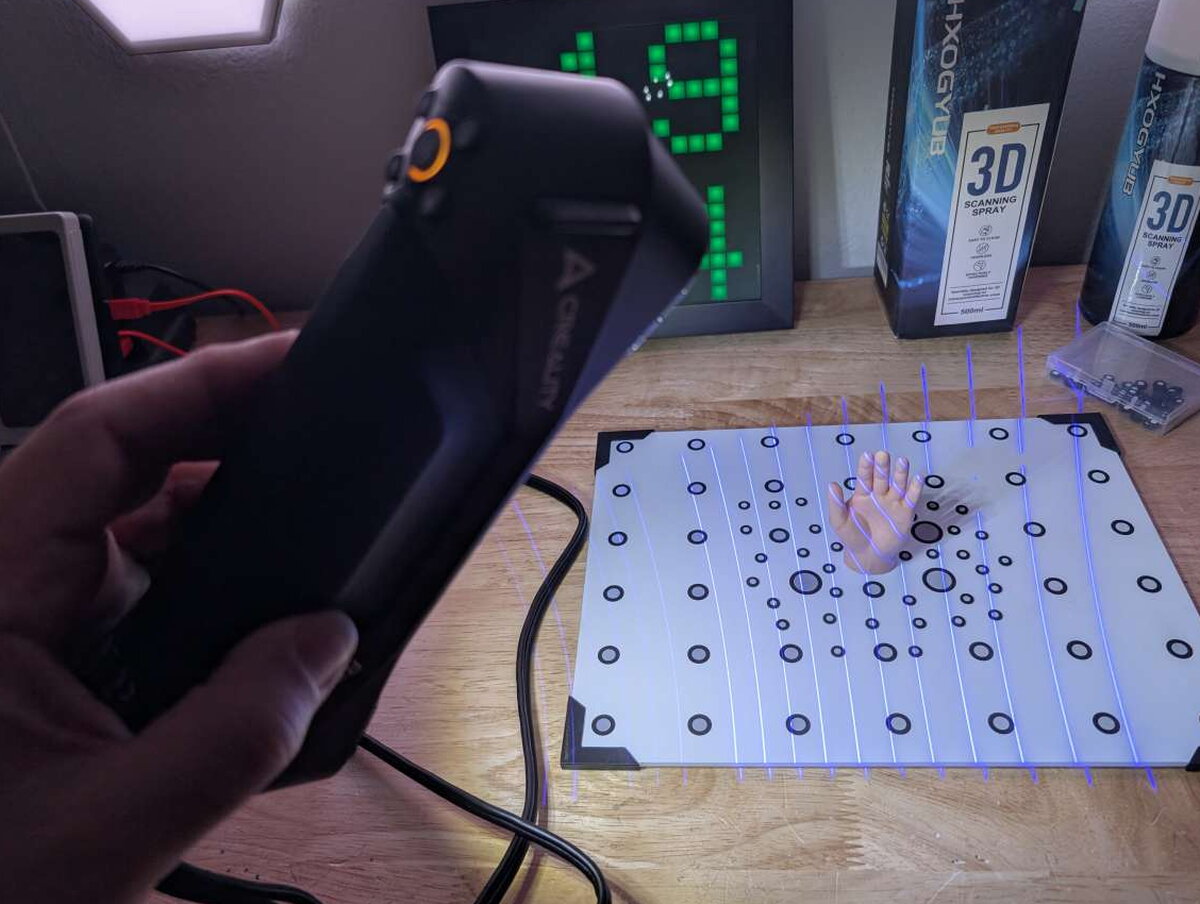
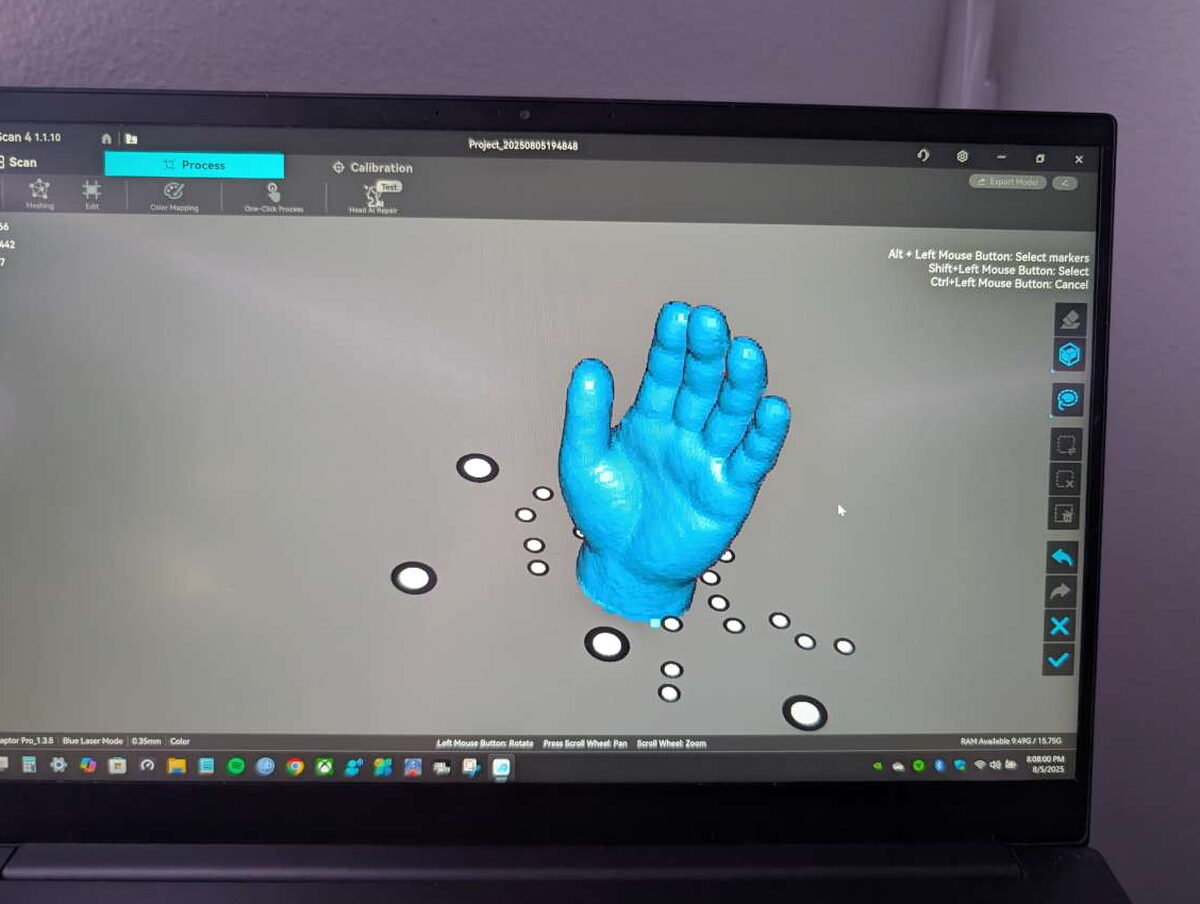
Finally, persistence paid off. The software locked onto the hand’s details, and after several slow passes I had enough data for it to actually work with, using the calibration board as a shared reference point to stitch the passes together.
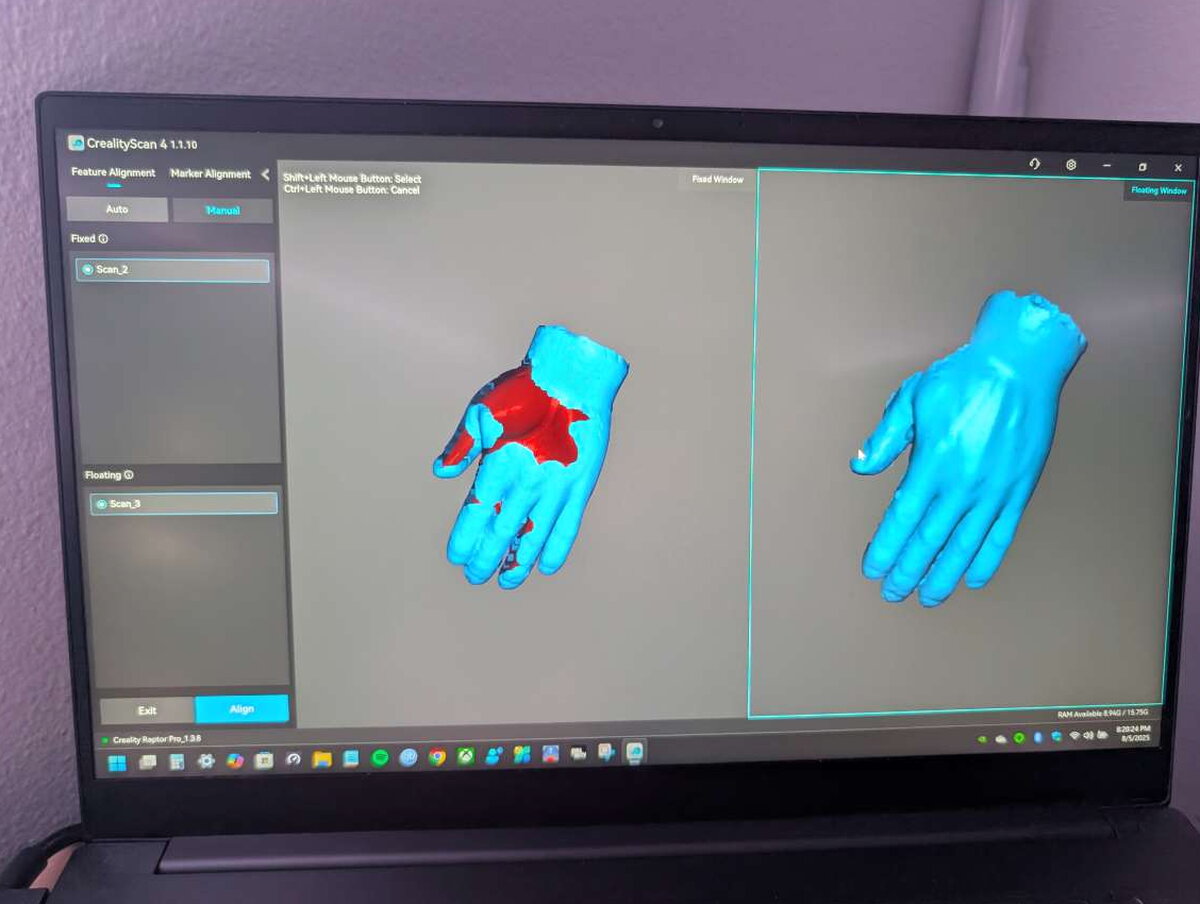
Once the passes were merged, I hand-cleaned the model using the software’s edit tools. Between that cleanup and all the failed attempts before it, the whole exercise probably took as long as modeling the hand from scratch would have. But it worked.
Switching to Infrared: My Head
Feeling slightly more confident, I wanted to try infrared mode, which trades some precision for coverage and works best on people or bulky objects. With no other models handy, I improvised and scanned my own head.
Infrared was noticeably more forgiving through the actual scanning process, and getting a full pass of my whole head was much easier than the blue laser attempts. It did put my arm through some genuinely uncomfortable positions holding the scanner at the right angles.
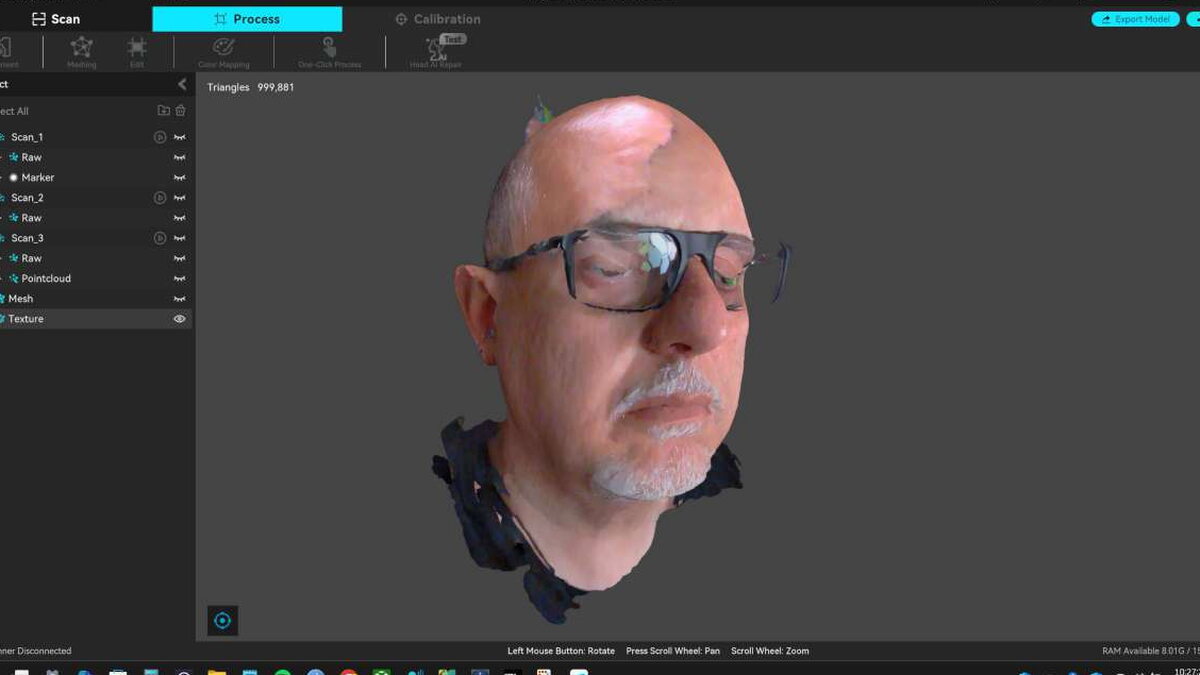
The results were inconsistent, some areas rendered in genuinely impressive detail, others came out incomplete or missing entirely.
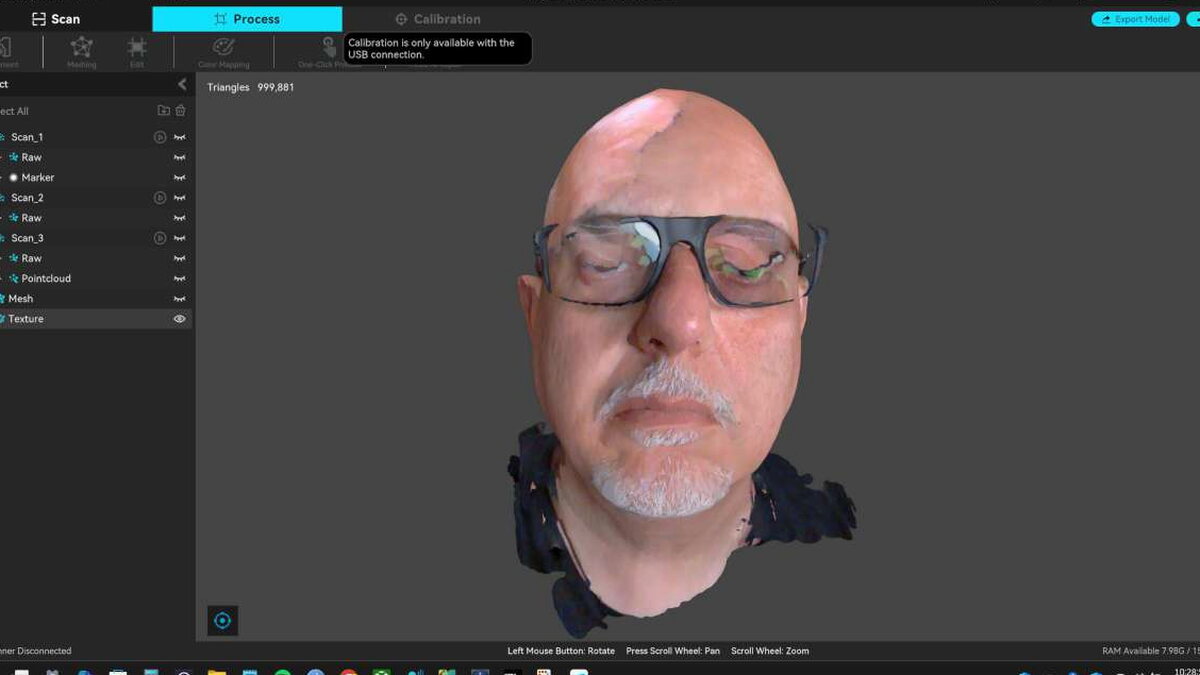
Just like the truck, infrared mode piled duplicate geometry on top of the original scan in places, which made for some genuinely unsettling body horror once you zoomed in.
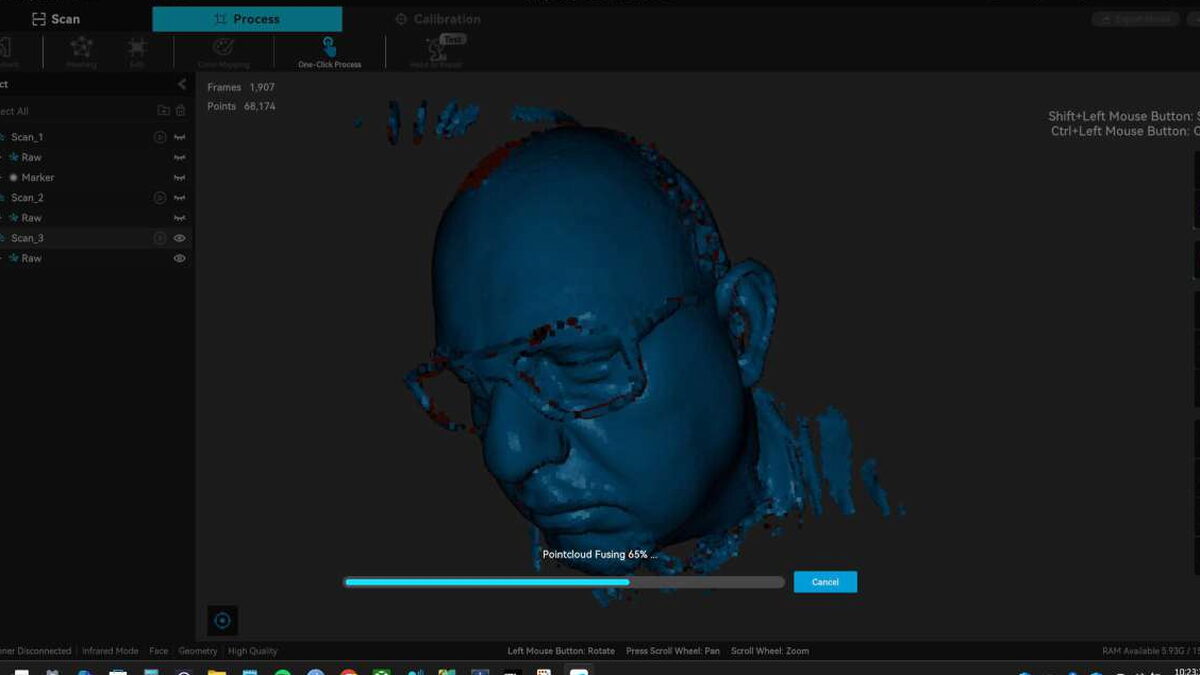
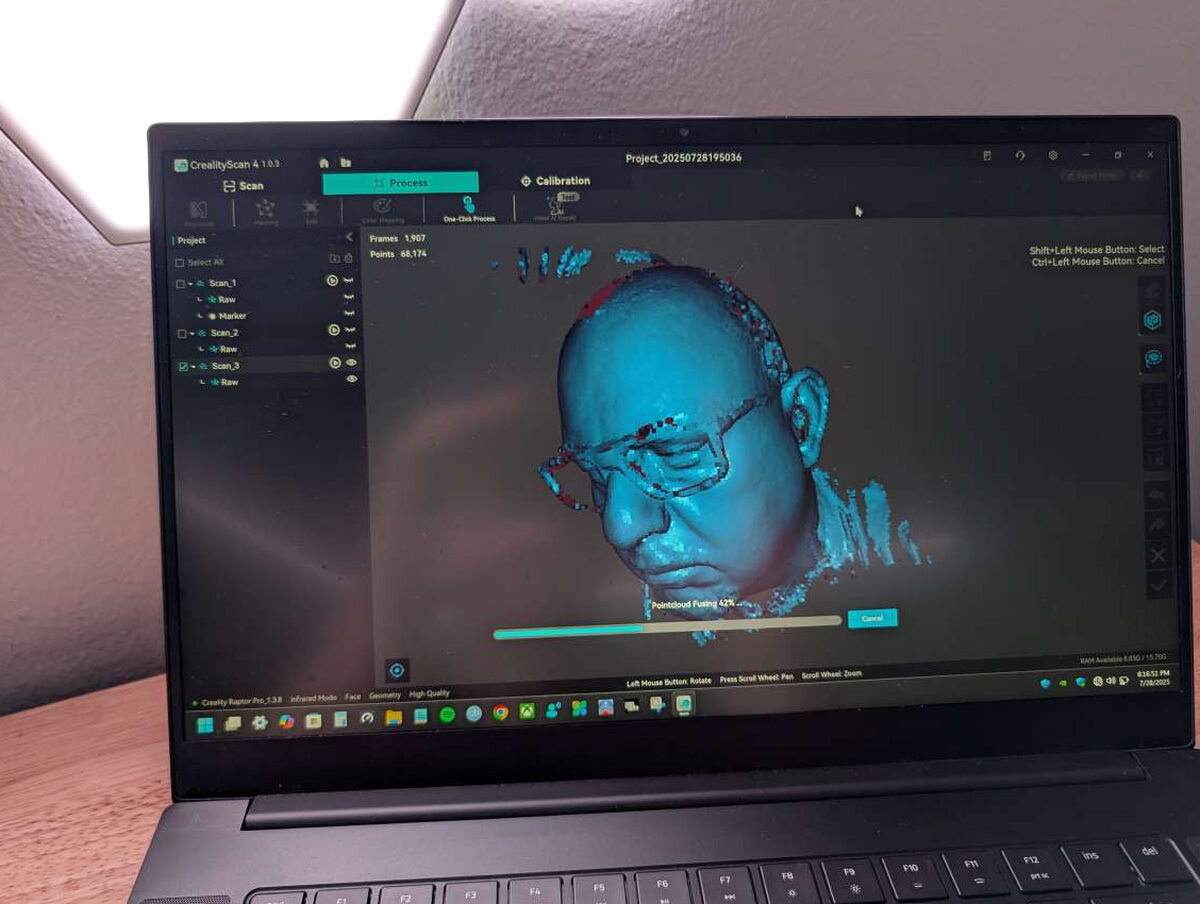
Manually cleaning up the head model the same way I fixed the hand turned out to be a genuine struggle, and zooming into the raw mesh made it obvious why.

The software did generate an impressive color texture map, even if it was clearly still missing data it needed to fully close.

Since reflective surfaces tend to cause problems, I tried again with my glasses off.
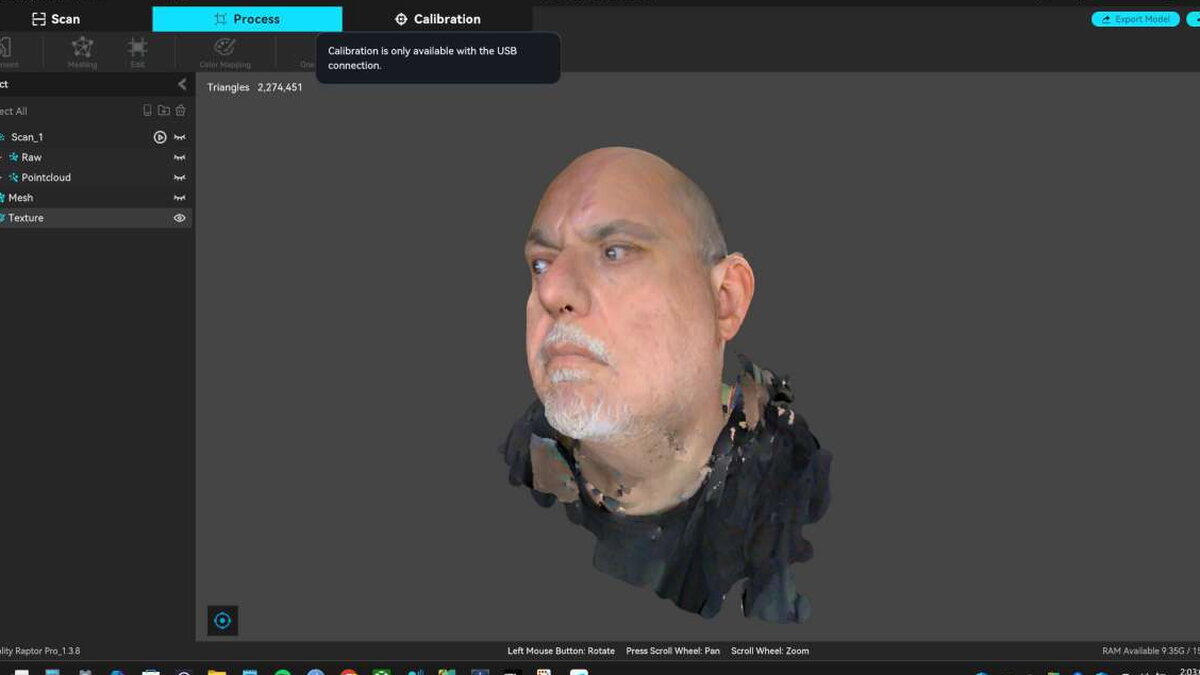
Results were a little cleaner, but oddities remained, including what looked like a bulging eyeball and a few strange growths sprouting off my face where a stray lens reflection had confused the sensor.
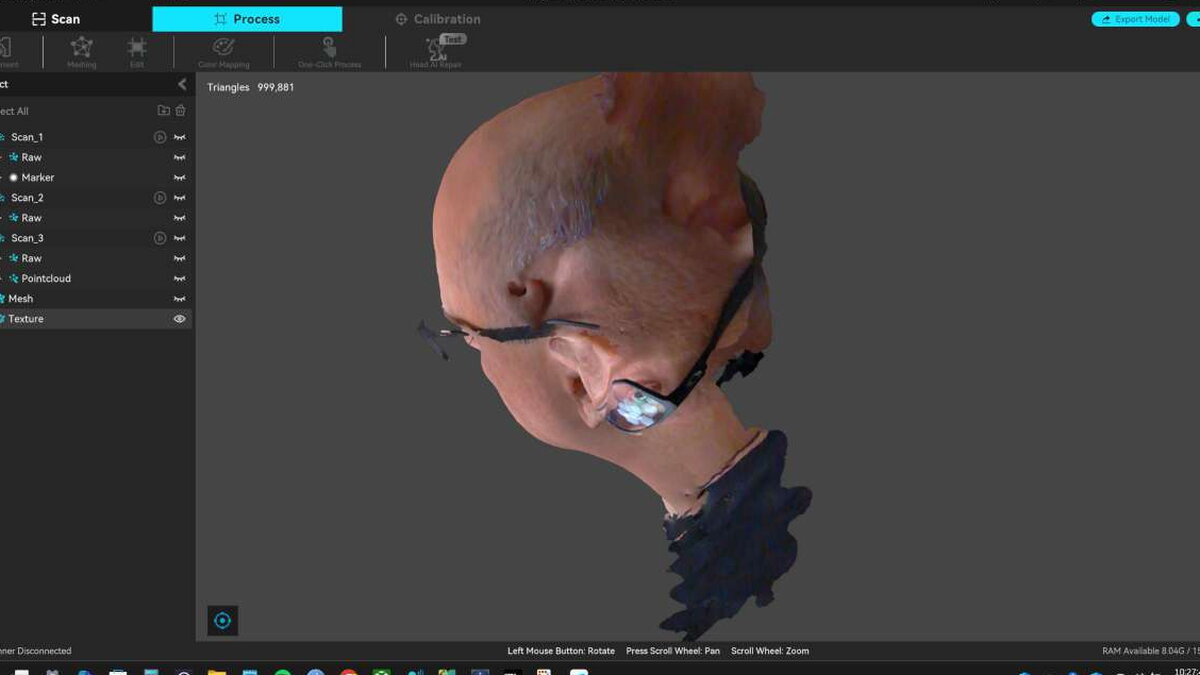
Where the data was clean, though, the detail genuinely impressed me, individual stubble and skin texture came through with a level of fidelity I didn’t expect from a handheld unit at this price.

With enough editing, a model like this could probably be put to real use. But as I kept finding throughout testing, the time spent fixing a scan tends to cancel out whatever time the scan itself was supposed to save.
The Verdict
The Creality Raptor Pro is a genuinely capable piece of kit that pairs professional-grade precision with a design that doesn’t intimidate. At $1,799 you’re making a real commitment, and to its credit the feature set and raw performance justify that number on paper. Even so, the steep learning curve, inconsistent output, and shaky real-world accuracy make it hard to recommend to anyone brand new to 3D scanning. By the time I finished scanning, merging, and cleaning up my handful of test models, I’d sunk as many hours into it as modeling them from scratch would have taken, often more. If the price comes down and you’re willing to learn 3D scanning the hard way, the Raptor Pro is worth a look.
The Good
- Easy setup straight out of the box
- Comes with a hard case
- Includes two sizes of adhesive reflective markers
Quick Questions
Q: Does the Creality Raptor Pro come with a carrying case?
A: Yes, a hard Pelican-style case is included, which held up well even after the outer retail box was crushed in shipping.
Q: How accurate is it?
A: Up to 0.02mm in blue laser mode and 0.075mm in infrared mode, according to Creality’s specs.
Q: Is it easy to get a clean scan on the first try?
A: Not necessarily, that’s a real theme in this review; getting usable, coherent scans took many failed attempts and a steep learning curve, even on simple objects.
Q: Does it include wireless capability?
A: No, that’s listed as a real gap; a wireless module isn’t included at this price.
The Not So Good
- Very difficult to achieve a clear scan
- Instructions and guidance are severely lacking
- Wireless module should be included at this price
Price: $1799
Product Link: Creality
Source: The sample of this product was provided for free by Creality. Creality did not have a final say on the review and did not preview the review before it was published.


