
REVIEW – The Creality Ender 3 Max Neo landed right in the spot I wanted from a larger format 3D printer. I wanted more room than a typical desktop machine, but I did not want to spend thousands of dollars just to print the occasional oversized model. At $369, this FDM printer keeps the familiar Ender formula, adds a 300mm x 300mm x 320mm build volume, and backs it up with a feature set that made the whole experience feel dependable rather than experimental.
Creality has earned a big following with the Ender line, and after living with the Max Neo I understand why. It is not perfect, but it is approachable, well equipped, and capable of excellent prints in both small and large sizes.
Printer basics
The Ender 3 Max Neo is a Cartesian Fused Deposition Modeling printer that works with PLA, ABS, PETG, and wood filament. It arrives partly assembled, uses a 4.3 inch color knob screen for control, and accepts files through either MicroSD or Micro USB.

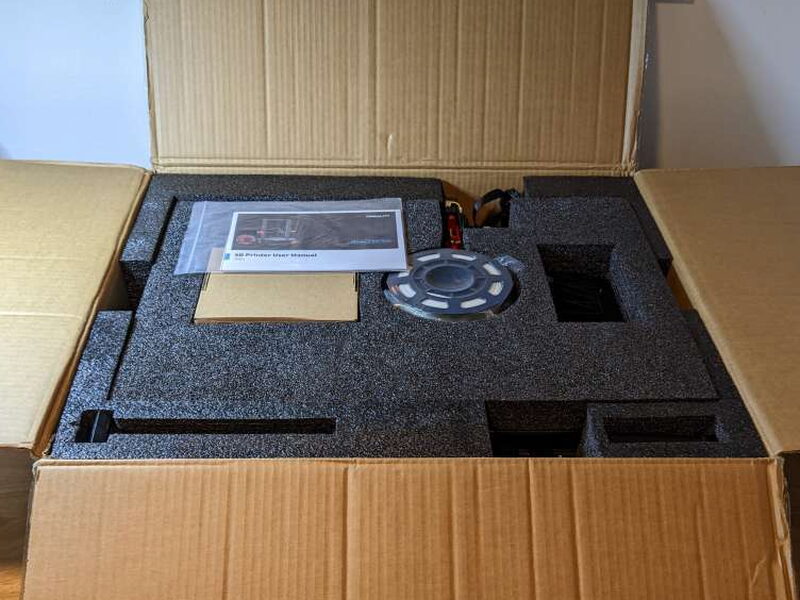
My review unit shipped in a large, mostly plain cardboard box. Inside, the printer pieces were locked into thick foam inserts, which kept the heavy base, gantry, screen, tools, and smaller accessories separated and protected.
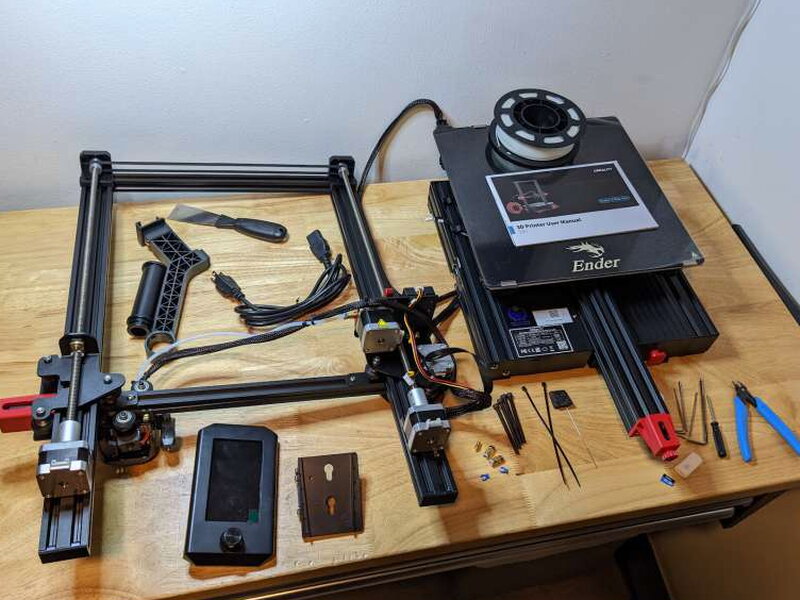
Included in the box
- Ender 3 Max Neo 3D Printer
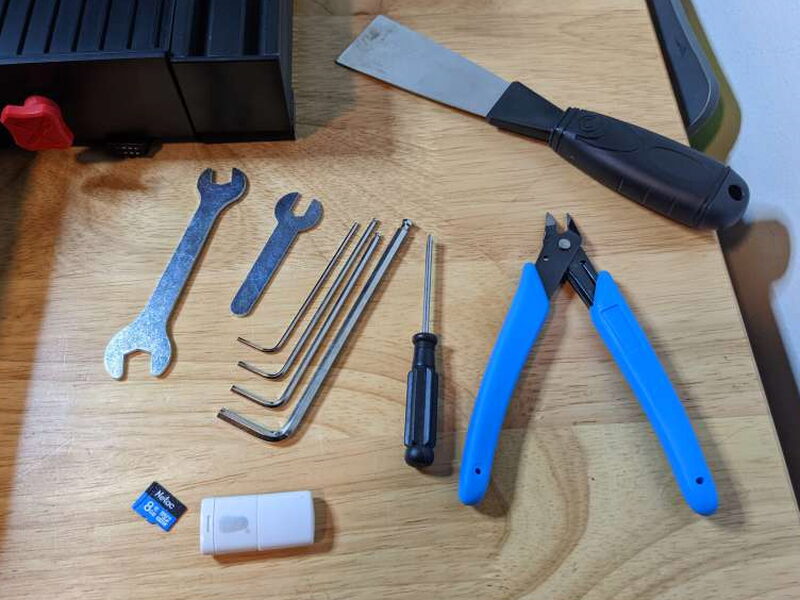
- Toolkit
- 2 x Standard Wrenches
- 4 x Allen Wrenches
- Flathead Screwdriver
- Wire cutters
- Spatula Print Removal Tool
- Nozzle Dredge Needle
- Replacement .4mm Nozzle
- 2 x Replacement Pneumatic Fittings
- White PLA Test Filament, 200g
- User Manual
- Gantry and attachment bolts
- Filament Spool
- Power cord
- Control Unit and Mount
- Cable zip ties
- MicroSD TF Card
- 8GB MicroSD to USB CardReader
Key specifications
- Molding Technology: Fused Deposition Modeling (FDM)
- Machine size: 516mm x 582mm x 590mm
- Build Volume: 300mm x 300mm x 320mm
- Package Dimension: 665mm x 555mm x 290mm
- Weight: 22lb. 11oz (10.3kg)
- Printing Speed: ≤120mm/s
- Printing Precision: ±0.1mm
- Layer Height: 0.05~0.35mm
- Filament Diameter: 1.75mm
- Nozzle Quantity: 1
- Nozzle Diameter: 0.4mm
- Nozzle Temperature: Up to 260°C
- Heat Bed Temperature: Up to 110°C
- Build Surface: Carborundum Glass
- Extruder Type: Bowden
- Extruder Composition: Metal
- Leveling Mode: CR Touch Auto-leveling
- Display: 4.3 inch Color Knob Screen
- Mainboard: 32-bit Silent Mainboard
- Resume Printing Function: Yes
- Filament Sensor: Yes
- Rated Voltage: 100-120V~, 200-240V~, 50/60Hz
- Rated Power: 350W
- Slicing Software: Creality Slicer/Cura/Repetier-Host/Simplify3D
- Data Transmission Method: Micro USB and MicroSD Card
- Supported 3D File Formats: STL/OBJ/AMF
- Supported Filaments: PLA/ABS/PETG/Wood

Assembly and first setup
There is some assembly, but far less than on many rectangular frame printers. The main job is attaching the gantry to the base. The parts are large, so it takes a little patience, but nothing about the process felt confusing.


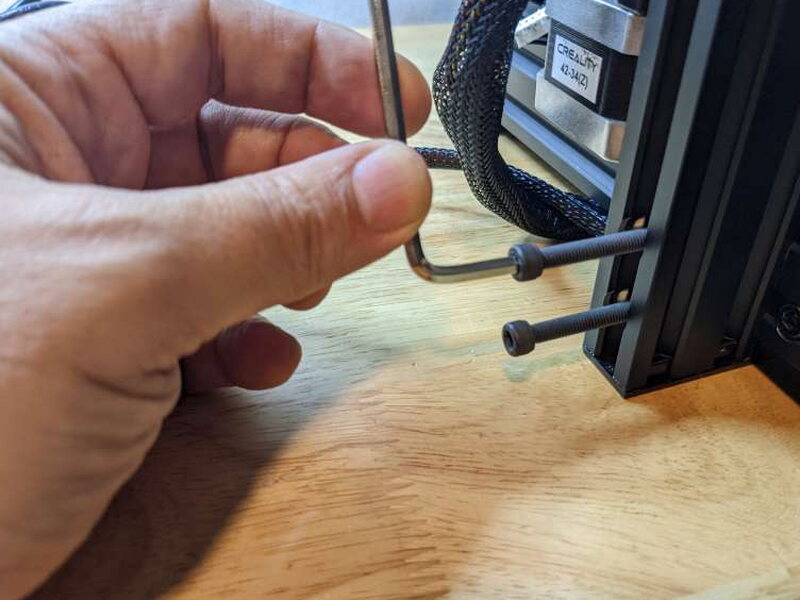
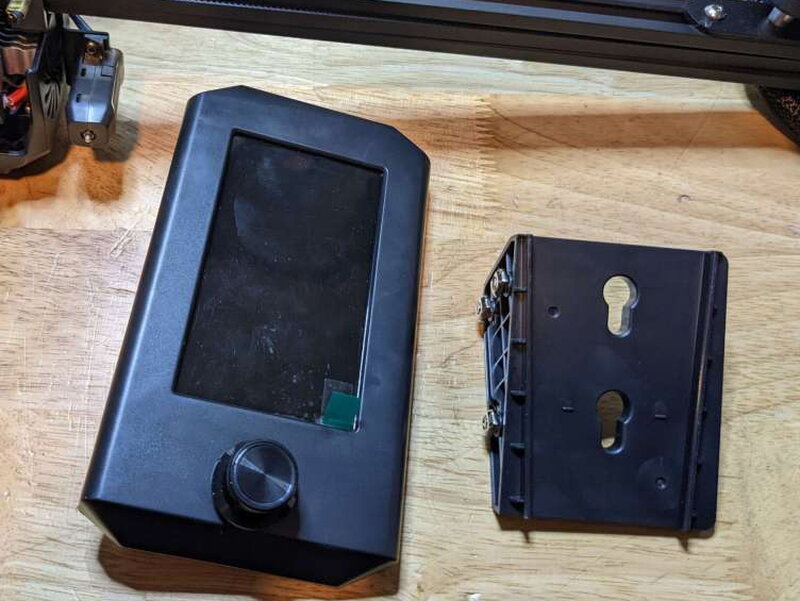
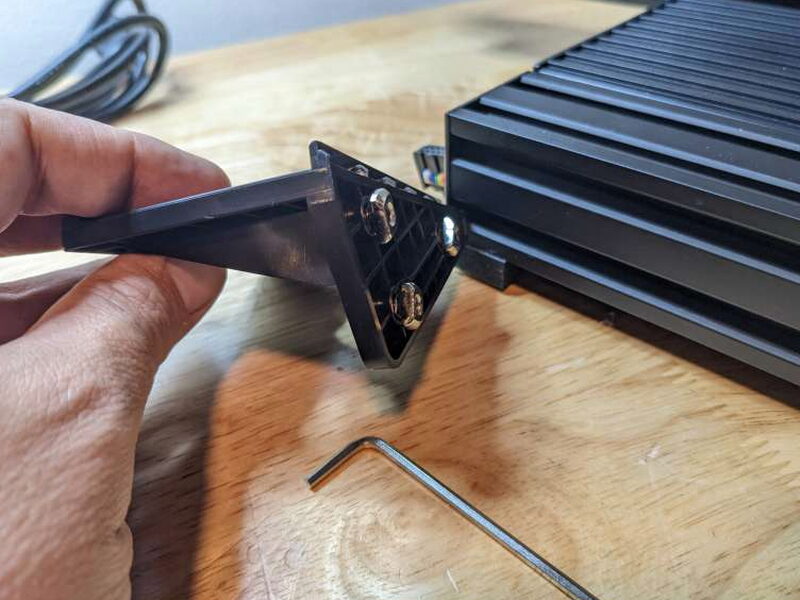


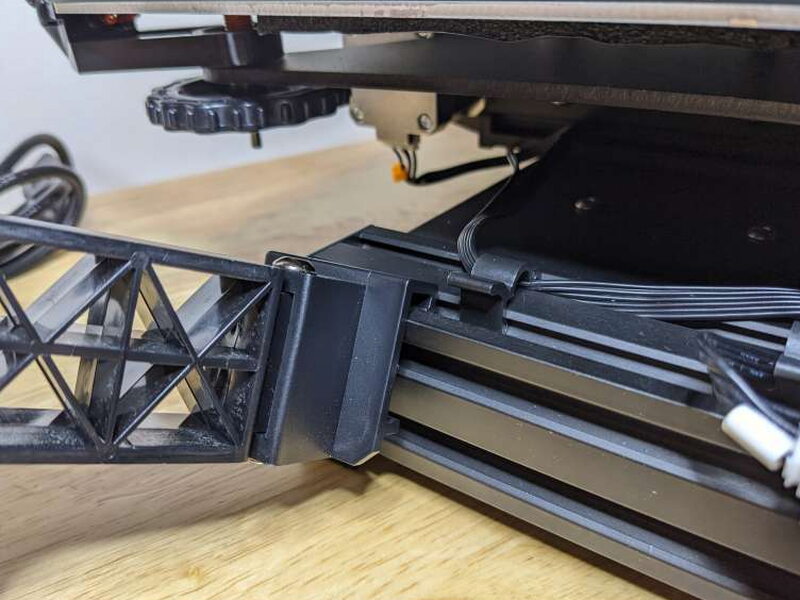


The gantry drops into the side channels, then four bolts secure it from below. Lining up the holes took a bit of nudging, but the included Allen wrench handled the actual tightening. After that, the screen mount slides into the base extrusion, the display drops onto its pins, and the ribbon cable plugs into the rear of the control unit.
The spool holder is mounted on the side instead of across the top of the frame. It simply hooks into the base extrusion and can be folded back when the printer is not in use. I appreciated the space saving idea, although later testing made me wish the holder felt sturdier.
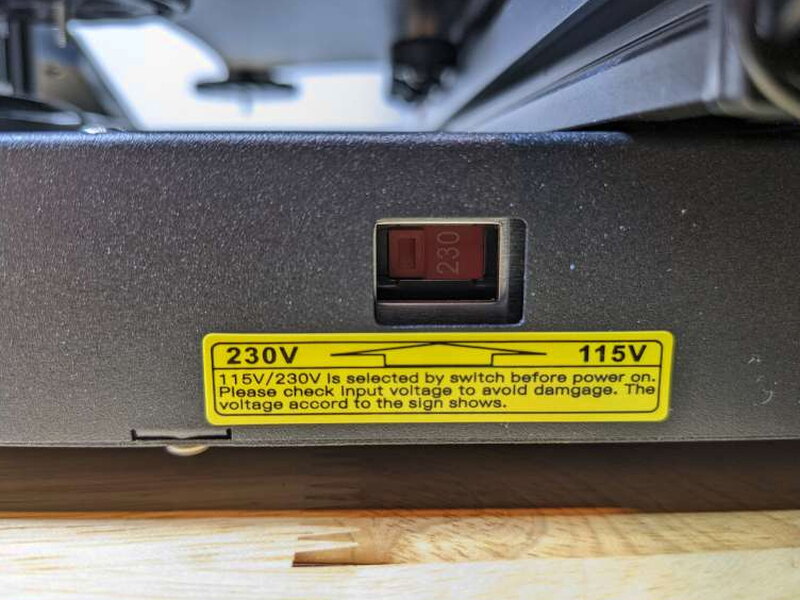
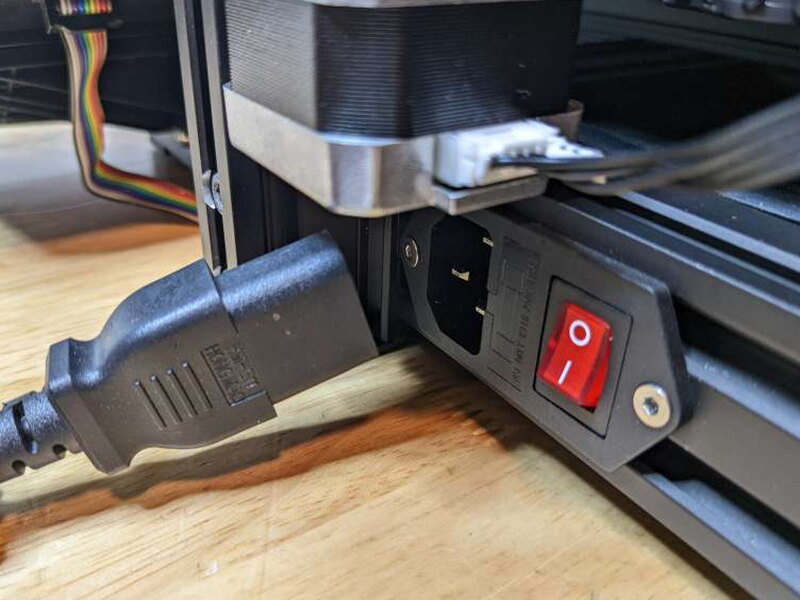
The last setup details are motor wiring and power. The Max Neo uses dual Z axes, so two small motor plugs need to be connected. More importantly, the voltage selector on my unit arrived set to 230V. In the United States it must be switched to 115V before plugging in the power cord.
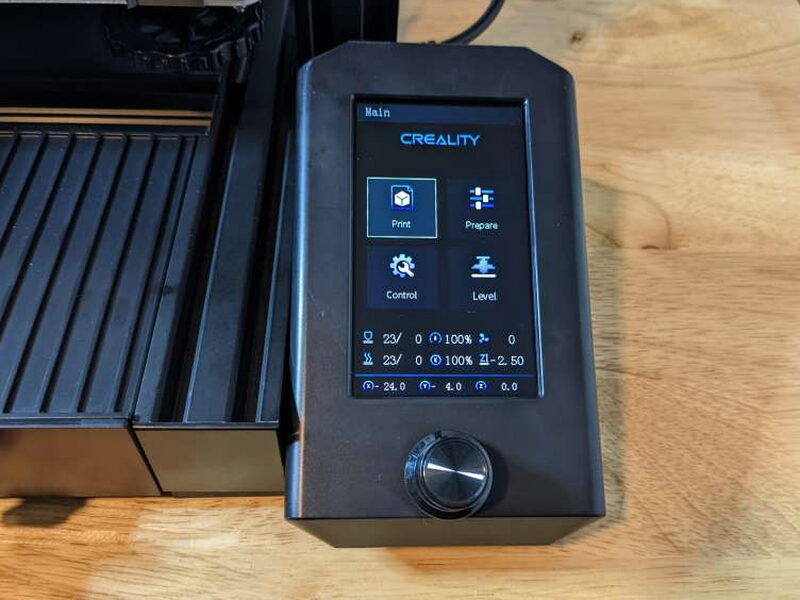
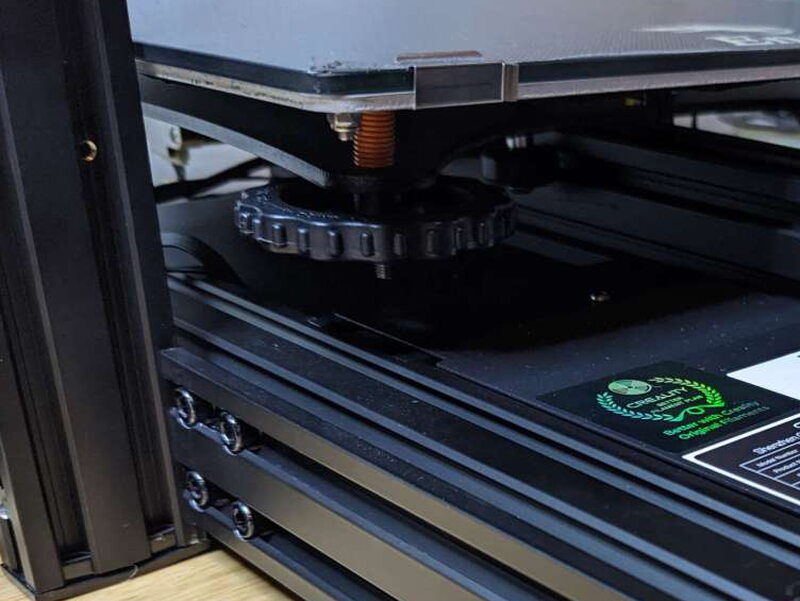

The control screen makes auto leveling easy. Selecting Level starts the CR Touch routine, which takes a few minutes. I still recommend doing a manual check as well, because the large leveling knobs under the glass bed may not be set perfectly from the factory. The paper method described in the manual worked fine: move the nozzle to each corner, slide A4 paper under it, and adjust until there is slight drag.
Design and hardware
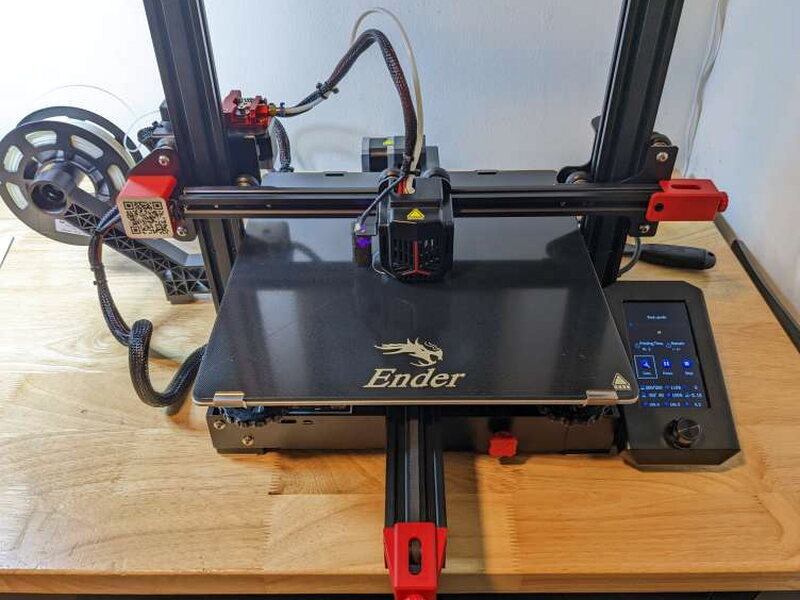
Once assembled, the Ender 3 Max Neo looks like a familiar Cartesian printer, just stretched to handle larger jobs. The design wins me over with practical details. The red accents are not just decoration. They call attention to parts you actually adjust, such as the belt tensioners and tool drawer.
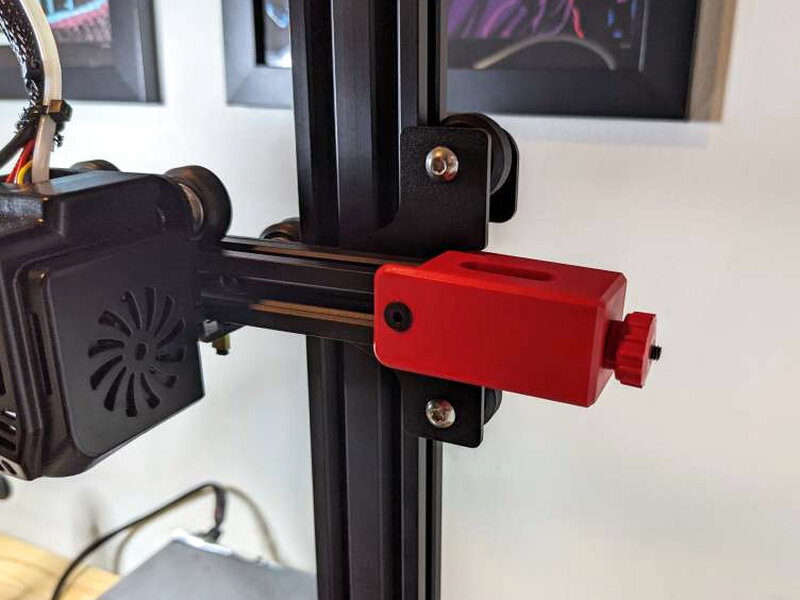

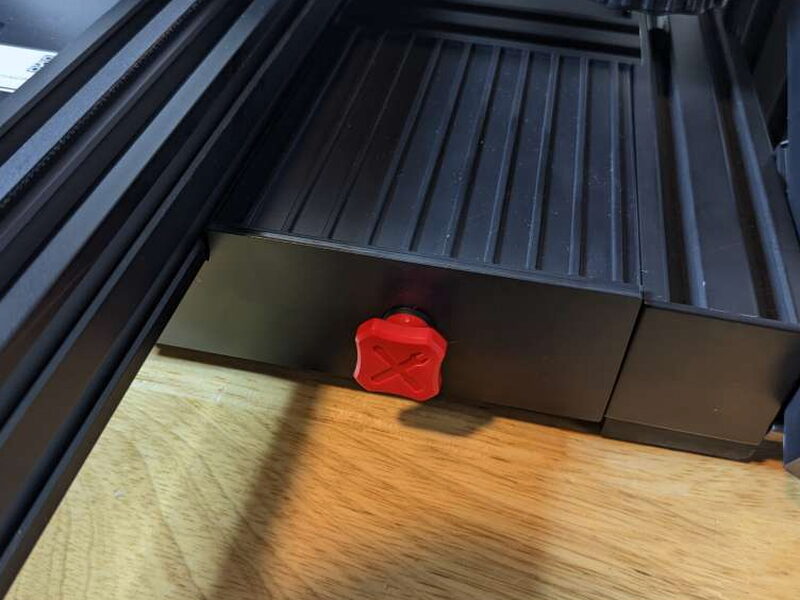






The red X and Y belt tensioner knobs make belt maintenance straightforward. Loose belts can skip or fail to move parts correctly, while belts that are too tight can strain the motors. Having those adjustments exposed and easy to reach is a real advantage.
I also liked the built in tool drawer. Creality includes a basic tool kit, and almost everything except the large spatula fits inside the base. It is the kind of small convenience that made me reach for the included tools more often than I expected.
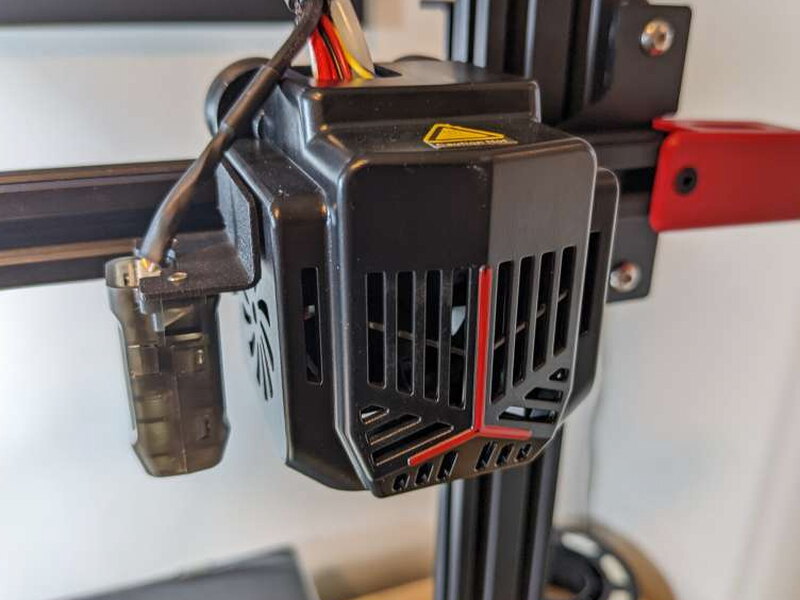
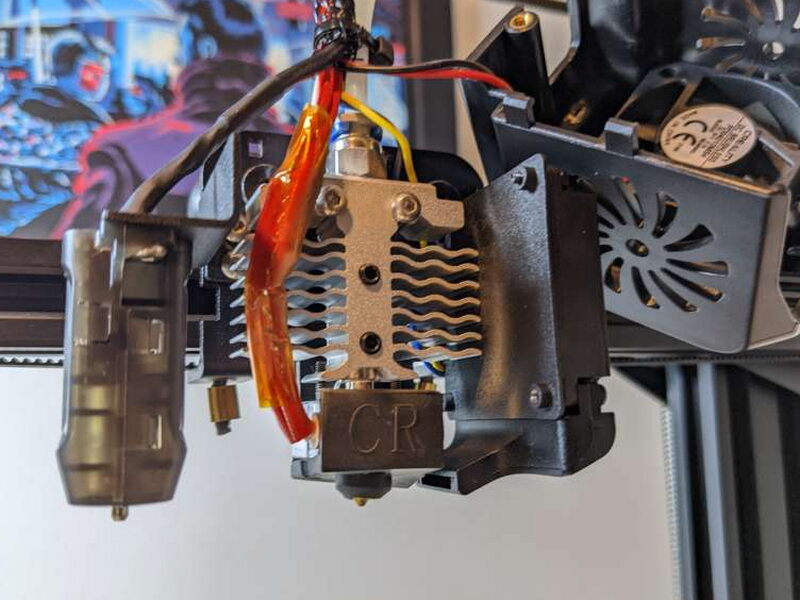
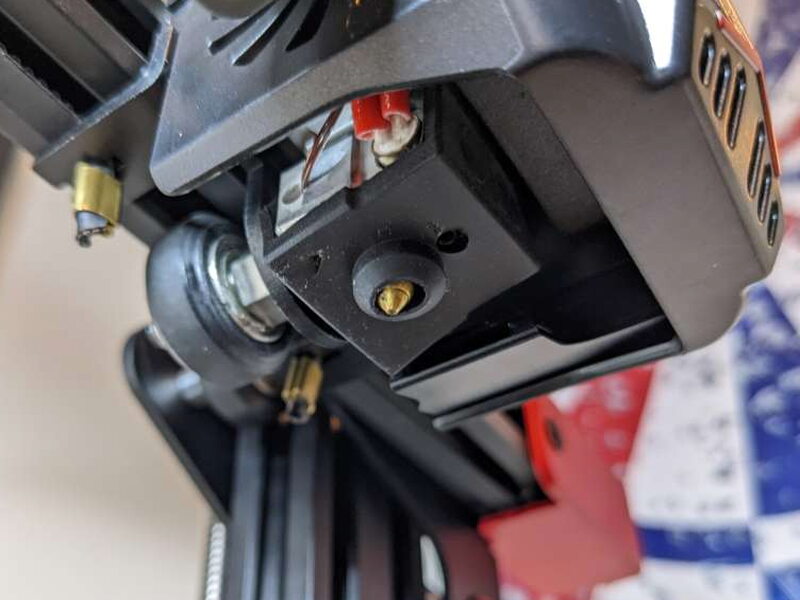
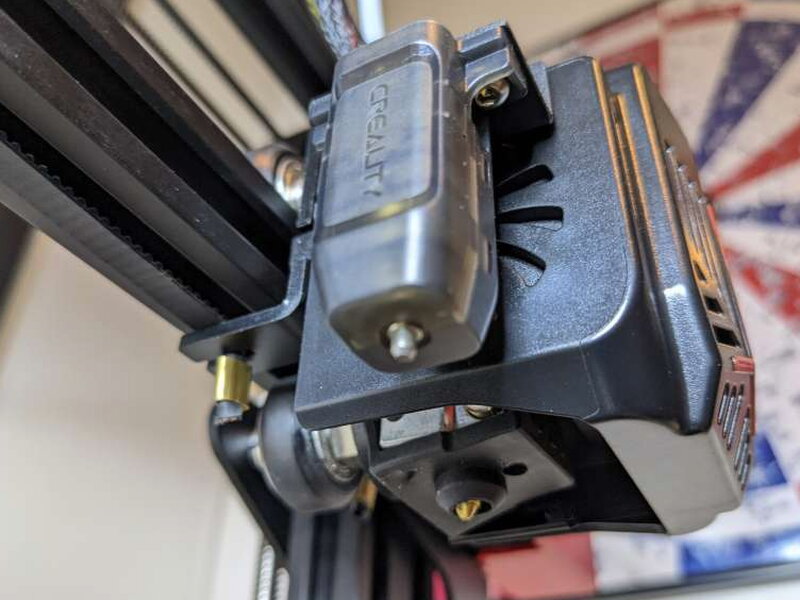
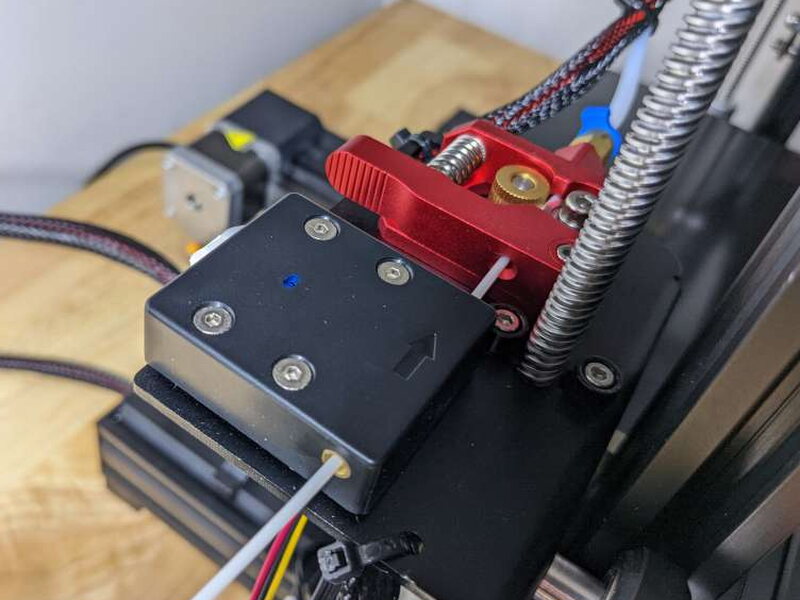
The hotend assembly includes a 0.4mm brass nozzle, a spare nozzle in the box, and a CR Touch sensor mounted beside the nozzle. The sensor maps 25 points across the bed, which helps the printer compensate for small height differences. The red metal Bowden extruder is easy to see while loading filament, and the filament runout detector proved to be one of the most useful features in the whole review.
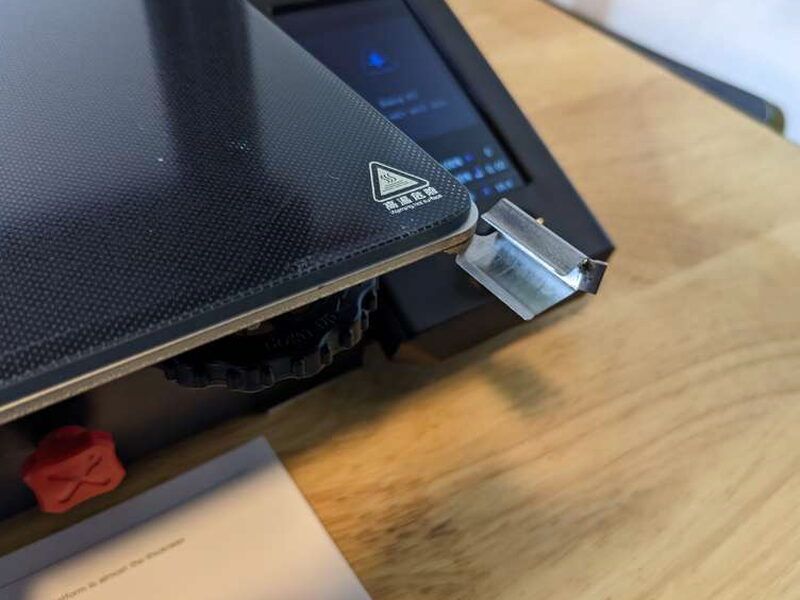
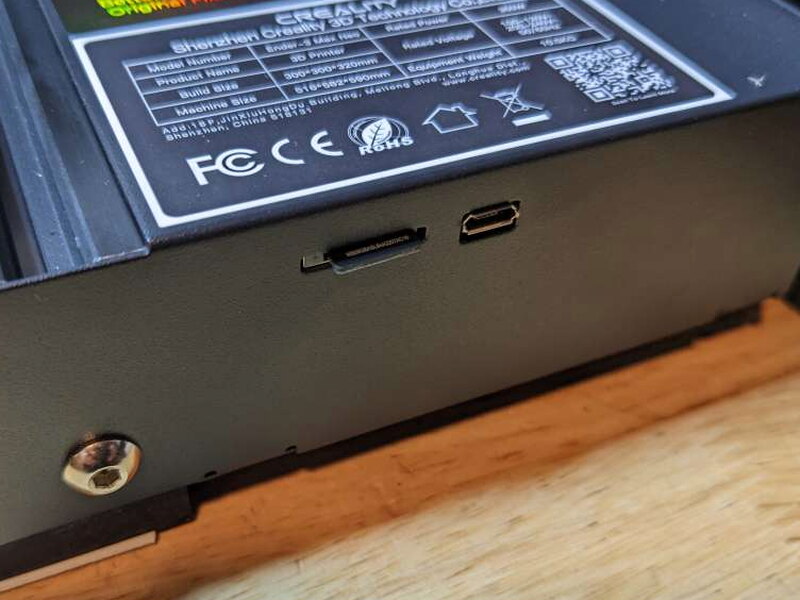
The removable carborundum glass bed gripped prints well and released completed parts cleanly after cooling. It does not flex like a PEI or spring steel sheet, but it worked reliably. MicroSD and Micro USB ports sit on the front edge, and four rubber feet help reduce vibration. My printer did not sit perfectly flat at first, but two small squares of double sided mounting tape under the feet leveled it out.
Software and first prints
Creality includes Creality Slicer and Creality Print, but I did most of my work in Cura. Creality Slicer is essentially a version of Cura, while Creality Print felt less intuitive to me. Once I added the Max Neo profile in Cura, preparing models was as simple as it has been with other printers I have used.




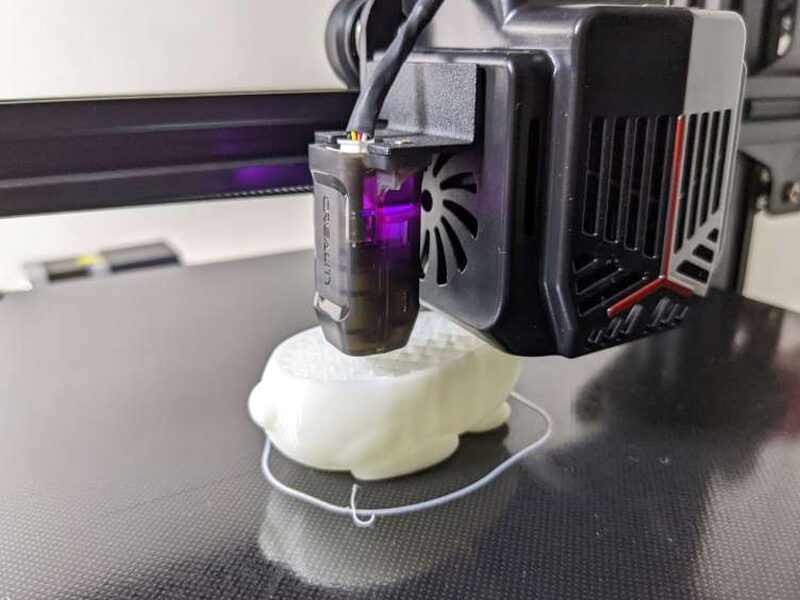


The bundled MicroSD card includes a rabbit and the classic Benchy tugboat. I started with the rabbit and the included white PLA, leaving the print settings alone to see how the printer behaved out of the box. The screen kept useful information visible during the job, including remaining time, printhead position, fan speed, and temperatures.
The Tune menu is especially helpful. While a print is running, you can adjust speed, nozzle temperature, bed temperature, and Z offset without stopping, reslicing, and restarting. I did not need it for the rabbit, which finished in about two hours with crisp lines and no obvious flaws.
The motors were impressively quiet, but the fan was not. It ran constantly and averaged about 60dB in my testing, similar to an air conditioner or a busy office. It is not dangerous, but it is noticeable enough that I would not want the printer working beside me all day.

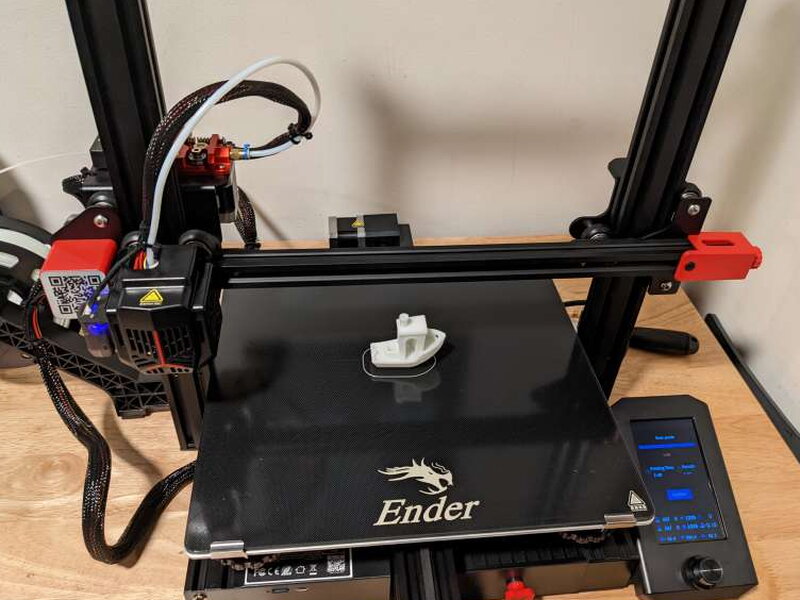



Benchy came next. I raised the print speed slightly to save time, and the boat finished in about an hour and forty minutes. The result looked very good overall, though there were a couple rough areas on the main arch that I suspect came from the faster speed.
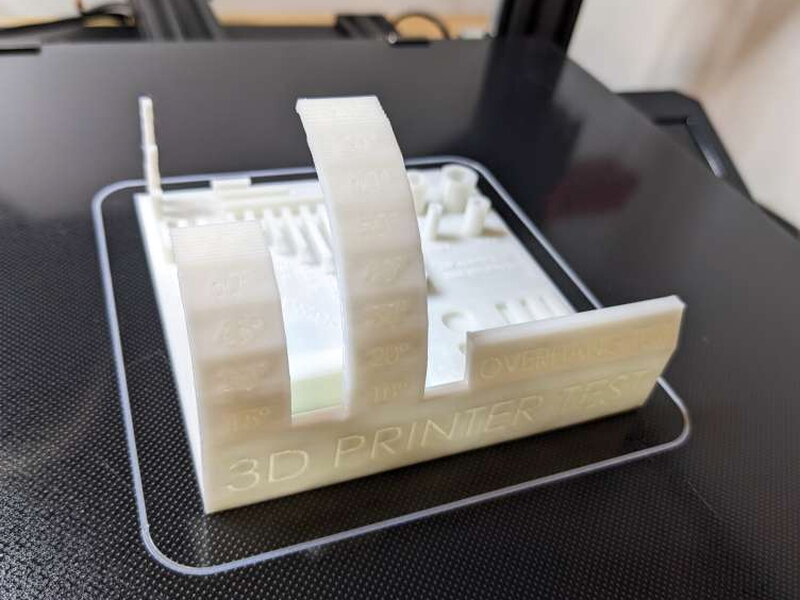
A torture test followed, covering overhangs, bridging, wall thickness, and detail. The Max Neo handled it better than I expected. The only weakness I saw was at the 80 degree overhang, while the bridging section printed cleanly without support.
Using the large build volume
After the small tests, I moved away from the side spool holder. It worked, but it felt flimsy enough that I preferred a basic Hatchbox filament stand. Creality also provided a 1KG spool of gray matte CR-PLA, which became my main filament for the rest of the testing.


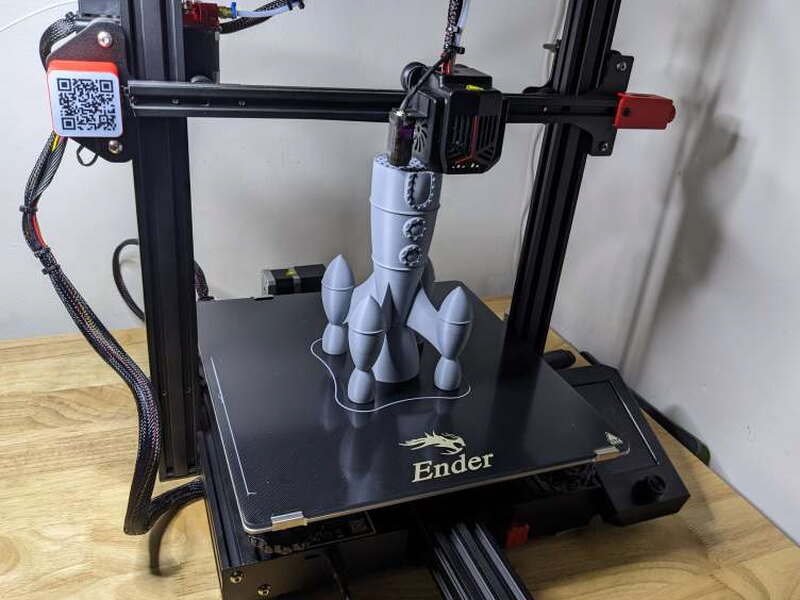


The gray filament made a simple XYZ 20mm Calibration Cube look sharp, but the Max Neo really makes sense when you fill its build area. A tall retro rocket was the first large print I tried. With 300mm x 300mm x 320mm available, the printer offers far more room than many consumer machines that stay under 200mm on each axis. The rocket took a long time, as expected, but the glass bed held it securely and the final print looked great.
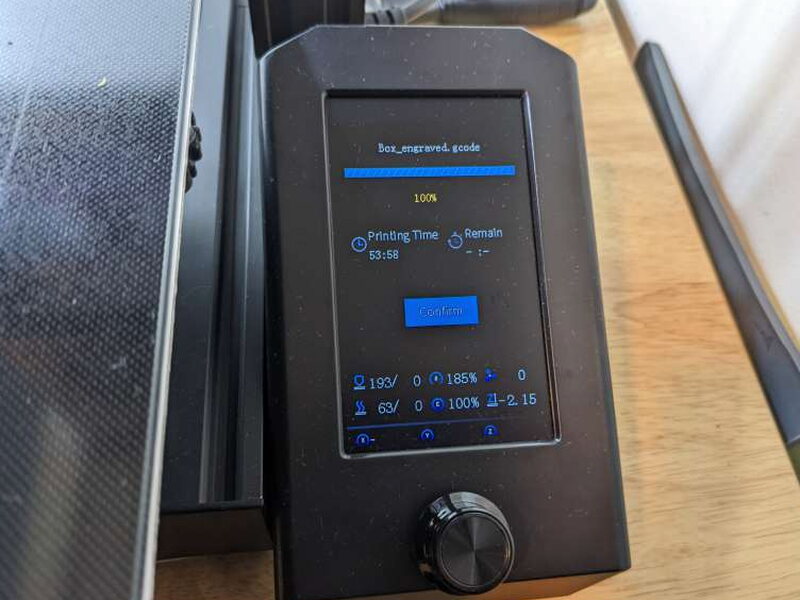
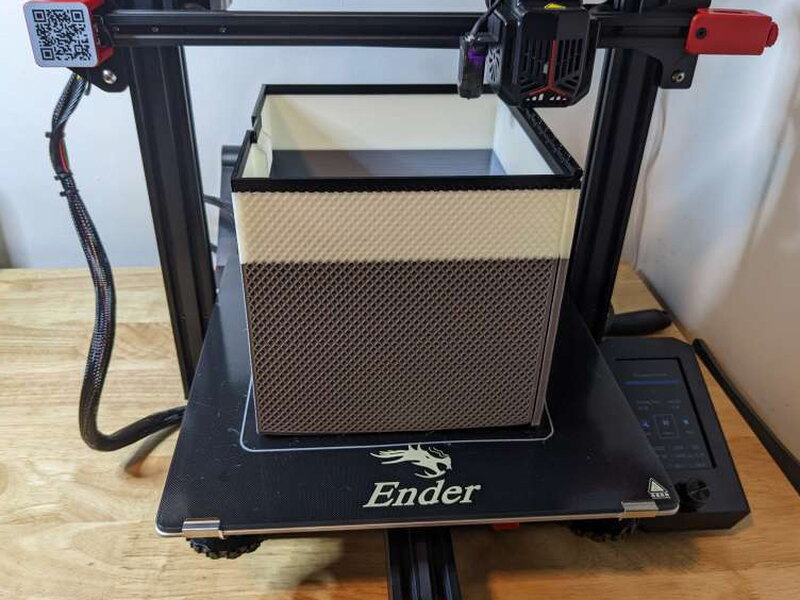
For a width test, I scaled up a textured hinged box until it used most of the bed. The job took about 54 hours. I ran out of gray filament, then used the remaining white PLA, then misjudged that supply and finished with black filament. That mistake produced a fun three color box, and the filament sensor caught the runout events perfectly. The one genuine print flaw was the print in place hinge, which came out with too little clearance to move as designed.
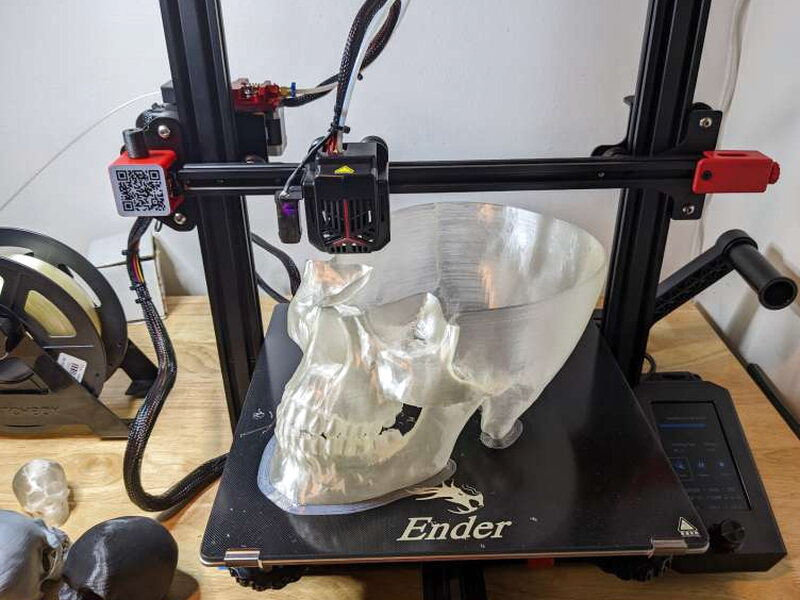


I finished with several bigger and specialty material prints. A clear filament skull ran for roughly 73 hours and turned out impressively well for such a detailed model. My favorite success was a Baby Groot printed in Hatchbox wood filament. Wood filament can be finicky, and this same model has failed on my other printers, but the Max Neo handled it on the first try with only some stringing. I also enjoyed the burning wood smell that comes with that filament.
Across all of my testing, the Max Neo proved it could handle both quick calibration pieces and ambitious long prints. For a consumer grade printer, the consistency was strong and the large format capability was the reason to buy it.
The good
- Simple assembly
- Easy to make 3D prints right out of the box
- Excellent design and build quality
The not so good
- Initial bed leveling should be done manually for best results
- Awkward side positioning of Filament Spool Holder
- Consistent fan noise can be a bit annoying
Quick Questions
Q: Does it come fully assembled?
A: No, it ships partly assembled – the gantry, screen, and spool holder need to be attached, though it’s less assembly than many competing printers.
Q: Does it auto-level the bed?
A: Yes, CR Touch auto-leveling handles it, though the review still recommends a manual paper check since the corner knobs may not be perfectly set from the factory.
Q: How loud is it during printing?
A: The fan runs constantly and averaged about 60dB, comparable to an air conditioner or busy office.
Q: What’s the build volume?
A: 300mm x 300mm x 320mm, notably larger than many consumer printers that stay under 200mm per axis.
Verdict
The Creality Ender 3 Max Neo earns its place in the Ender family. It keeps the approachable setup and large support community that make the line appealing, then adds the build volume and convenience features that larger prints demand. CR Touch auto leveling, a filament detector, dual Z axes, reachable belt tensioners, and a roomy print bed all help justify the $369 price. I would still do a manual bed level before serious printing, and I would probably use a separate filament stand, but those complaints do not outweigh how capable and reliable the Max Neo was during my tests.
For a wider look at what else is out there, I rounded up more of these in The Best 3D Printers I’ve Tested (So Far).
Price: $369
Product Link: Creality
Source: The sample of this product was provided by Creality.
RATING: 4 stars


