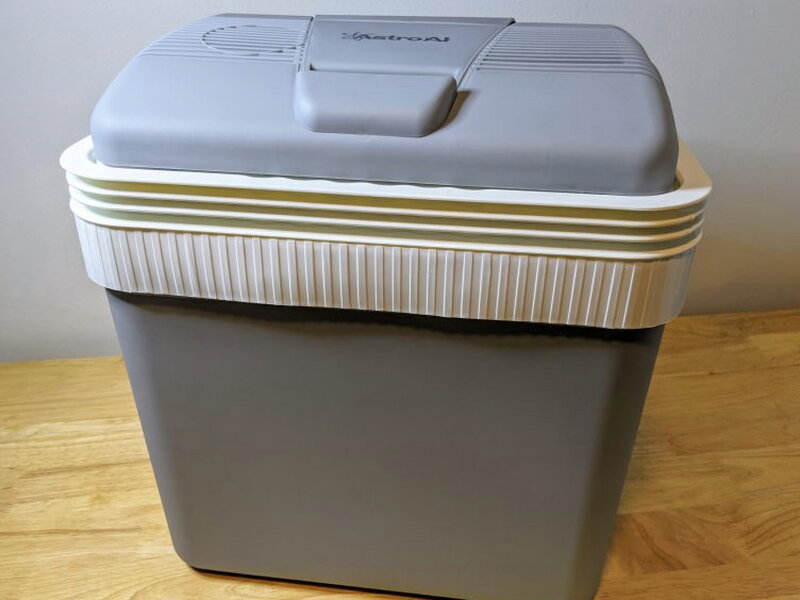
REVIEW – Road trips are a lot more fun when lunch is not floating in melted ice water. A regular cooler works, but it always seems to turn into a swamp of loose labels, wet wrappers, and soggy sandwiches by the end of the day. The AstroAI Electric Cooler takes a different approach. It uses 12V power to keep already cold food and drinks cold, much like a compact refrigerator for the back of a vehicle.
What surprised me most was the balance between price and space. The cooler sells for $79.99, holds 24 liters, and in my testing stayed cold enough to make me stop thinking of cheap electric coolers as a compromise. It is not perfect, and the plastic build gives me some pause, but it performed far better than I expected for the money.
What it is
The AstroAI Electric Cooler is a 24L portable thermoelectric cooler with a 12V DC plug for a vehicle cigarette lighter socket. I also bought AstroAI’s AC to DC converter for $24.99 so I could run the cooler indoors and use it with the standard outlet in the rear of my Toyota FJ. The converter is not included, but it makes the cooler much more flexible.
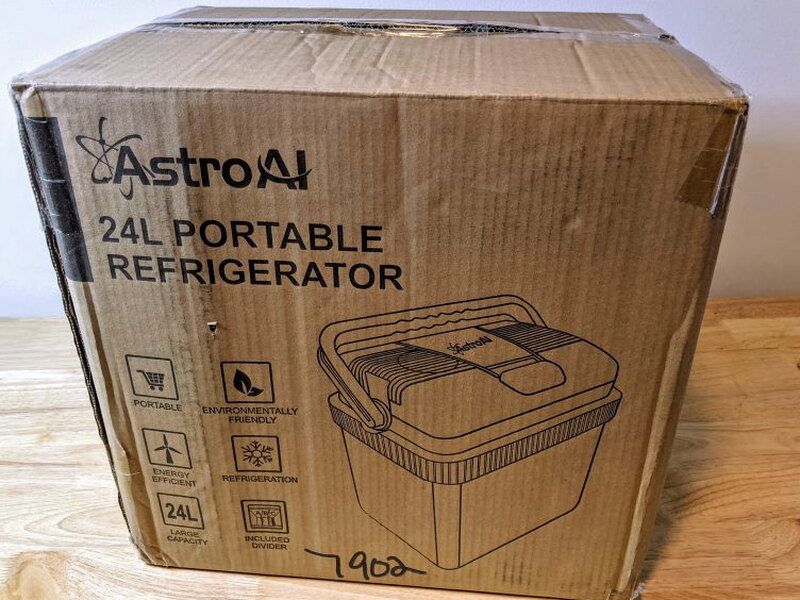
The box is plain and the packaging is basic. AstroAI ships the cooler in a standard cardboard carton, with the unit wrapped in a plastic bag and the accessories packed inside the cooler rather than surrounded by much extra protection.

In the box
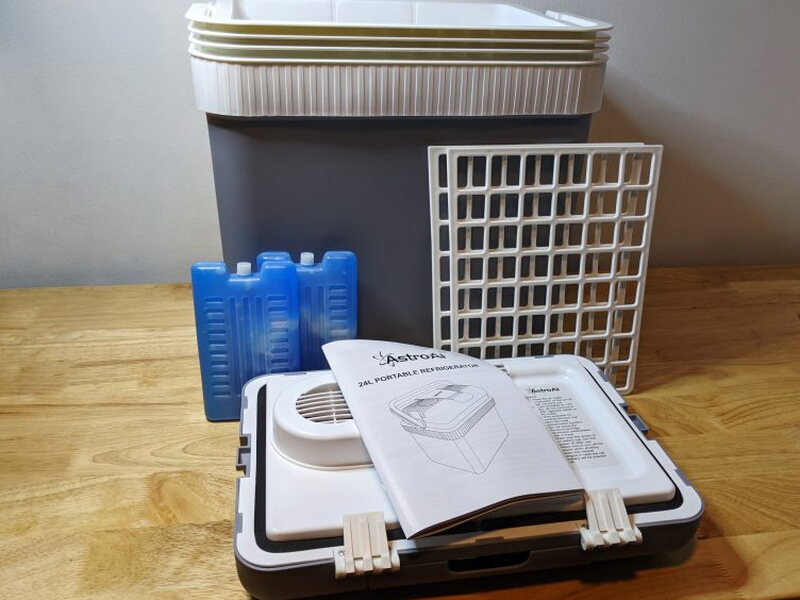
Inside the package, AstroAI keeps the bundle simple:
- AstroAI 24L Electric Cooler
- Cooler lid with thermoelectric unit
- 2 ice packs
- 2 dividers
- Instruction manual
Specs that matter
- Capacity: 24L / 25QTS
- Exterior dimension: 15.3"(L) x 10.3"(W) x 16.7"(H)
- Interior dimension: 12.8"(L) x 8.8"(W) x 13.1"(H)
- Input voltage: 12V DC
- Operating temperature: ~32°F (0°C)
Design and build
This cooler should be thought of as a refrigerator, not a freezer. It will not freeze warm items from scratch, although it can help keep frozen items frozen when you start with them cold. Under ideal conditions, the lowest reading I saw was about 31.5°F.
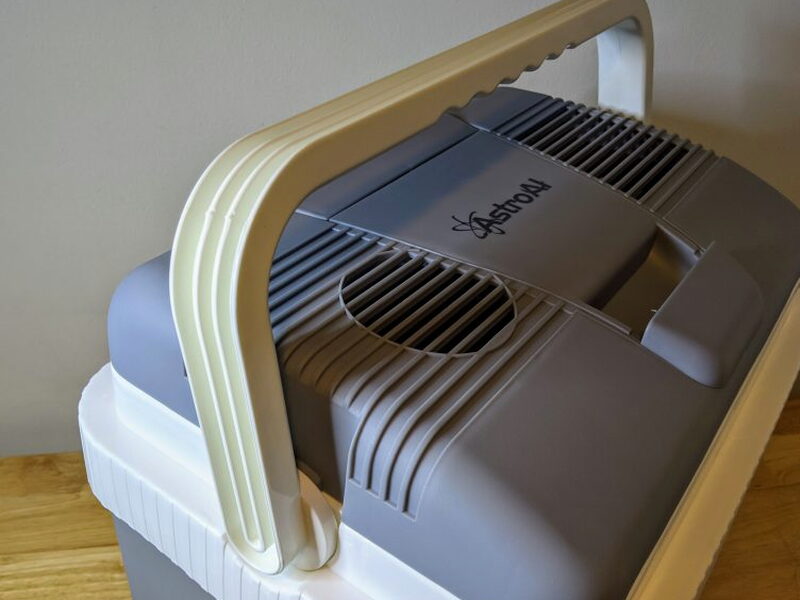
The exterior is matte plastic and comes in gray or blue. The frame and handles feel sturdier than the shell, but the main plastic panels feel thin enough that I would not treat this like an old beat-up Coleman cooler. I also would not stack heavy gear on top of the lid.
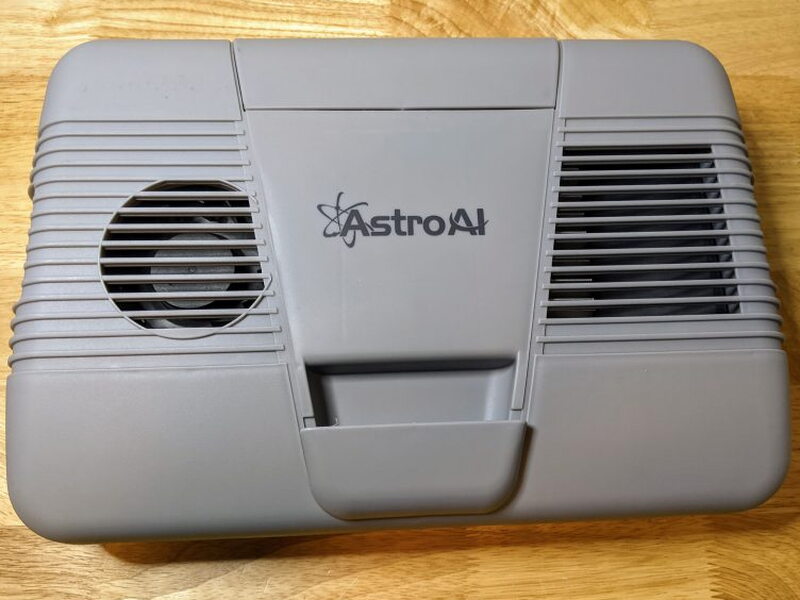
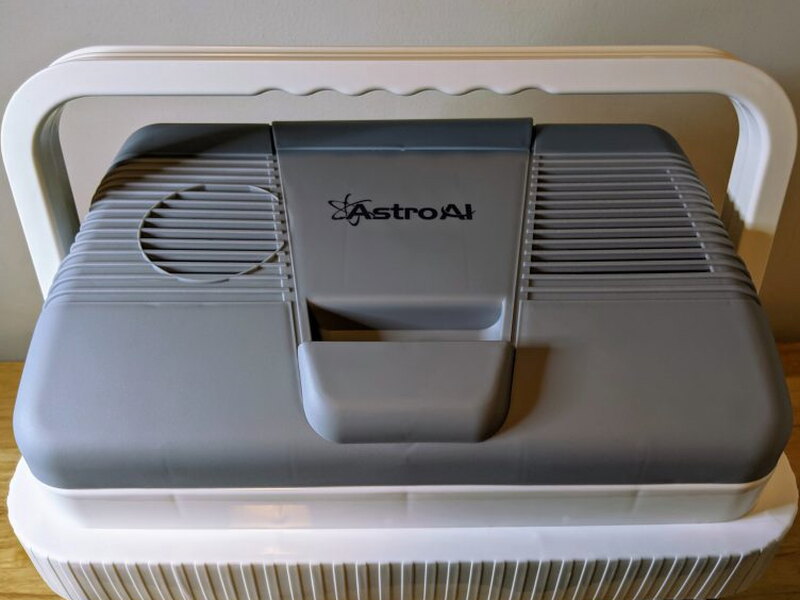
The lid is where most of the action happens. It holds the thermoelectric cooling hardware, the intake and exhaust vents, the opening handle, and the cord storage area.
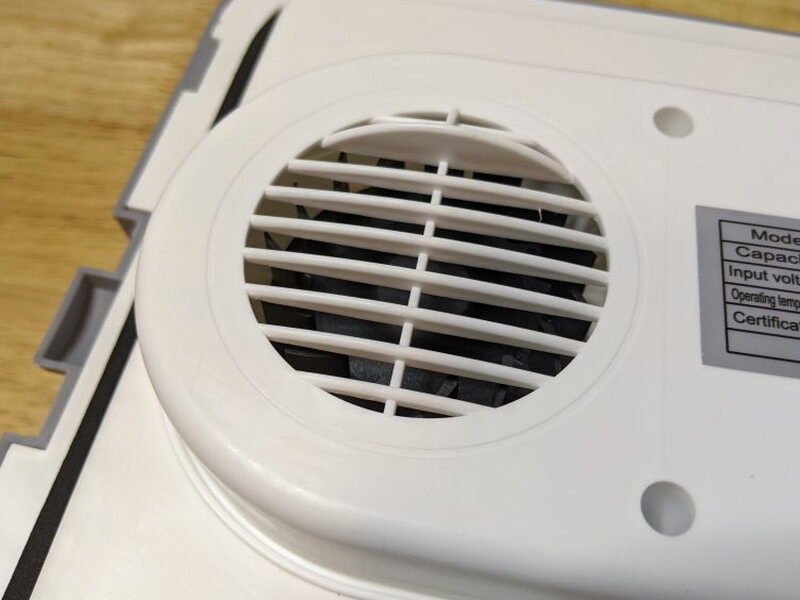
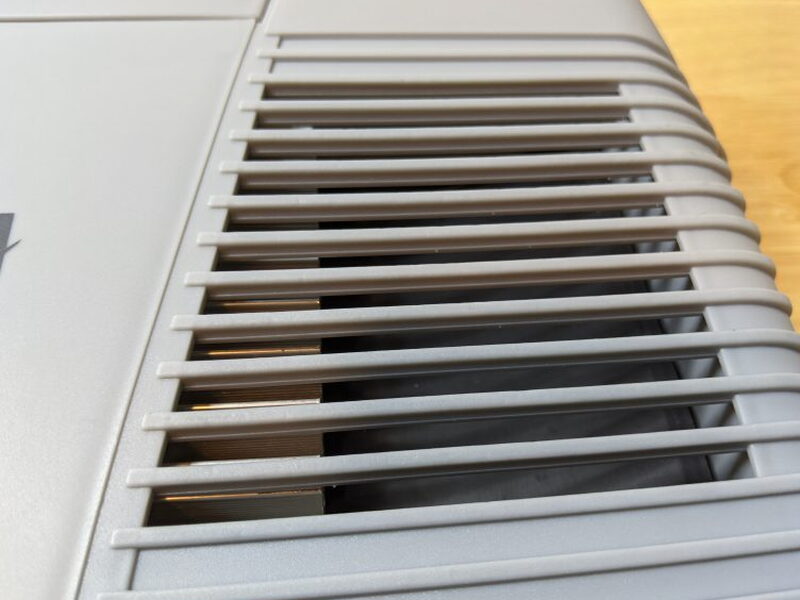
Vents appear on both sides of the lid, which makes sense for cooling performance but also means the cooler needs space around it when it is running.
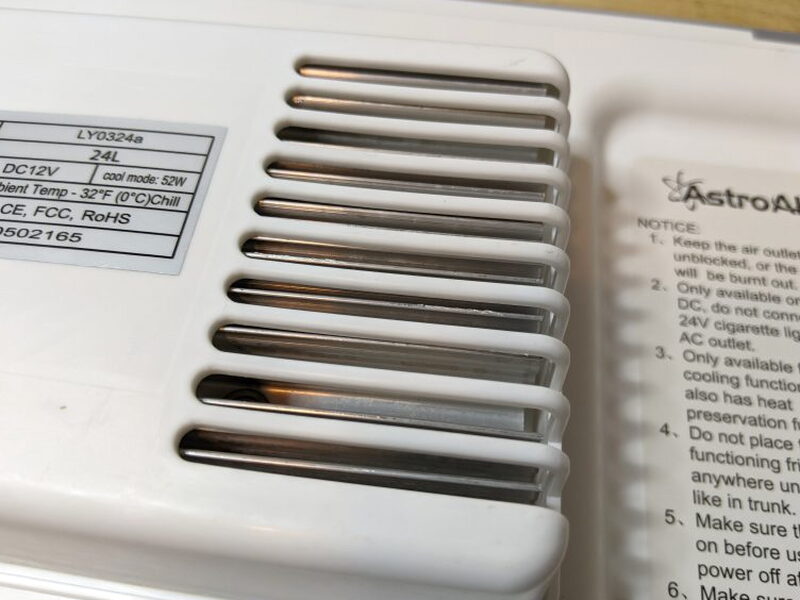
The inside vent exposes the cooling fins, and AstroAI prints several operating tips right beside them. Those tips are worth following if you want the best temperature results.
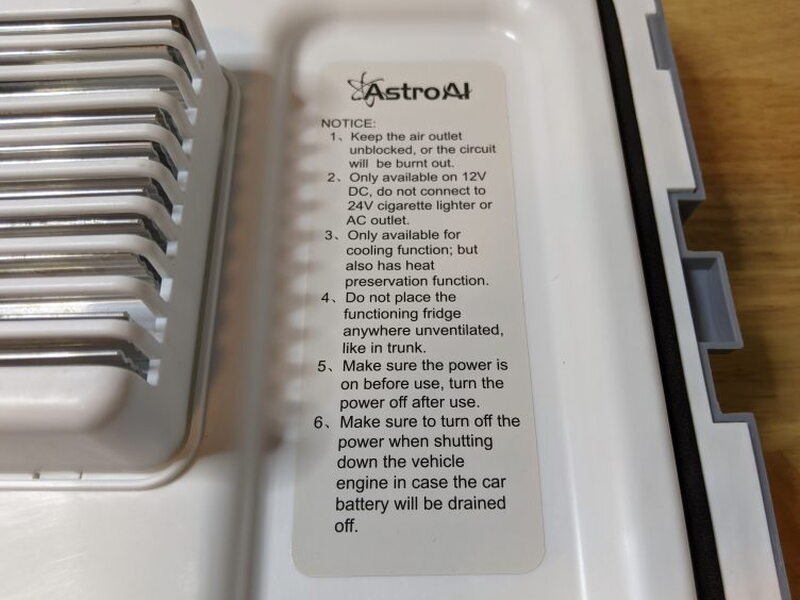
The cooler arrives with the lid detached, so the first setup step is installing it on the body.
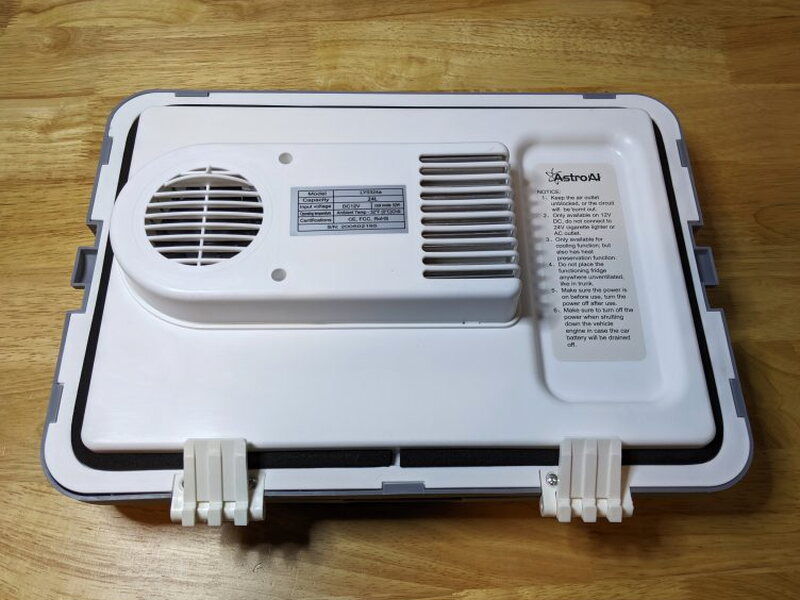
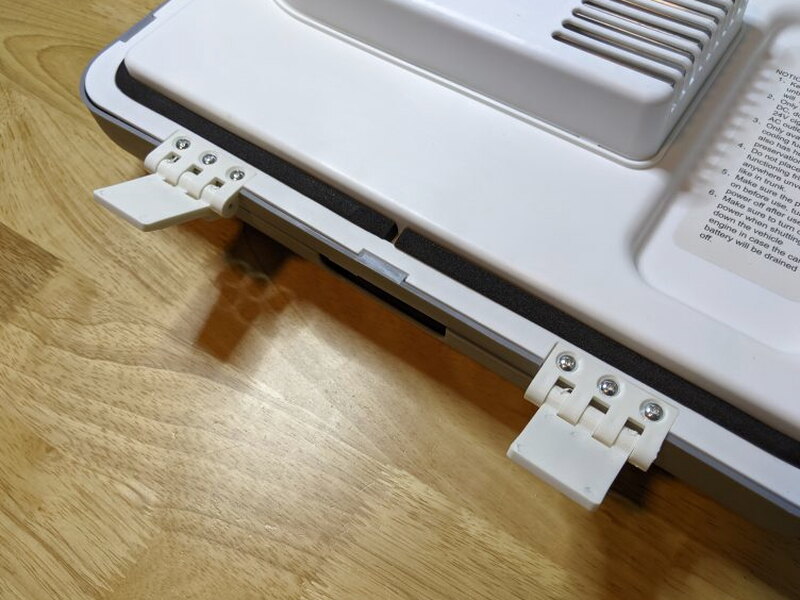
The hinge hardware is better than I expected at this price. Each hinge uses three screws, which is reassuring because hinges are often one of the first failure points on coolers.
The top fans move heat away from the cooling system. Keep those vents uncovered and clean, because blocking them will hurt cooling performance.
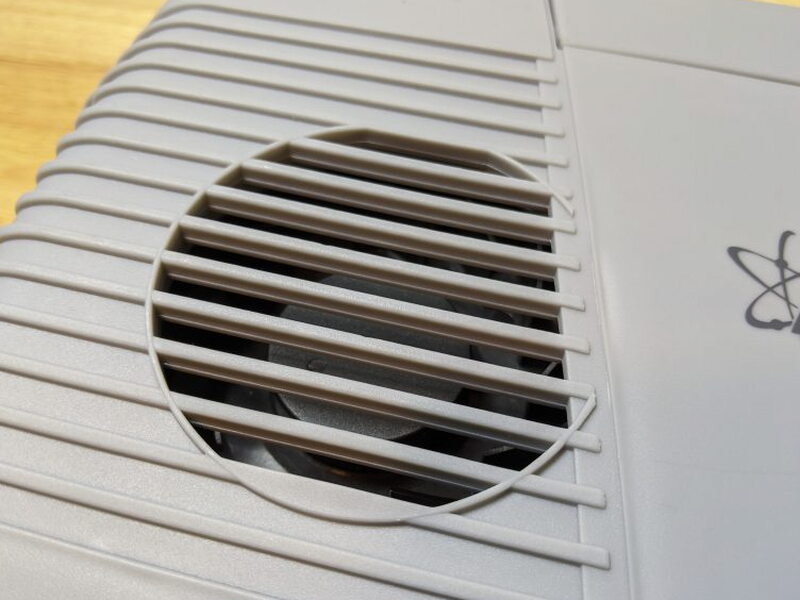
Because the vents face upward, I would be cautious about leaving this plugged-in cooler exposed to rain or wet weather.
The molded lid handle is convenient. It gives you an easy place to pull from when opening and closing the cooler.
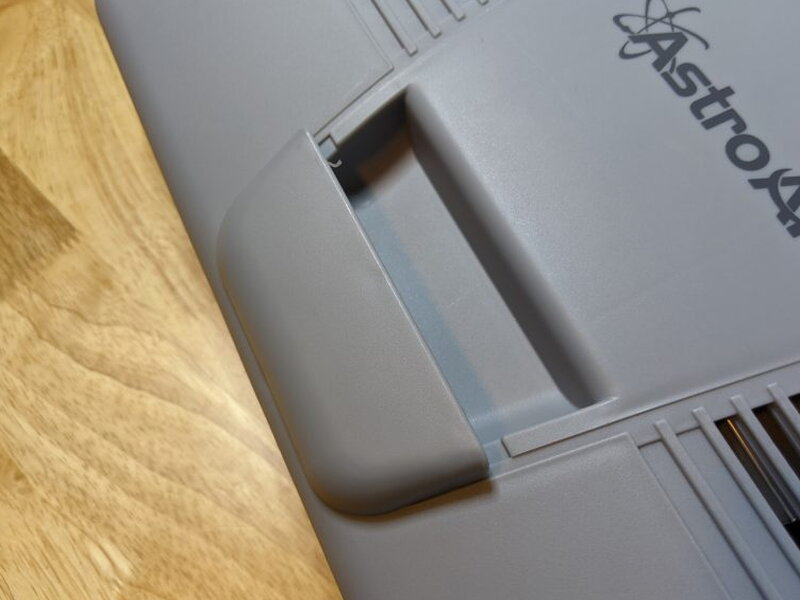
That same handle also reminded me of the lighter-duty plastic. It works fine, but it does not feel like a part I would want to yank on aggressively.

A small compartment on the rear of the lid stores the power cord when the cooler is not in use.
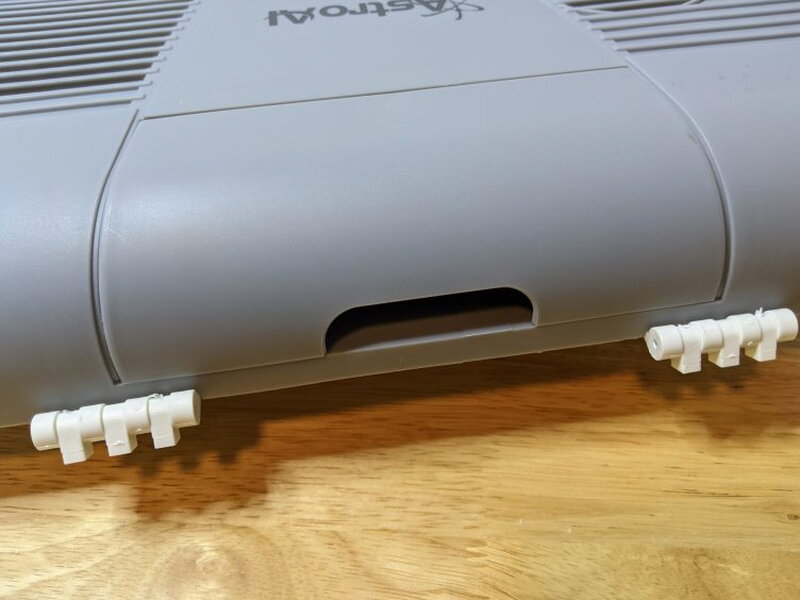
The compartment cover flips up on small plastic tabs. It is handy, but those tabs feel like the kind of part that may wear down with repeated use.
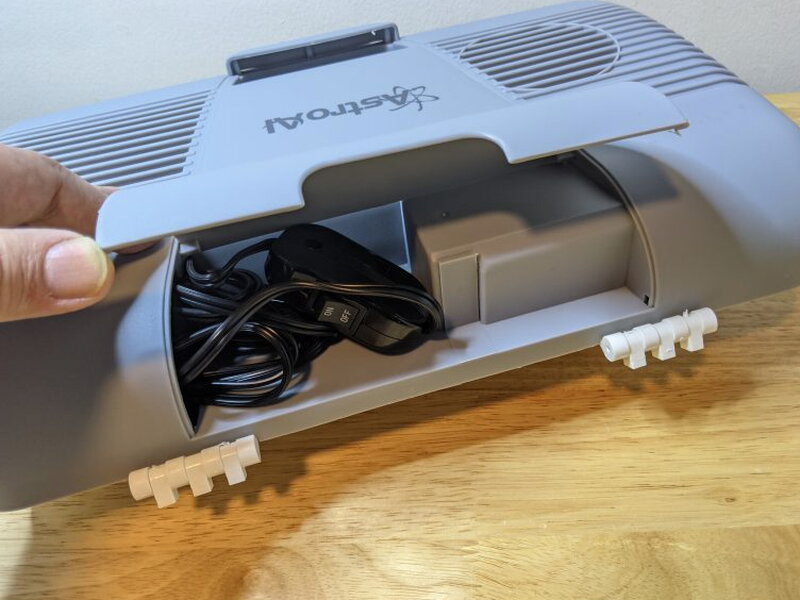
I would have preferred a more substantial latch here, although the simple design is probably one reason the cooler can sell for such a low price.
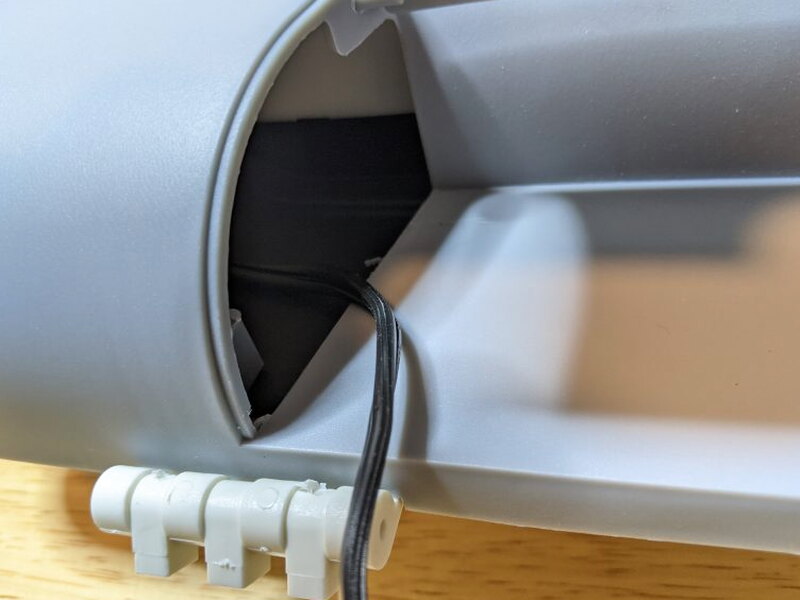
The cord is hard-wired into the cooler. That is not my favorite choice, since a removable cord is easier to replace and easier to pack.
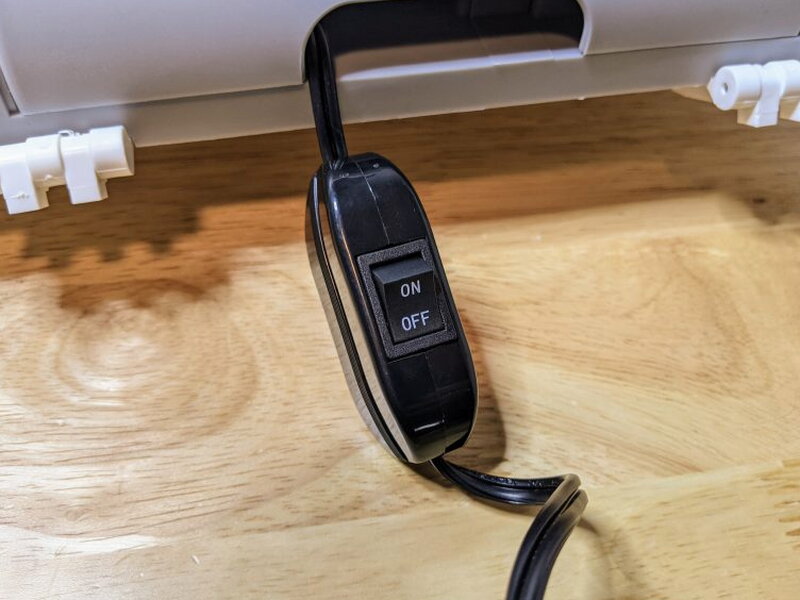
AstroAI puts a basic inline on and off switch on the cord, so you do not have to unplug it every time you want to stop the cooler.
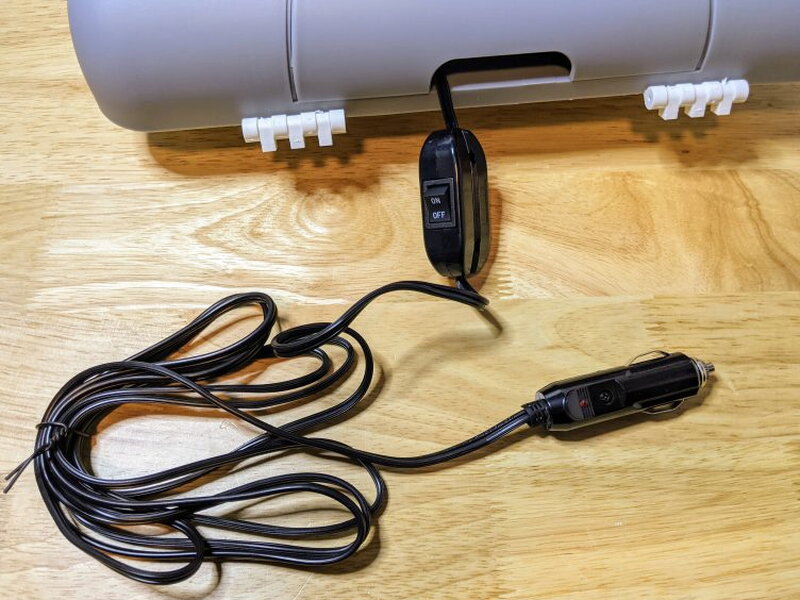
The plug is the standard 12V cigarette lighter style found in cars and trucks.
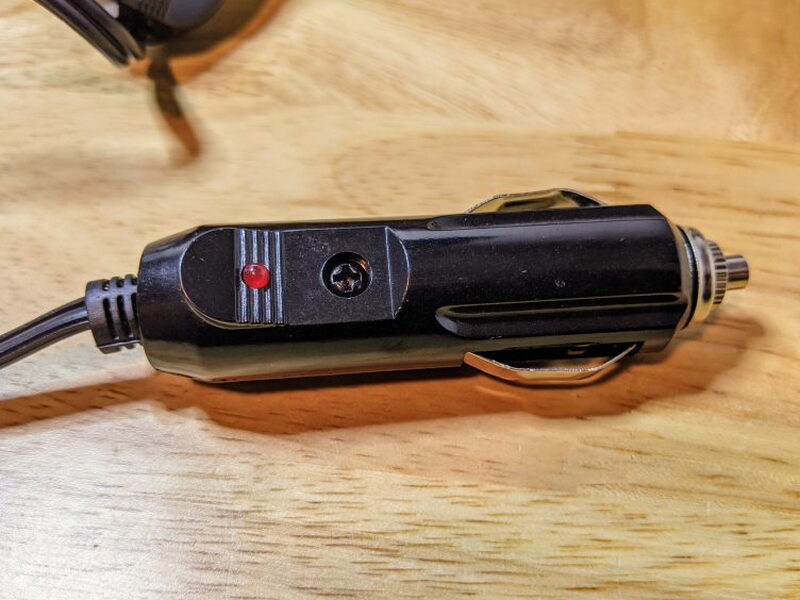
The plug also includes a red power indicator and an accessible fuse, which should make a blown fuse simple to replace.
The cord is more than eight feet long, and that extra reach matters in a vehicle. It gives you some freedom to place the cooler where it fits instead of wherever the outlet happens to be.
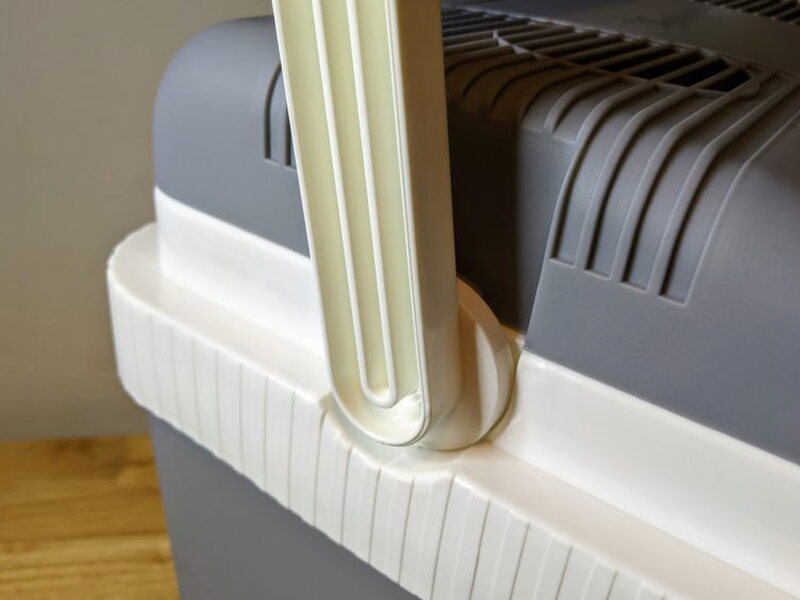
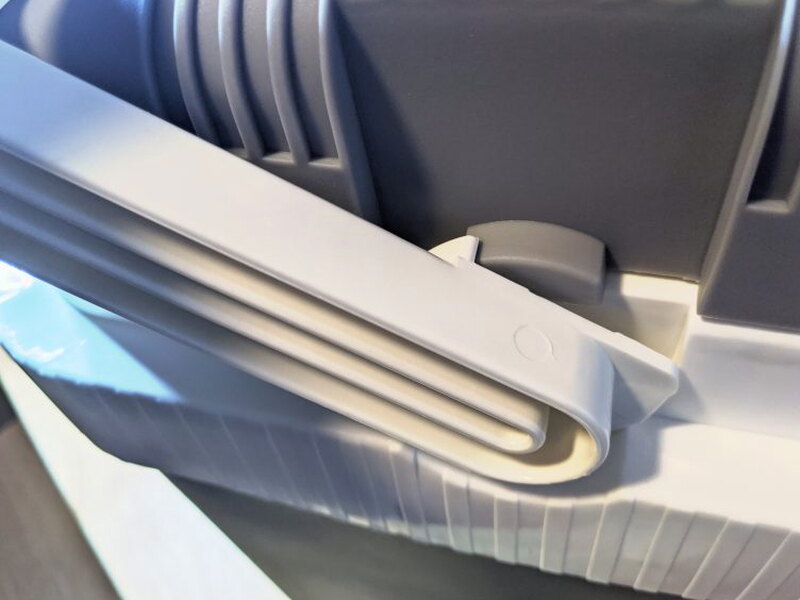
The cooler body handle does more than carry the unit. Once the lid is attached, the handle also locks the lid down.

With the handle down at the front, the lid is unlocked. Lift it and the lid clamps shut. Move the handle to the back and the lid stays locked for travel. That locked position is important for keeping the interior as cold as possible, whether the cooler is powered or just coasting on the cold already inside.

The included ice packs help the cooler reach its best numbers. Freeze them ahead of time, place them in the bottom, and they give the thermoelectric system a helpful head start.
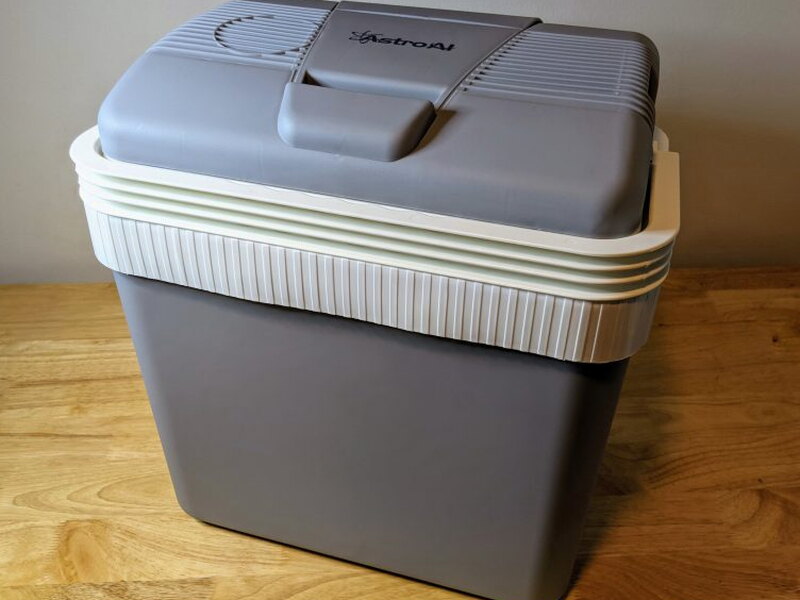
The dividers are also useful. They hold items in place and help preserve airflow inside the cooler.
Setup
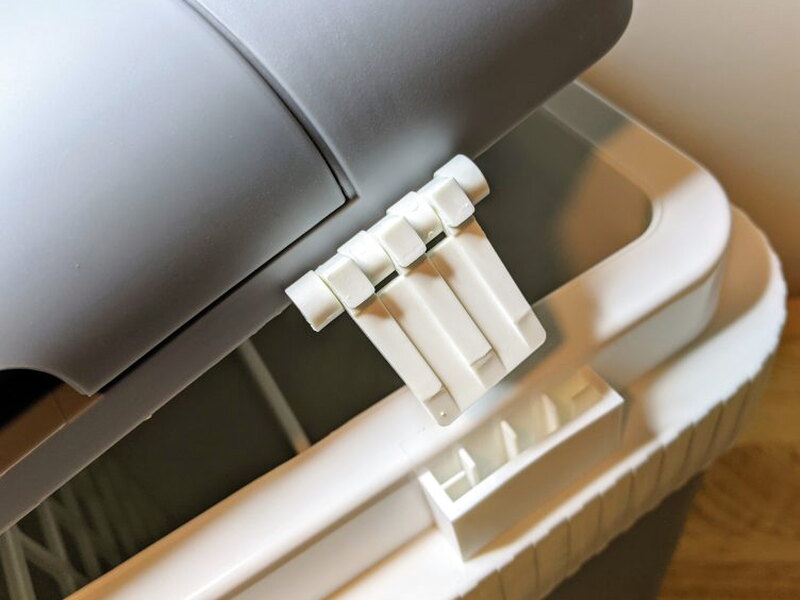
Assembly starts by attaching the lid to the cooler body.
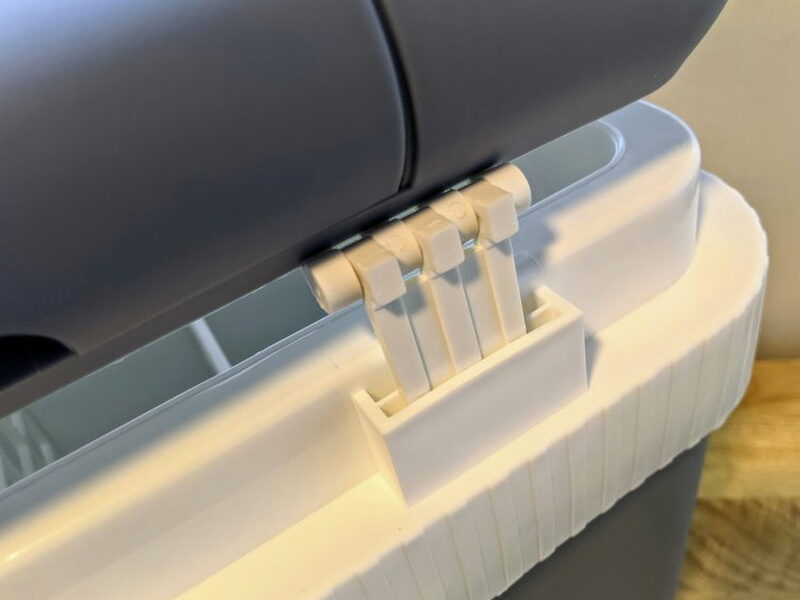
Line up the tabs on the back edge of the lid with the slots on the cooler.
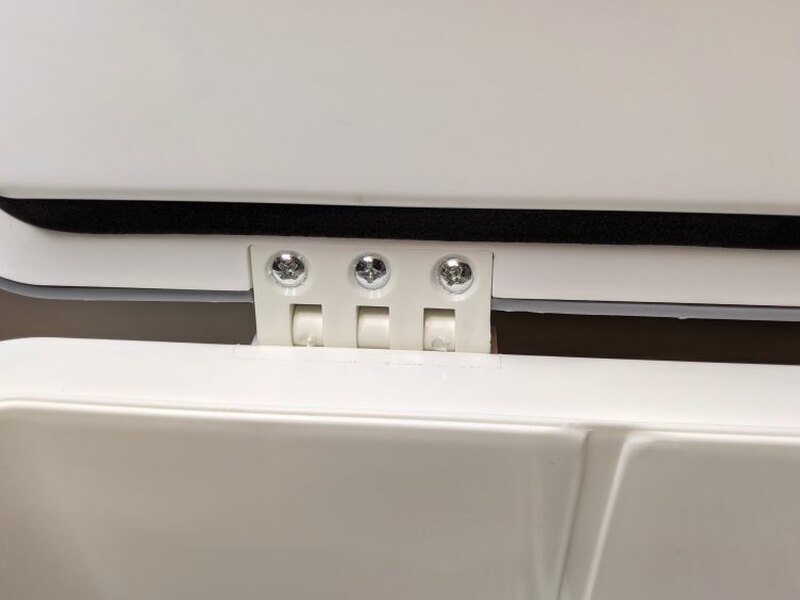
Press the tabs into the slots until they click into place.
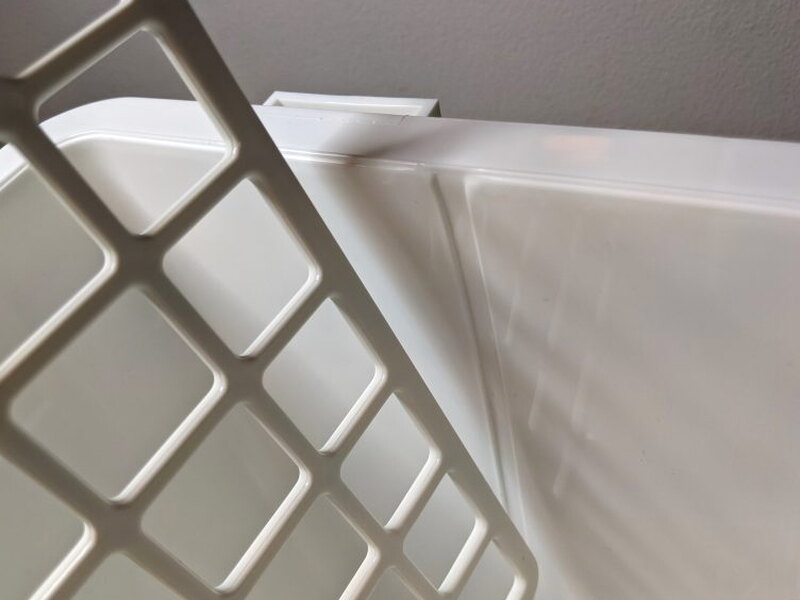
Open and close the lid a few times after installation to make sure the tabs are fully seated and the lid moves cleanly.

Next, slide the dividers into the matching grooves inside the cooler.
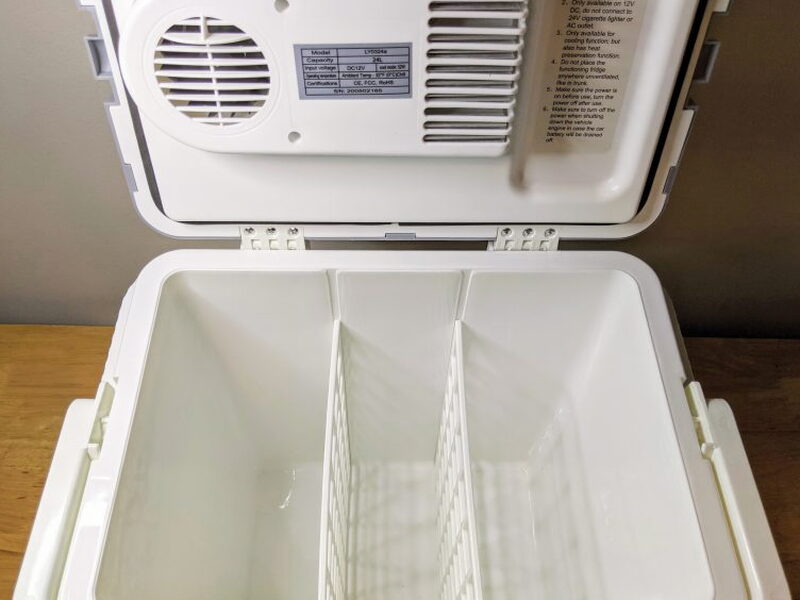
The dividers do not need to be forced all the way to the bottom. They only need to sit deeply enough to keep bottles, cans, and food from shifting around.
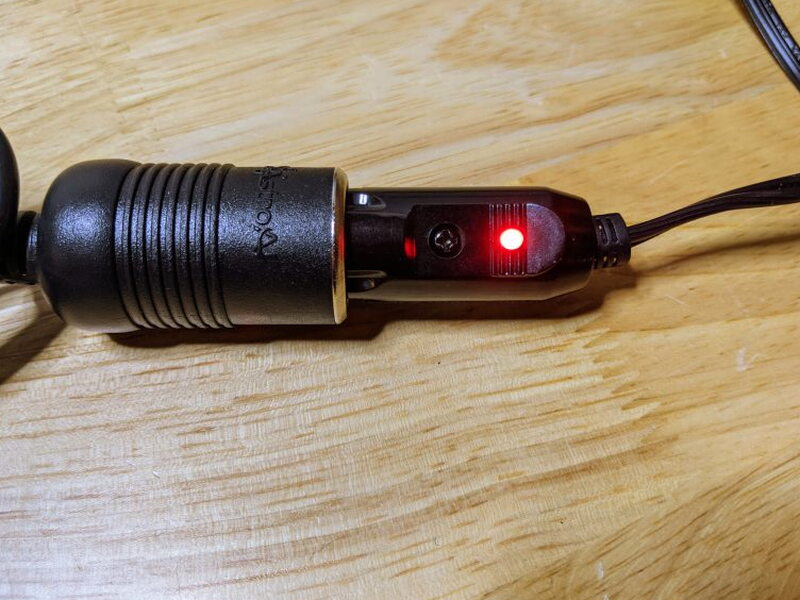
Once the lid and dividers are in place, setup is done. Plug the cooler into 12V power and flip the inline switch. I did most of my testing through the AC converter, and the plug light plus the quiet hum from the lid told me the cooler was running.
Performance testing
For the price, the AstroAI Electric Cooler performed very well. The big vehicle warning is battery drain. If you plug it into a car, turn it off or unplug it when the engine is not running, or you can drain the vehicle battery quickly.
I used a Nubee Infrared Thermometer for timed readings. I tested the cooler empty first, then loaded it with drinks, a container of water, and the included ice packs.
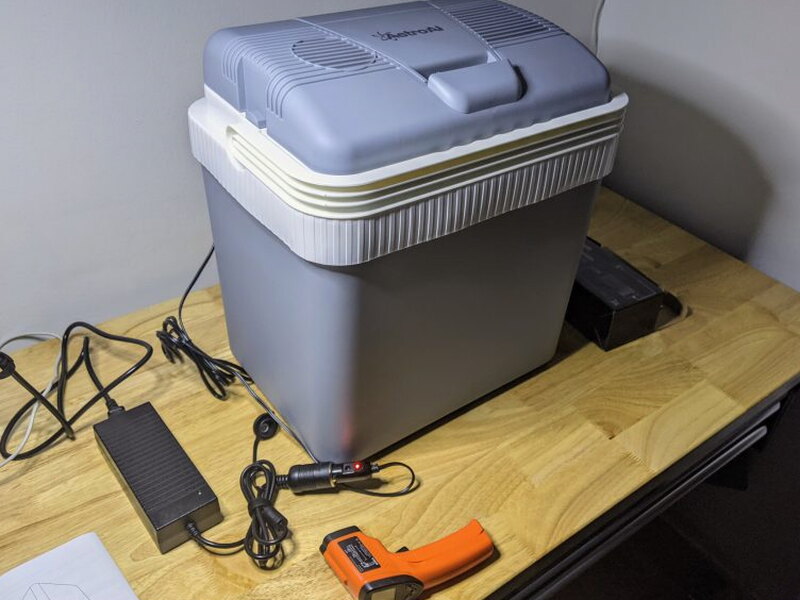
My apartment stayed around 73°F to 75°F during testing. I kept the vents clear, kept the lid locked, and opened it only long enough to take quick readings. Those are close to ideal conditions for this kind of cooler.
The sound level was another pleasant surprise. The cooling unit made a steady low hum, but it sat on my workbench for about a week without becoming annoying.
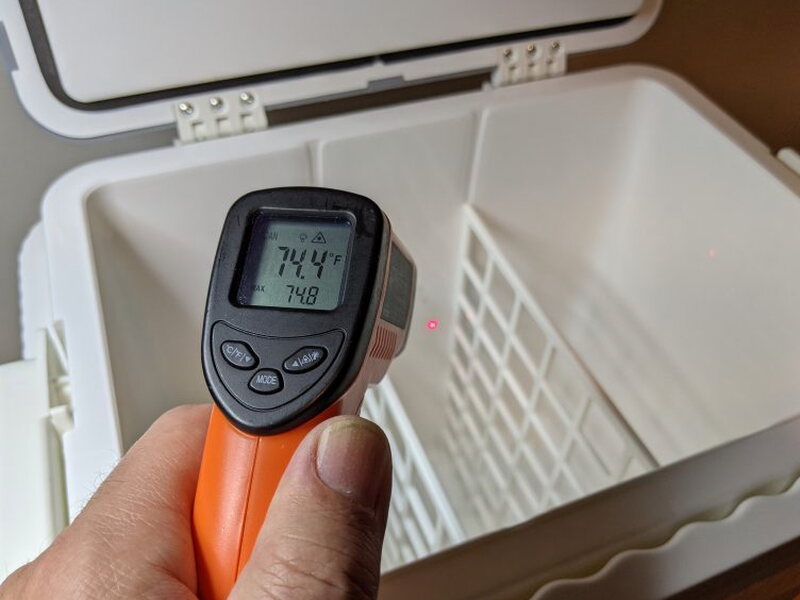
The first reading was taken before powering the cooler on. As expected, the interior was only a few degrees away from room temperature. The manual notes that the lowest possible temperature depends on ambient temperature, so a hotter day outside the cooler will make the job harder.
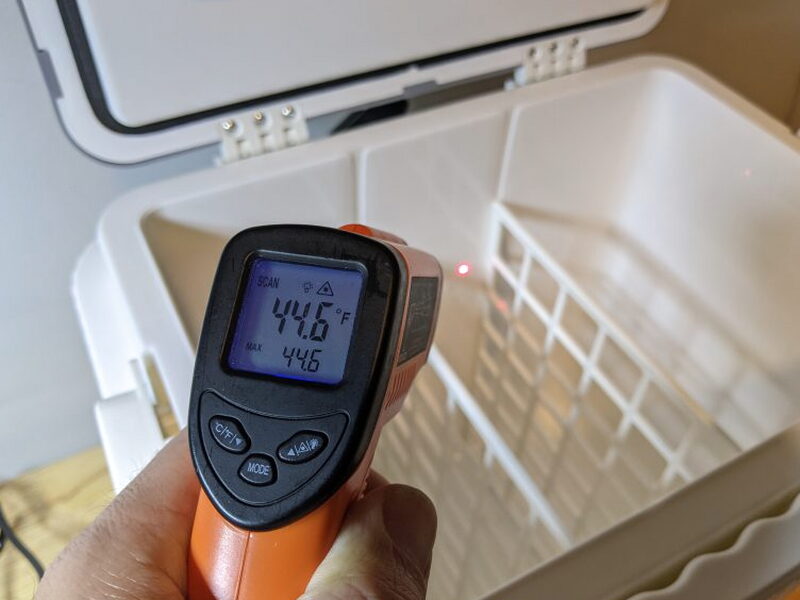
After roughly 30 minutes, the empty cooler reached a low of 44.6°F.
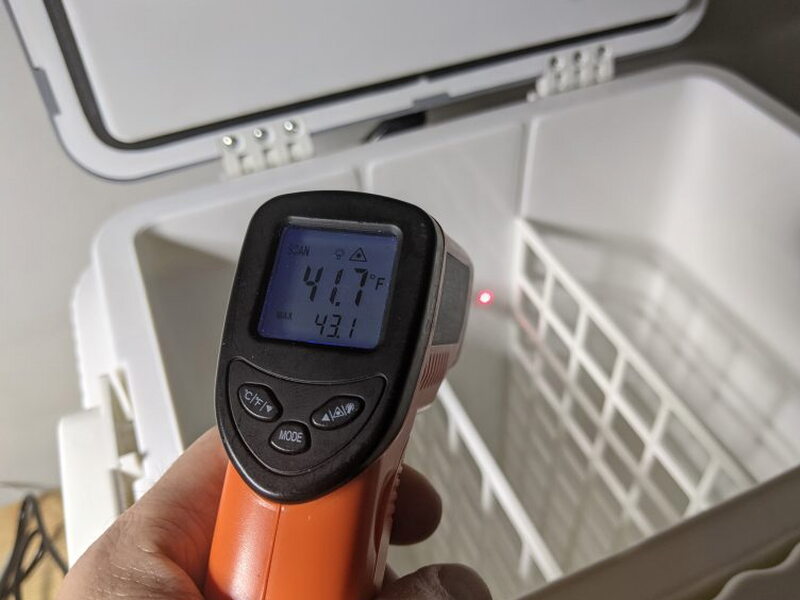
After a full hour, it dropped to 41.7°F. I let it run longer and it held around 42°F.
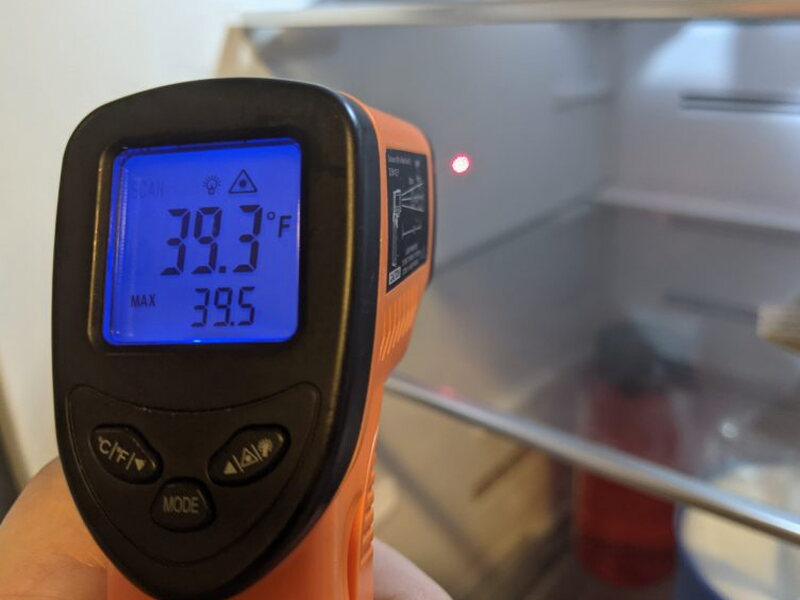
For comparison, my kitchen refrigerator runs a bit cold and averaged 39.3°F. That made the AstroAI’s empty-cooler results more impressive than I expected.
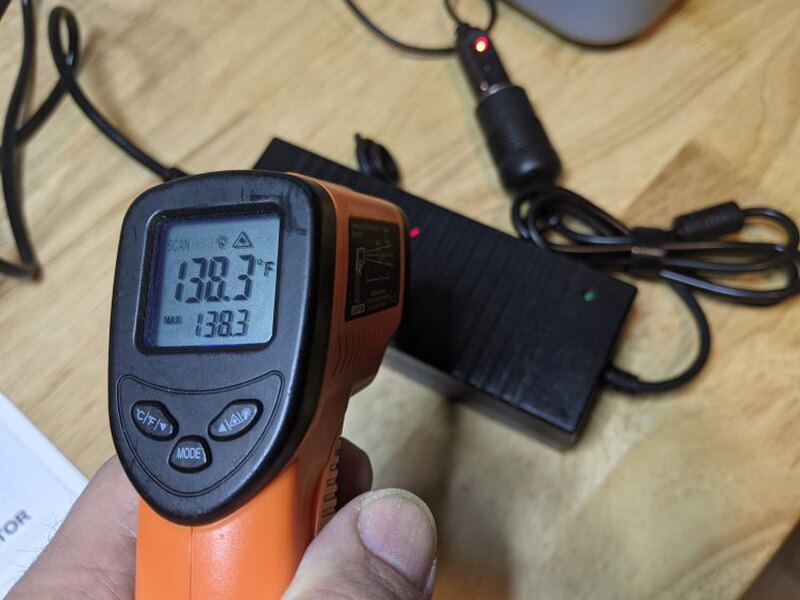
I also checked the AstroAI AC to DC converter because it felt warm. The thermometer read about 138°F, which is near the upper edge of what I would consider acceptable. It is something I would keep an eye on during long use.

The second round of testing used a more realistic load: water bottles, a container of water, and the two frozen ice packs.
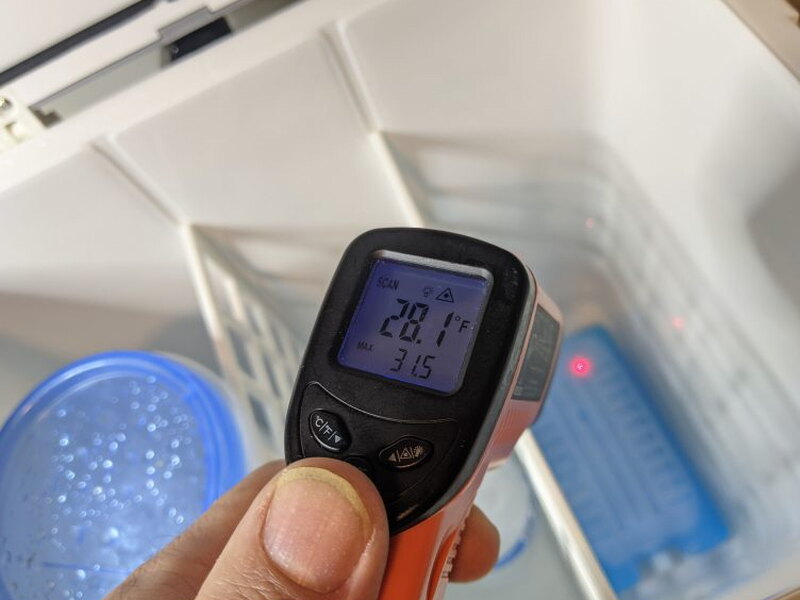
The frozen ice packs measured around 28°F when I placed them inside.
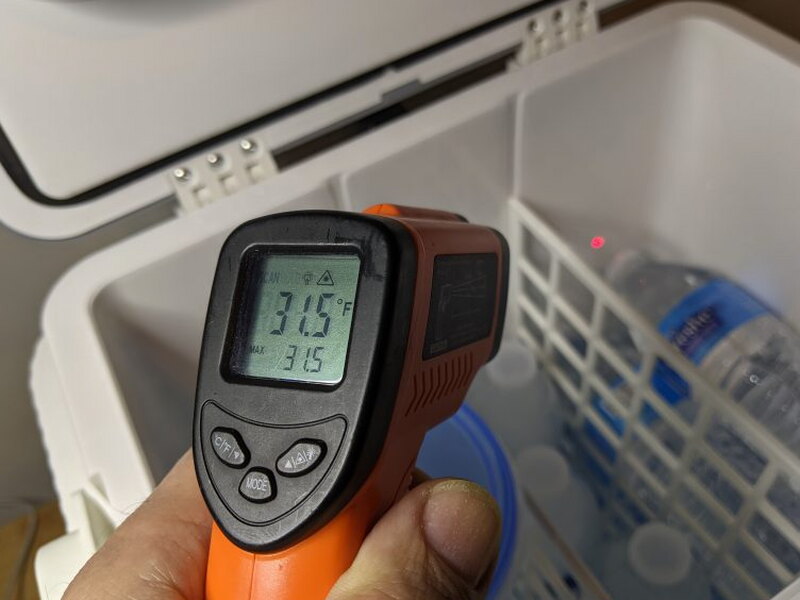
After an hour with the lid locked, the loaded cooler reached its best average reading of 31.5°F. The water bottles were very cold and the packs remained frozen solid. I kept the same setup running for another 24 hours and saw results within a few degrees, as long as the lid stayed locked and the cooler stayed powered.
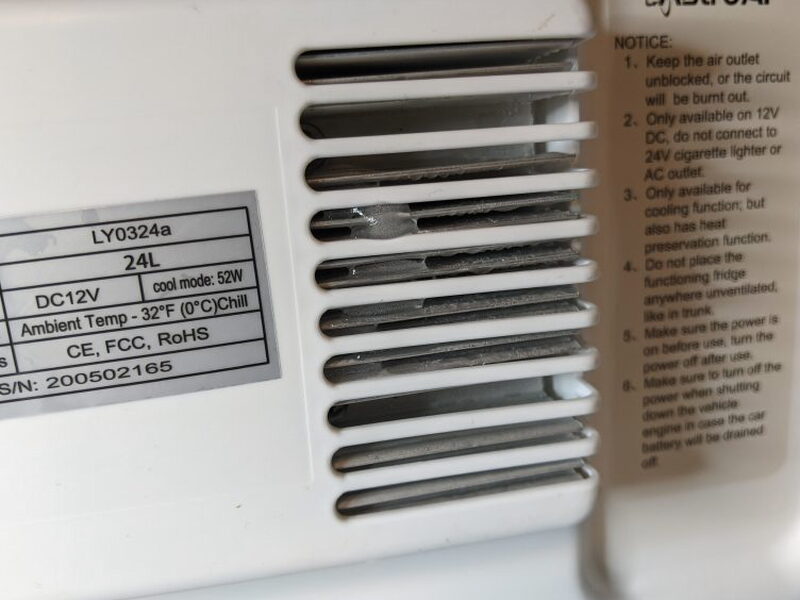
I did notice ice building on the cooling fins after opening the lid every 30 minutes for readings. The manual describes that as normal condensation behavior.
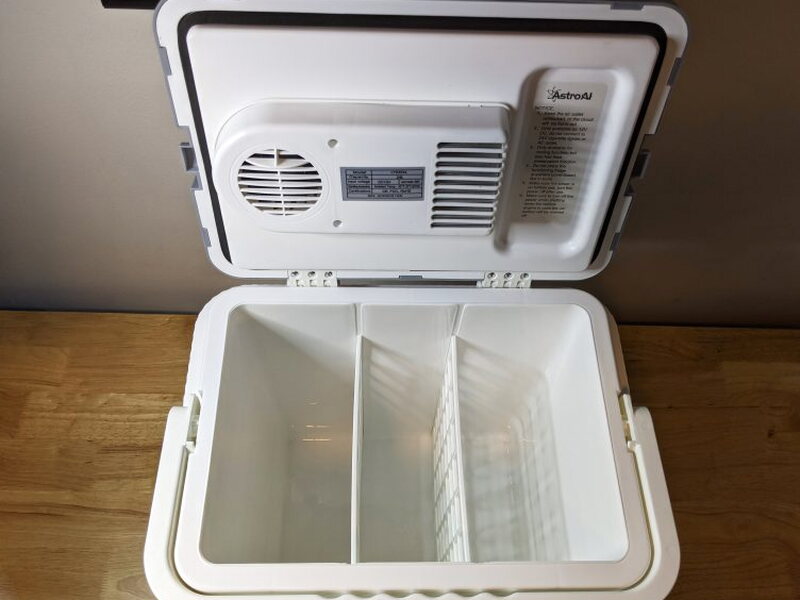
Even with my concerns about the thinner plastic, the AstroAI Electric Cooler beat my expectations. It came surprisingly close to refrigerator-like performance in controlled conditions, and the capacity is useful. Remove the dividers and AstroAI says it can hold 30 beverage cans plus the ice packs.
What worked well
- Great price for the feature set
- Works really well at keeping frozen items cold
- Compact and easy to store
What could be better
- Plastic feels flimsy
- Power cord is hard-wired to the unit
- Should have an AC to DC converter included
Quick Questions
Q: Does it freeze food, or just keep it cold?
A: Just cold – it should be thought of as a refrigerator, not a freezer; it won’t freeze warm items from scratch, though it can help keep already-frozen items frozen.
Q: Does it come with an AC adapter for indoor use?
A: No, the AC to DC converter is sold separately for $24.99; the cooler itself only includes the 12V cigarette-lighter cord.
Q: How cold did it get in testing?
A: Loaded with drinks and the included ice packs, it reached a best average of 31.5°F after an hour, colder than the reviewer’s own kitchen fridge at 39.3°F.
Q: Is the power cord removable?
A: No, it’s hard-wired into the unit rather than detachable.
Verdict
The AstroAI Electric Cooler does exactly what it is supposed to do. It keeps cold things cold, provided you use it within its limits, keep the lid locked, and give the vents room to breathe. At $79.99, it is inexpensive compared with many similar electric coolers, and the testing results were strong enough that I am happy to make room for it in my road-trip gear.
Price: $79.99
Product Link: AstroAI
You can also grab it at eBay for $40.00, Walmart for $80.99, and Wayfair for $100.28.
Source: The sample of this product was provided by AstroAI.


