
REVIEW – Newer cars keep adding clever safety and convenience features, but drivers with older vehicles do not always get those upgrades built in. Tire pressure monitoring is one of those features. TPMS became standard equipment on 2007 and newer vehicles, watching tire pressure through sensors in the tire or vehicle and warning the driver when something is wrong. The 70mai Tire Pressure Monitoring System Lite is an aftermarket way to add that function. It sells for $54.99, includes four external tire sensors, a solar powered receiver, and app support. It is not hard to install, even though my unit arrived with no instructions at all. It worked, but the experience was held back by uneven accuracy and a unit setting problem that matters for U.S. drivers.
What This System Does
The 70mai Tire Pressure Monitoring System Lite combines four valve stem sensors with a small receiver unit that sits on the dash. Together with the 70mai mobile app, the system reports tire air pressure and temperature in real time.

The packaging is understated. There is no big product photo or flashy retail design, just a black box with the 70mai branding and the product name.

In the Box
- 70mai Tire Pressure Monitor Receiver Unit
- 4 Tire Sensor Caps
- 4 Tire Sensors Hex Nuts, Rubber Washers, & Warning Stickers
- 1 USB Charging Cable
- 1 Hex Nut Wrench
- 1 Tire Sensor Adjustment Tool

Key Specifications
- Receiver Unit
- Working Voltage: 5V
- Working Current: 1A
- Working Temperature: -20 to 70°C
- Storage Temperature: -35 to 85°C
- Battery Capacity: 500mAh
- Power Supply: Solar / USB
- Tire Sensors
- Air Pressure Range: 0.0 to 8.0 bar (0 to 100 psi)
- Working Temperature: -40 to 80°C
- Storage Temperature: -40 to 85°C
- Air Pressure Accuracy: ±0.1 bar
- Temperature Accuracy: ±3°C
- Operating Frequency: 433.92 MHz
- Transmit Power: <8 dBm
- Sensor Battery Life: Up to 2 years
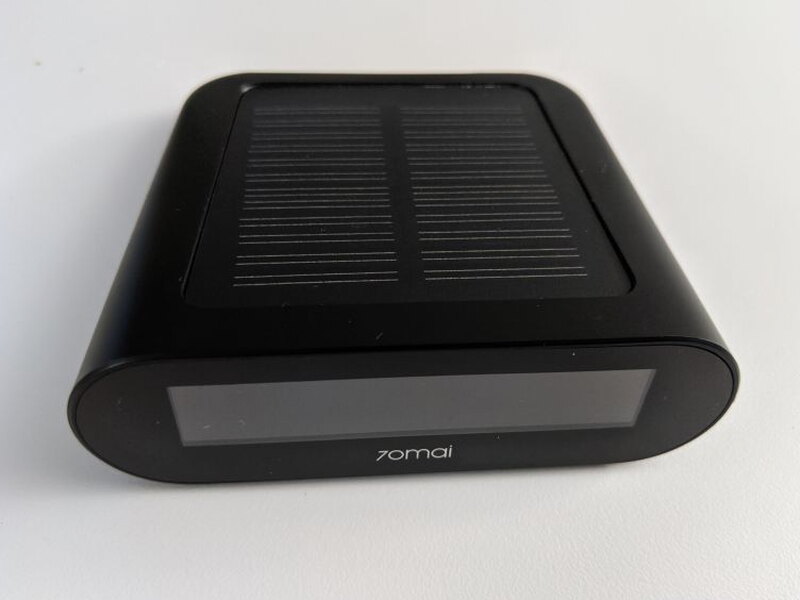
Hardware Design
The receiver is a compact wedge shaped unit made from hard black plastic. Its form is practical for a dashboard because the screen faces the driver while the top solar panel remains exposed to light.
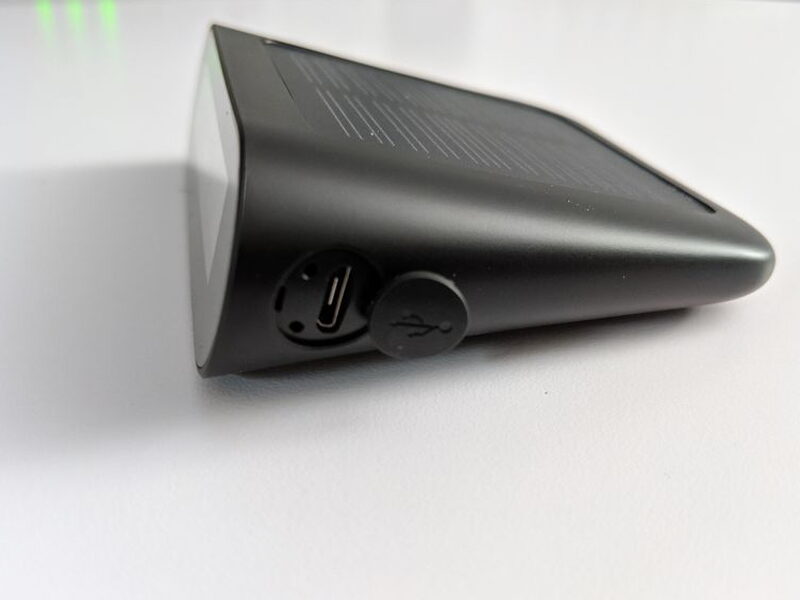
Before using the system, the receiver needs to be charged through its Micro USB port with the included USB cable.

After that first charge, the solar panel on top helps maintain the battery during normal use.

The power button sits on the opposite side of the receiver. It also serves as the reset control and the button used to silence alarms.
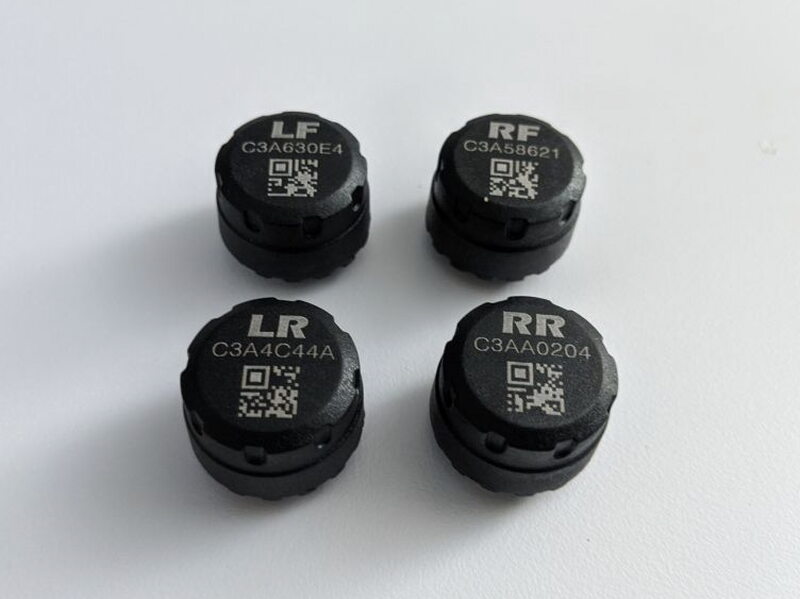
The tire sensors look like oversized valve stem caps. Each one is labeled for its wheel location so the receiver can match the readings to the correct tire.
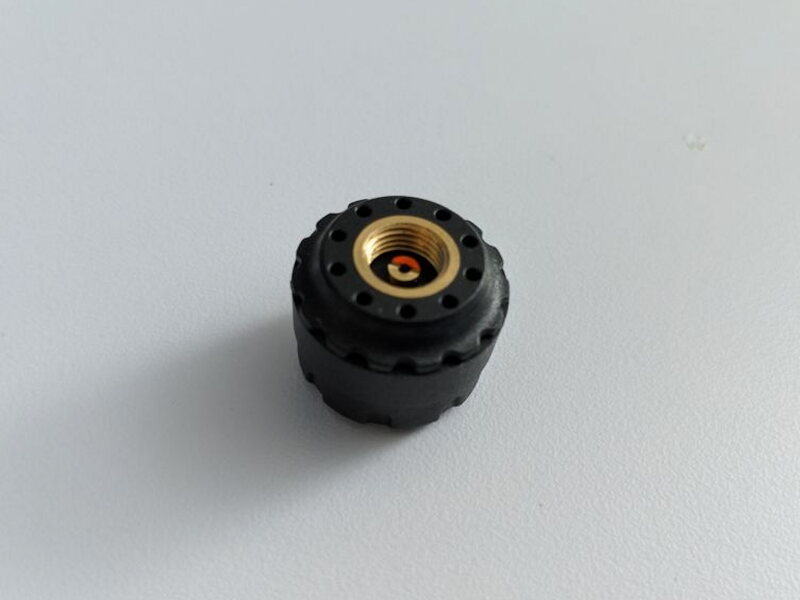
Each sensor has a replaceable internal battery rated for up to two years of life.
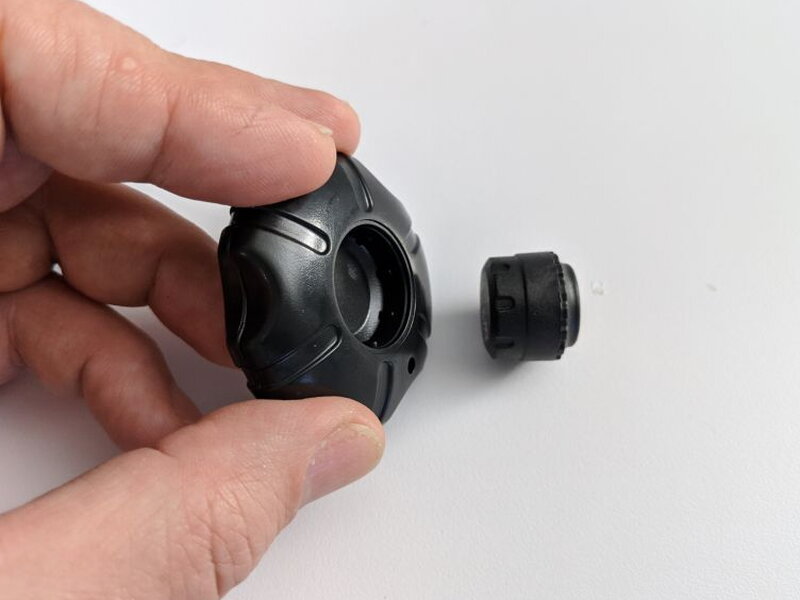
The supplied adjustment tool has two jobs. One side helps tighten the sensor onto the valve stem, while the other helps remove the sensor top for battery access.
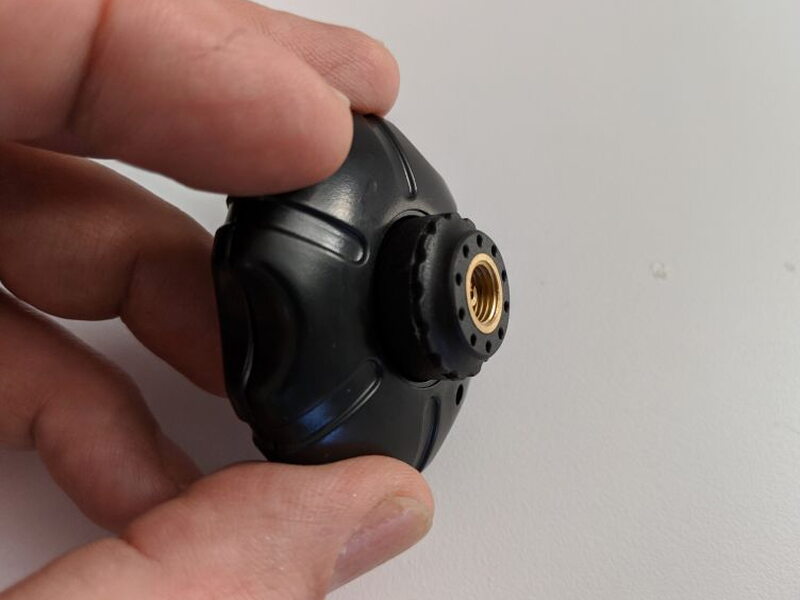
The sensors seat firmly in that tool, and the included hex nuts and wrench make it easy to secure them on the valve stems.

Installation
The most frustrating part of setup was not the hardware itself. It was the complete lack of printed instructions. I had to search online before I was comfortable installing everything in the right order.
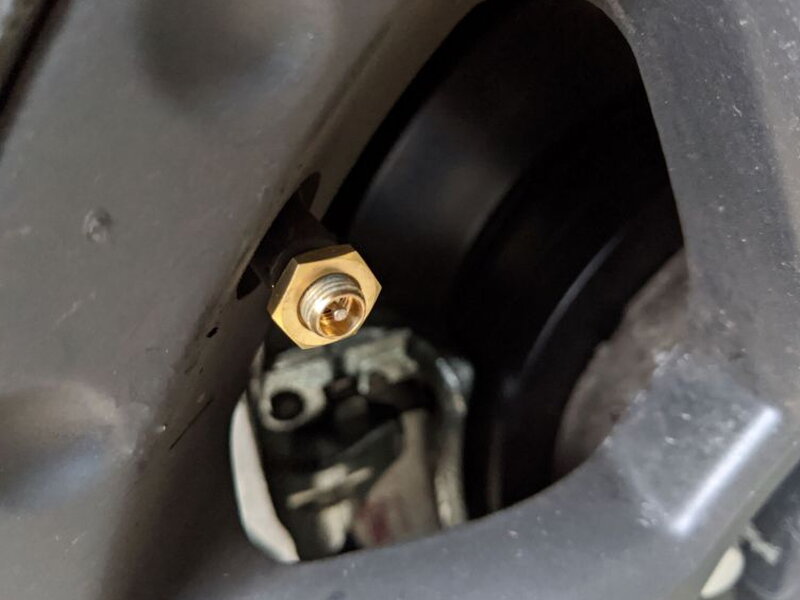
Installation starts by threading the included hex nuts onto the tire valve stems.
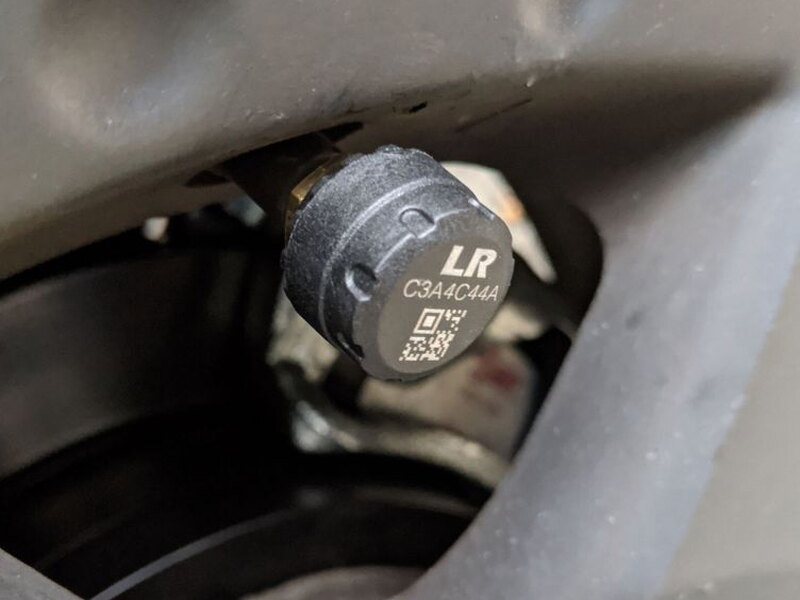
Next, each labeled tire sensor screws onto its assigned valve stem using the sensor tool. Once the sensor is seated, the wrench tightens the hex nut against it so the sensor stays secure.
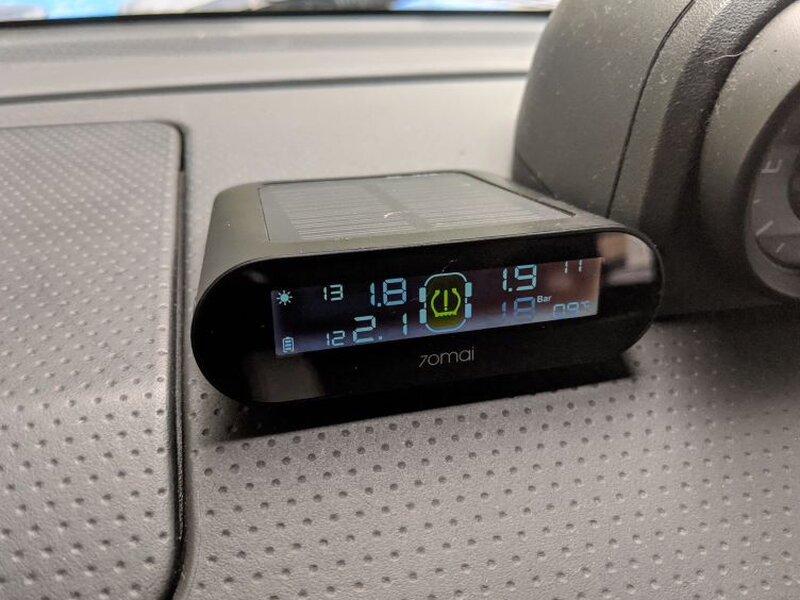
The receiver has an adhesive pad on the bottom to hold it on the dashboard. A full USB charge took about an hour.
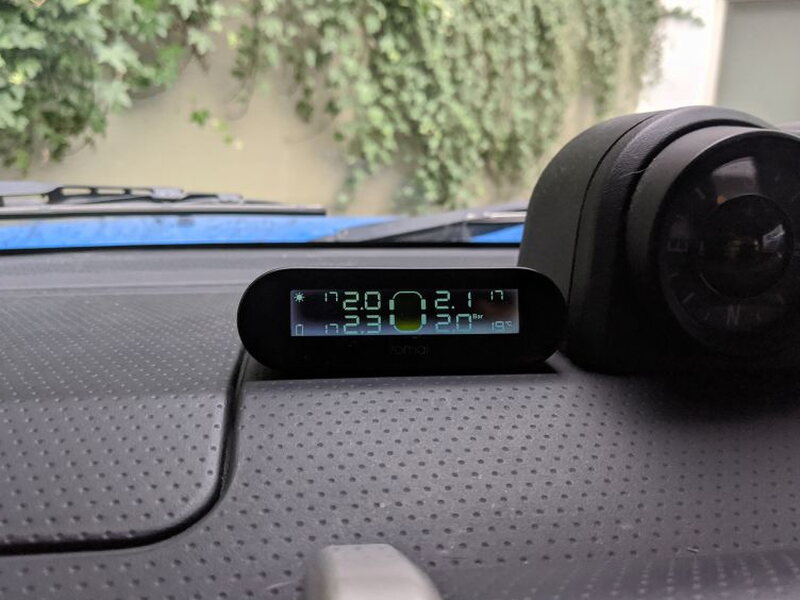
After charging, pressing the side button powers the receiver on. The receiver then connects to the tire sensors without much effort from the user.

Daily Use and App Support
The receiver can receive signals from the tire sensors at distances up to 10 meters, so the tire data stayed fairly steady during use. The same information can also be viewed in the 70mai app.

Once the app is installed, the receiver pairs with a phone over Bluetooth.

Both the app and the receiver screen show air pressure and temperature from each tire sensor.
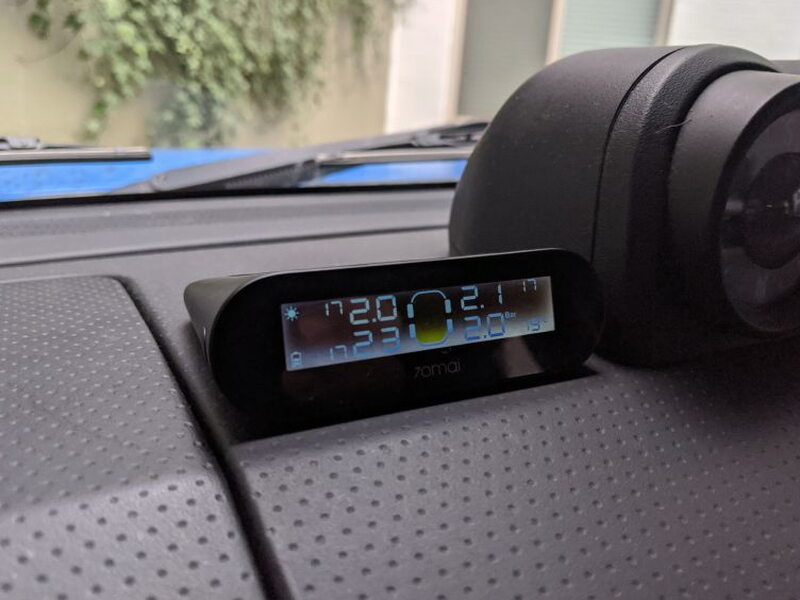
During testing, the pressure and temperature readings moved around quite a bit over a one hour drive. When I first powered the system up, the alarm sounded because one tire was reported as very low. After I silenced the alert and drove again, the readings settled into a more acceptable range.
The larger usability problem was the measurement units. I could not change either the app or the receiver from Celsius and bar to Fahrenheit and PSI. The app appears to include a unit setting, but it was greyed out for me. I opened a support ticket with 70mai and never received a response.
What Worked Well
- Easy to install
- Solar charging increases usability
- App is simple and well designed
What Needs Work
- Units should be modifiable for U.S. standards
- Accuracy could be improved
- Instructions need to be included
Quick Questions
Q: Can the units be changed from bar/Celsius to PSI/Fahrenheit?
A: No, the unit setting was greyed out and couldn’t be changed on either the app or receiver, and 70mai support never responded to a ticket about it.
Q: Does the receiver need external power?
A: It charges via USB initially (about an hour), then a solar panel on top helps maintain the battery during normal use.
Q: How long do the tire sensor batteries last?
A: Up to 2 years, per the sensor specs, and each sensor is replaceable when the battery dies.
Q: Did the review unit come with printed instructions?
A: No, it arrived with no instructions at all, requiring an online search to figure out the installation order.
Final Thoughts
The 70mai Tire Pressure Monitoring System Lite is a decent little kit with a fair $54.99 price. The hardware is easy to mount, the solar assisted receiver is useful, and the app is clean enough to understand quickly. Still, the missing instructions, inconsistent readings, and inability to switch to U.S. units make it harder to recommend without reservations. It performs the core job, but there are likely better choices if accuracy and Fahrenheit plus PSI support are priorities.
If you’re comparing options in this category, see The Best Car Tech Accessories I’ve Tested for how this one stacks up against the others I’ve tested.
Price: $54.99
Product Link: 70mai and AliExpress
Source: The sample of this product was provided by 70mai.


